

A Workbench, Some Shelves, and a Bucket That Kept Imploding
By now I was hooked. I don't know if it's evolution, brain chemistry or something I should discuss with a professional, but this hobby scratches an extremely specific itch: hands busy, something appearing where there was nothing, and a motor making a noise. Whatever makes gorillas pound their chests, a miter saw does to me.
Christmas, and three tools I gave myself
Christmas came around and I treated myself: a jigsaw (a DeWalt DCS334B), a miter saw (a Makita LS1040), and a shop vac (a Kärcher DVAC 2200). Most people at this stage will tell you to buy a table saw. Most people are braver than I am. Table saws frighten me, and I didn't feel I'd earned one yet.
The reasoning wasn't complicated. The jigsaw was cordless and took the same DeWalt battery as the drill I already owned, which felt like getting a tool at a discount. It also looked far less intimidating than the circular saw for quick cuts. The miter saw was going to make the ends of my 2x4s square, something my circular saw and I had not yet managed reliably. And the dust was already piling up in the garage, so: a shop vac.
On the miter saw I'll admit to some envy. I really wish I lived somewhere with the selection the US gets for the money. I wanted a sliding one with a bigger blade. What I could actually buy here, with a warranty that meant something, was the LS1040, and it seemed decent enough for the price. It was.
The shop vac I bought without the faintest idea what I was getting into. Hold that thought for about four sections.
The $4 workbench stops being funny
It was already clear my setup wasn't a setup. The moment I lifted the miter saw out of its box it became very clear: a $4 plywood offcut balanced on two sawhorses is not a workbench, it's a wobble with ambitions. My first instinct was to buy two more sawhorses and put a bigger sheet on top, which I did, and which solved nothing. Some problems you can't buy sawhorses out of.
The other problem was storage. Every tool I wasn't using lived on the floor, or on the sliver of sawhorse not currently holding wood. So the shop needed two things before it could build anything else: a bench, and somewhere to put things. Planning began.
The bench: folding, because the car still lives here
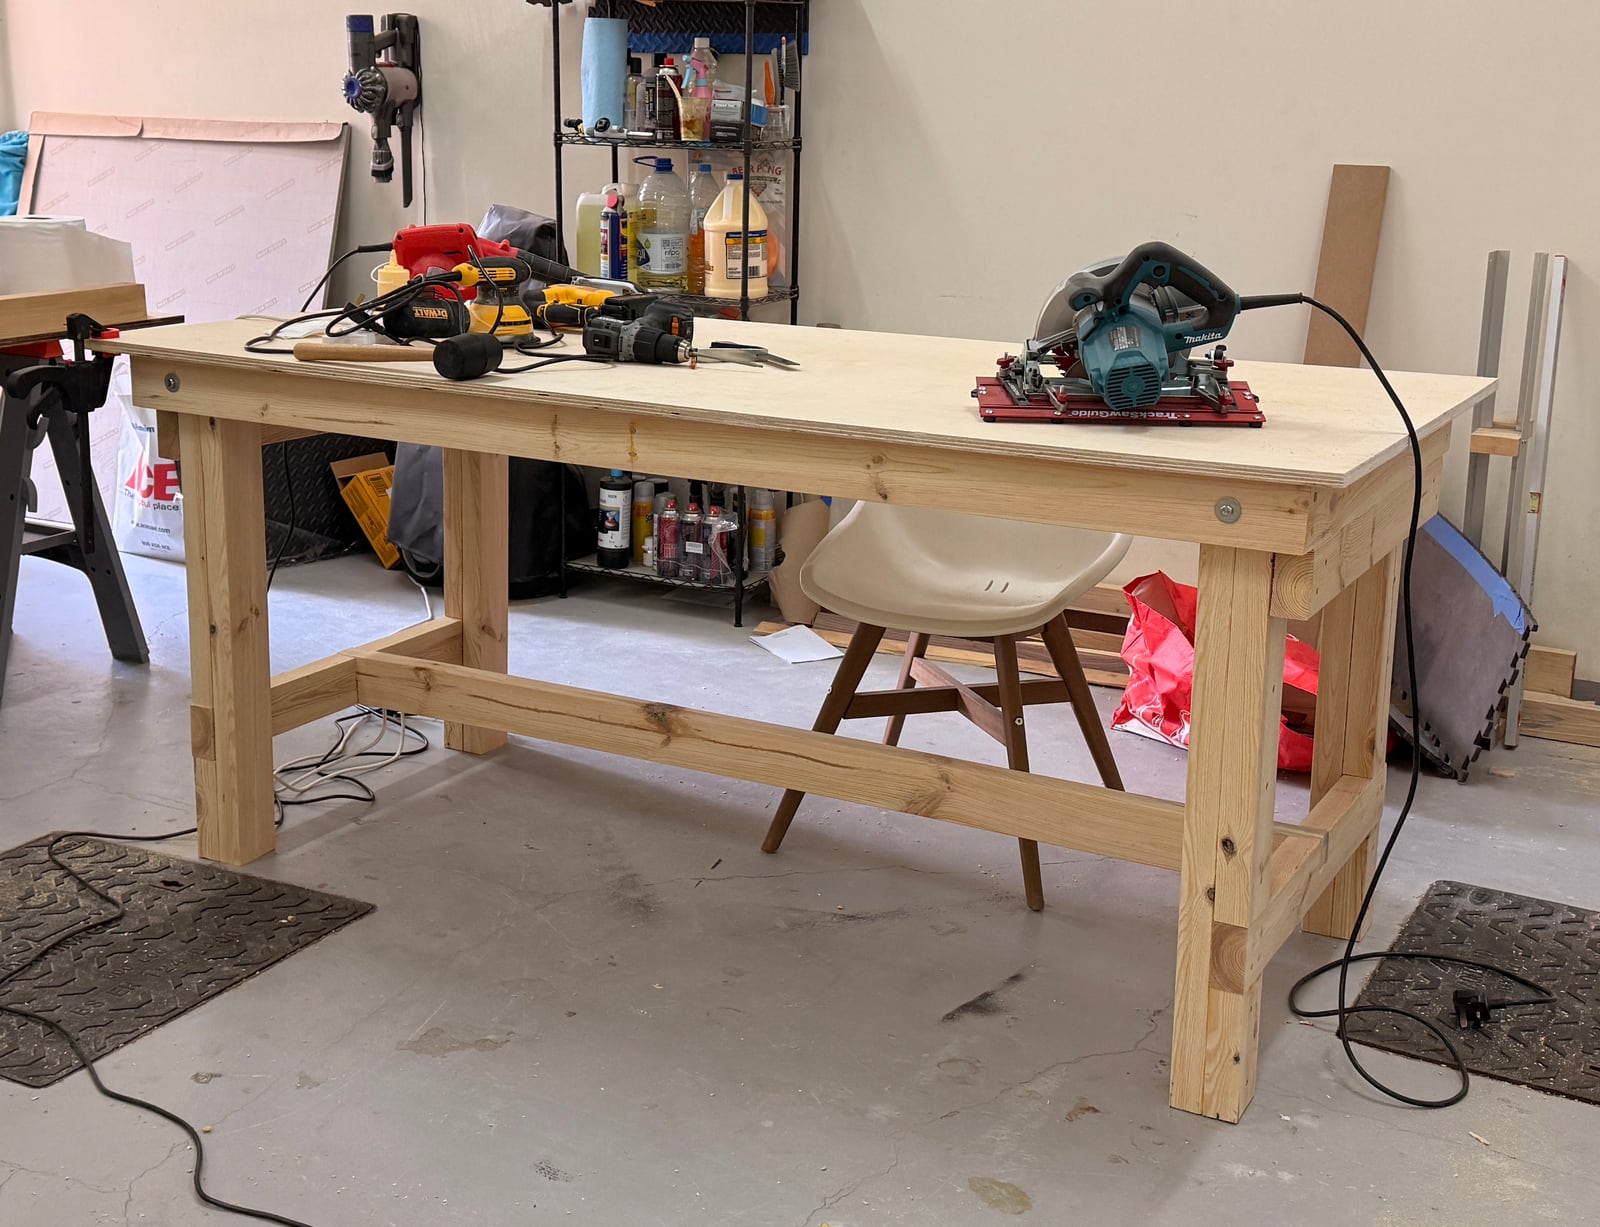
I liked the idea of a folding workbench I could set up when I needed it and fold away when the garage had to be a garage again. I found this Thomas Custom Woodworks video, which was exactly the build I wanted.
A bench about 76 inches long and 34 high, with legs that fold flat against the underside when it's not in use. It looked simple enough, and it taught me a lot, which is the same sentence twice if you've been doing this long enough. A lot of dimensional lumber, some plywood, a lot of screws.
The shelves: three of them, in a garage that isn't level
For the wall I wanted something simple and I refused to overthink it. I asked ChatGPT for a mock-up of three shelves, 80cm each in height, printed it, and then did the actual work on paper: making sure it would come out level in a garage that very much isn't, that the spacing fit what I needed to store, and that I knew how much lumber to order.
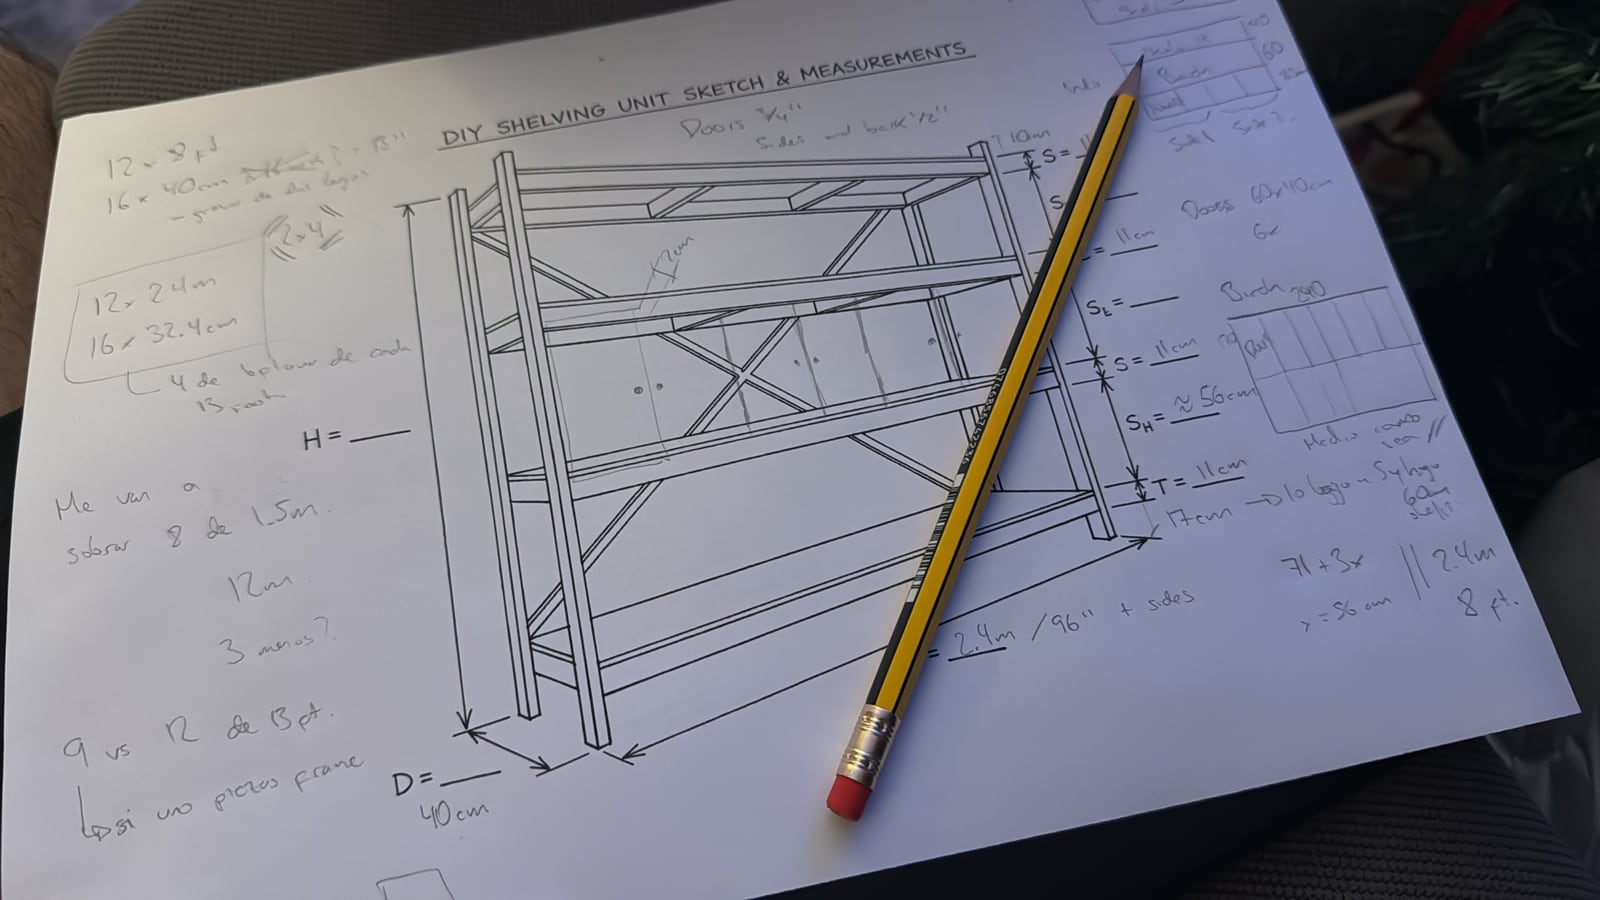
The mock-up I worked from. The numbers underneath it are mine; the picture is just the argument.
I also had it render what the thing might look like in my garage, with doors on. Completely unnecessary, and I enjoyed it enormously.
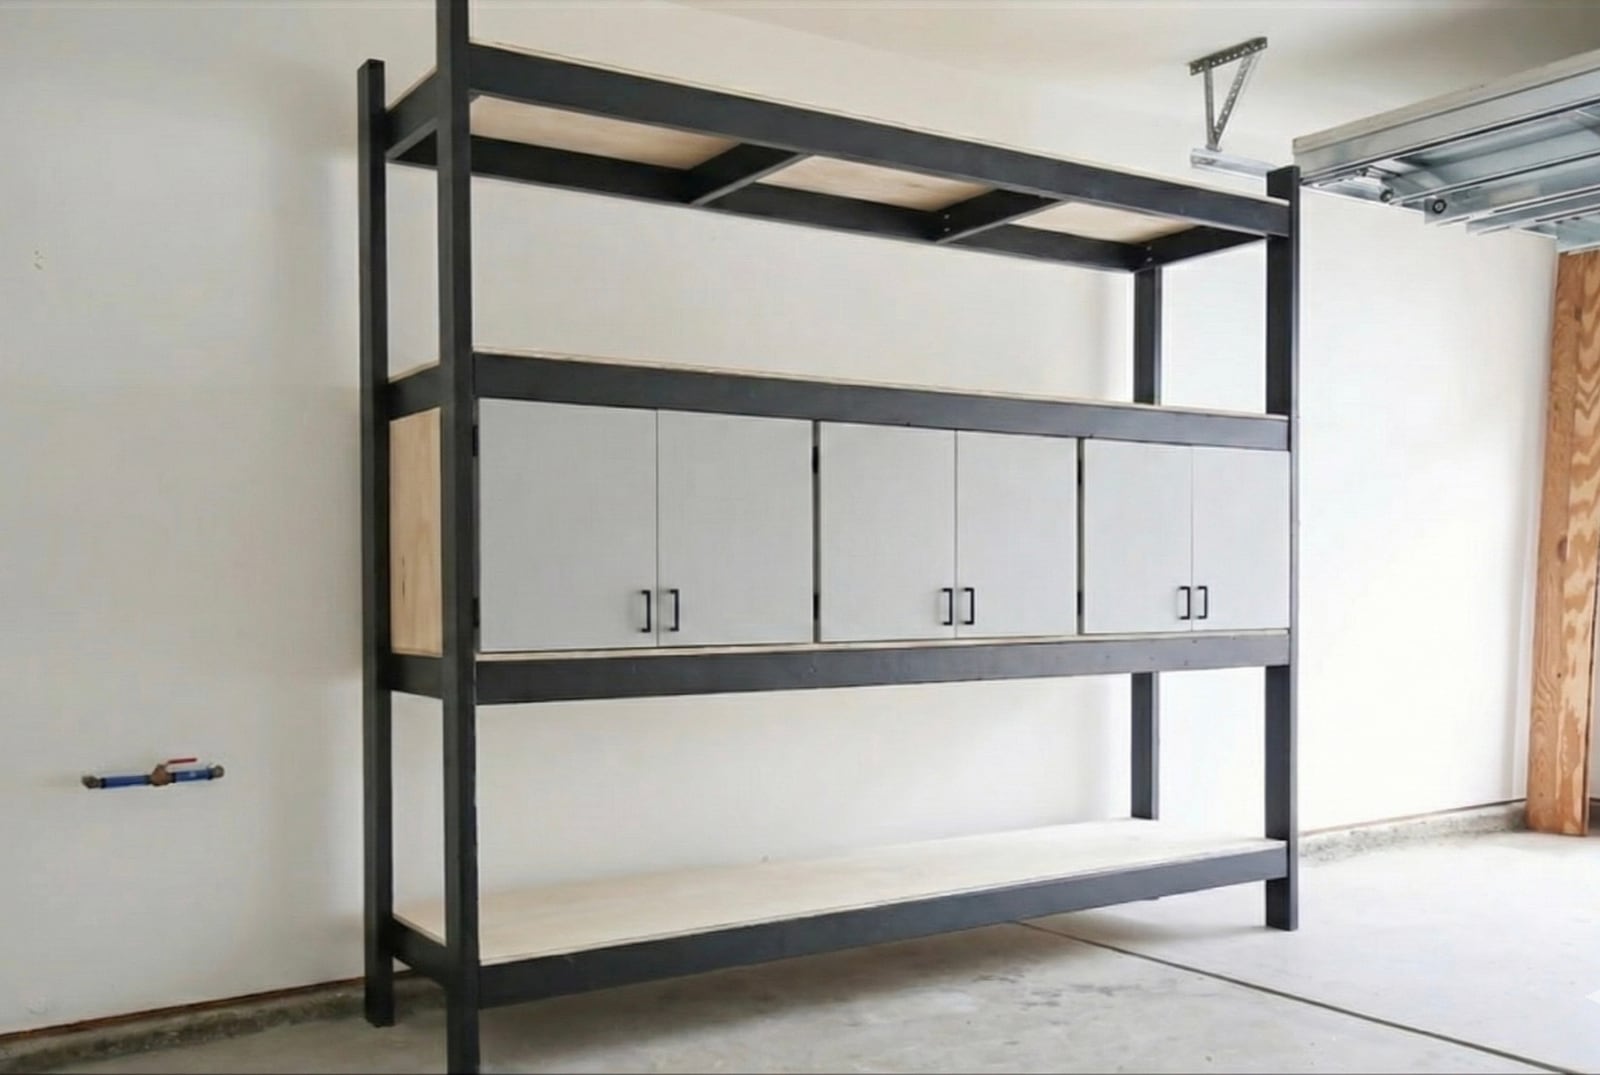
A render of a garage I did not yet have, with shelves I had not yet built. Motivational.
Thirty 2x4s, none of them straight
With both projects clear, I did the math and ordered: two sheets of plywood, two of MDF for the shelf backs, and thirty-something 8ft 2x4s. It was a lot of wood. Wood doesn't grow much in deserts, so the cost had me nervous, and I found a place online selling it cheap.
What I hadn't thought about was the state it would arrive in. Not straight. Not flat. Not close. And I owned nothing that fixes that, so I did the only thing available to me: I sanded them as flat as I could get them, for hours.
If you're reading this with the same problem: flattening boards is a jointer and planer's job, and sanding is the long way round. It works, in the sense that it eventually stops, but if your lumber arrives twisted, the fix is better lumber or the machines that correct it.
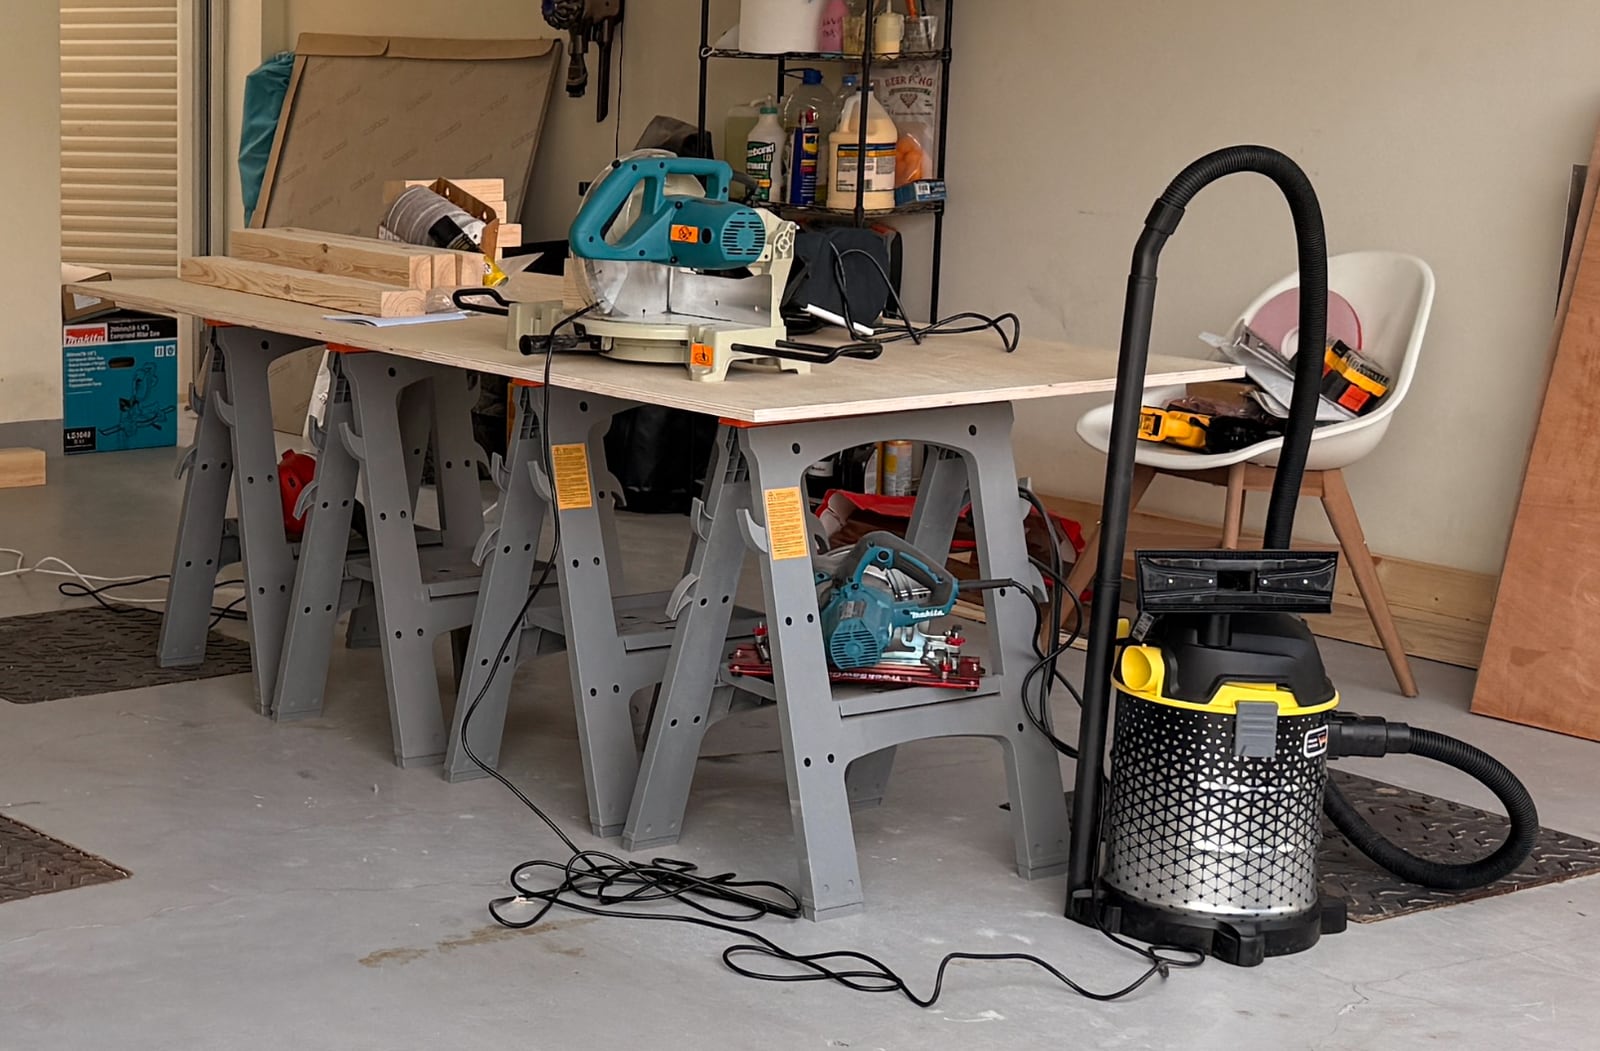
The whole shop at this point: two sawhorses, a board, and the new saw waiting for somewhere better to live.
The miter saw earns its keep. The shop vac does not.
Thank god for the miter saw. Cutting all of that to length was a breeze. The same breeze carried dust into every corner of the garage, because the shop vac I'd bought wouldn't hook up to it properly. My dust collection strategy at this point was to blow everything out of the open garage door and apologise to my neighbours.
It was also time for the corner clamps I'd ordered off Temu. A tip, free of charge: buy metal ones if you can. These will get you through, but they are not the right clamp for holding long 2x4 miters together.
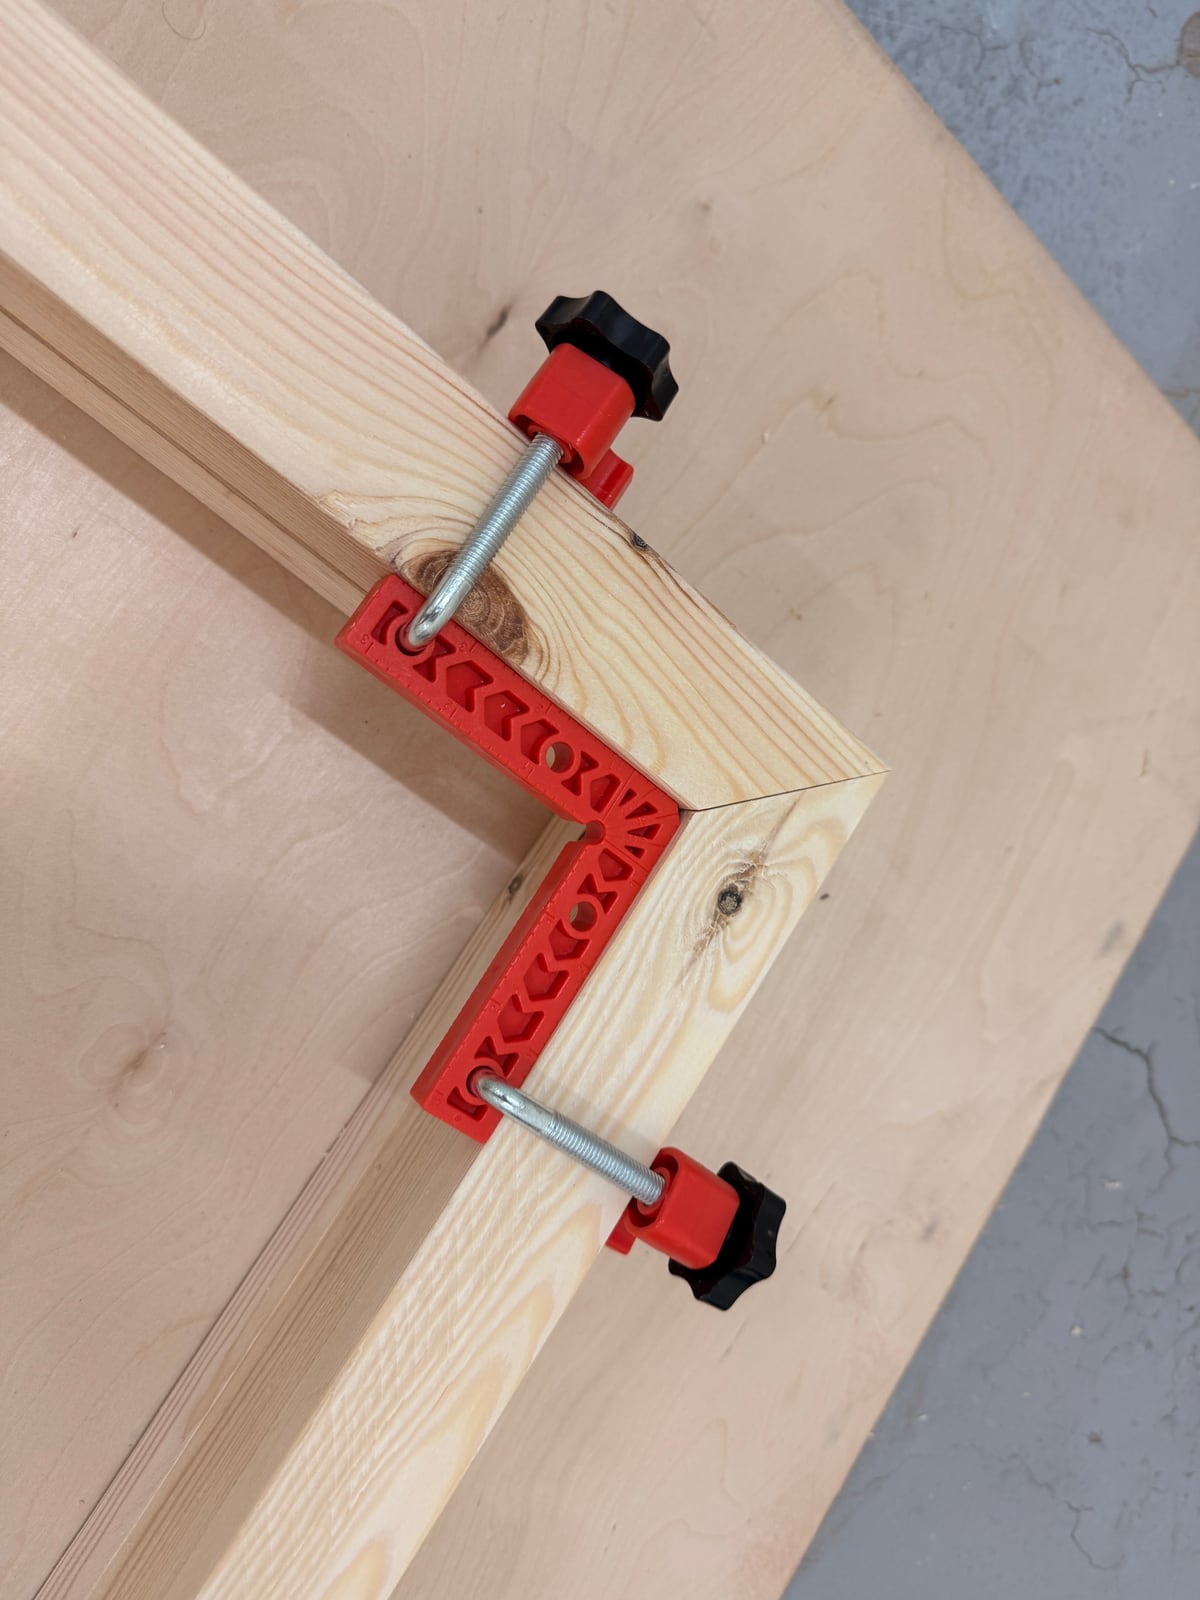
The Temu corner clamps, holding a 2x4 miter closed. Adequate. Barely.
After all that sanding, the dry fit of the miters looked genuinely good. An hour of drilling later, the top of my workbench existed.
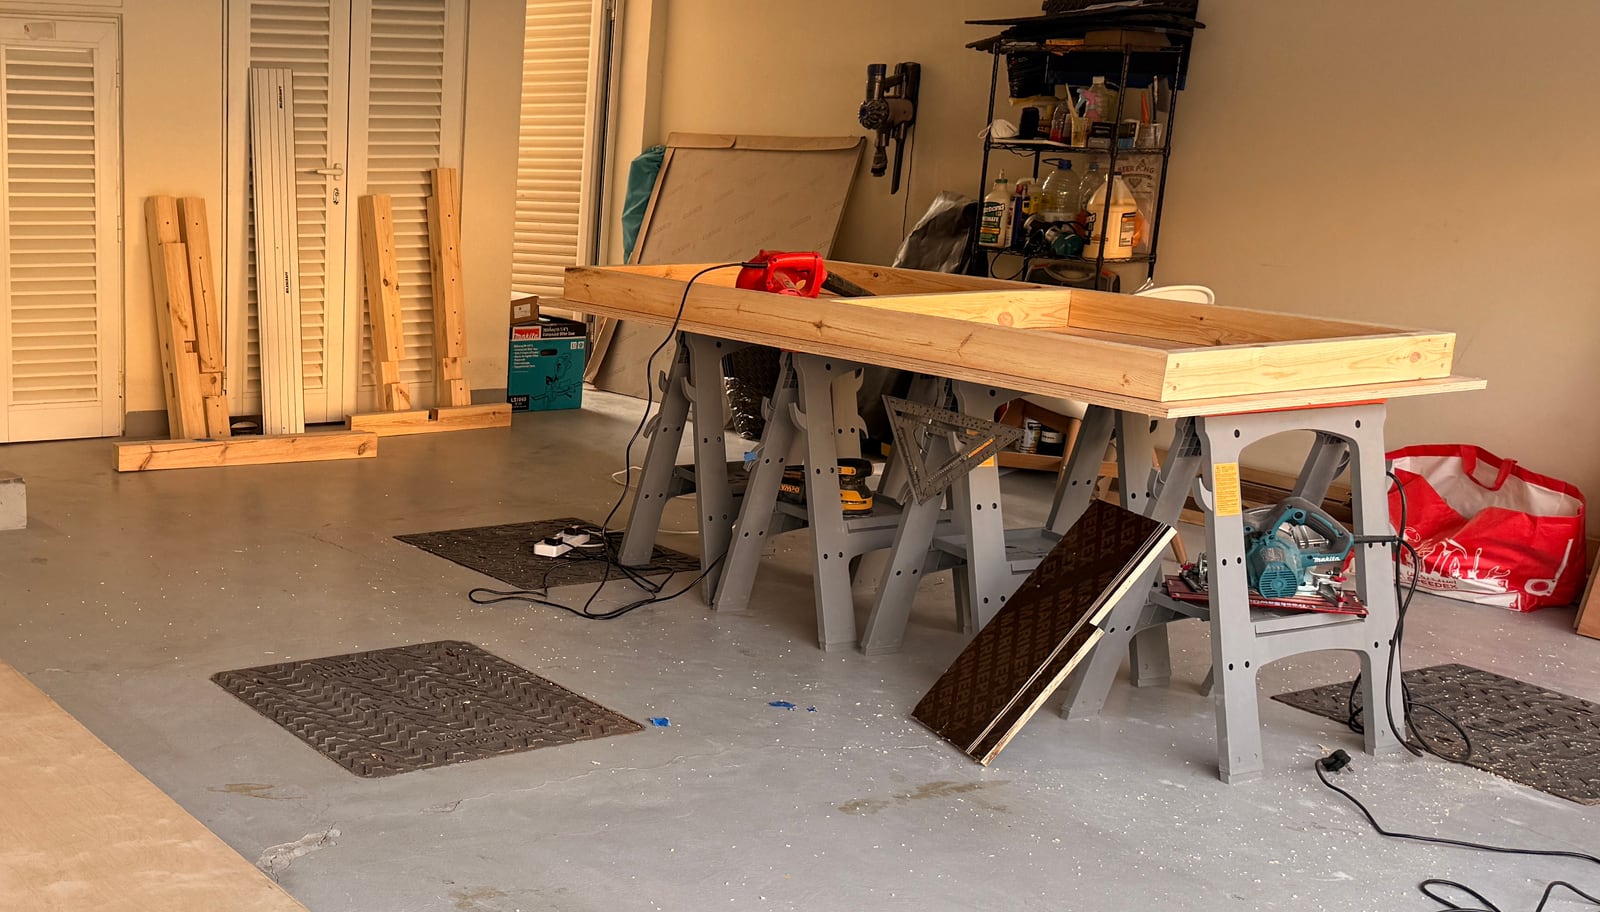
The top, dry fitted and then drilled. The miters closed up, which after all that sanding felt like a personal victory.
Thomas' video, by the way, is so complete that you don't actually need the plans he also sells. That says something about him, and I'd rather say it out loud.
Leg #1, and the hole that refused to fold
Leg one went quickly, and taught me the importance of drilling straight. The hole the leg pivots on came out at a slight angle — not on purpose, obviously — and a pivot hole that isn't straight is a leg that doesn't fold. Which is the entire point of the bench.
The fix was glue, a dowel, a wait, and a second attempt at the same hole. This is now a permanent part of my drilling routine: line it up, then check it again before the bit goes anywhere.
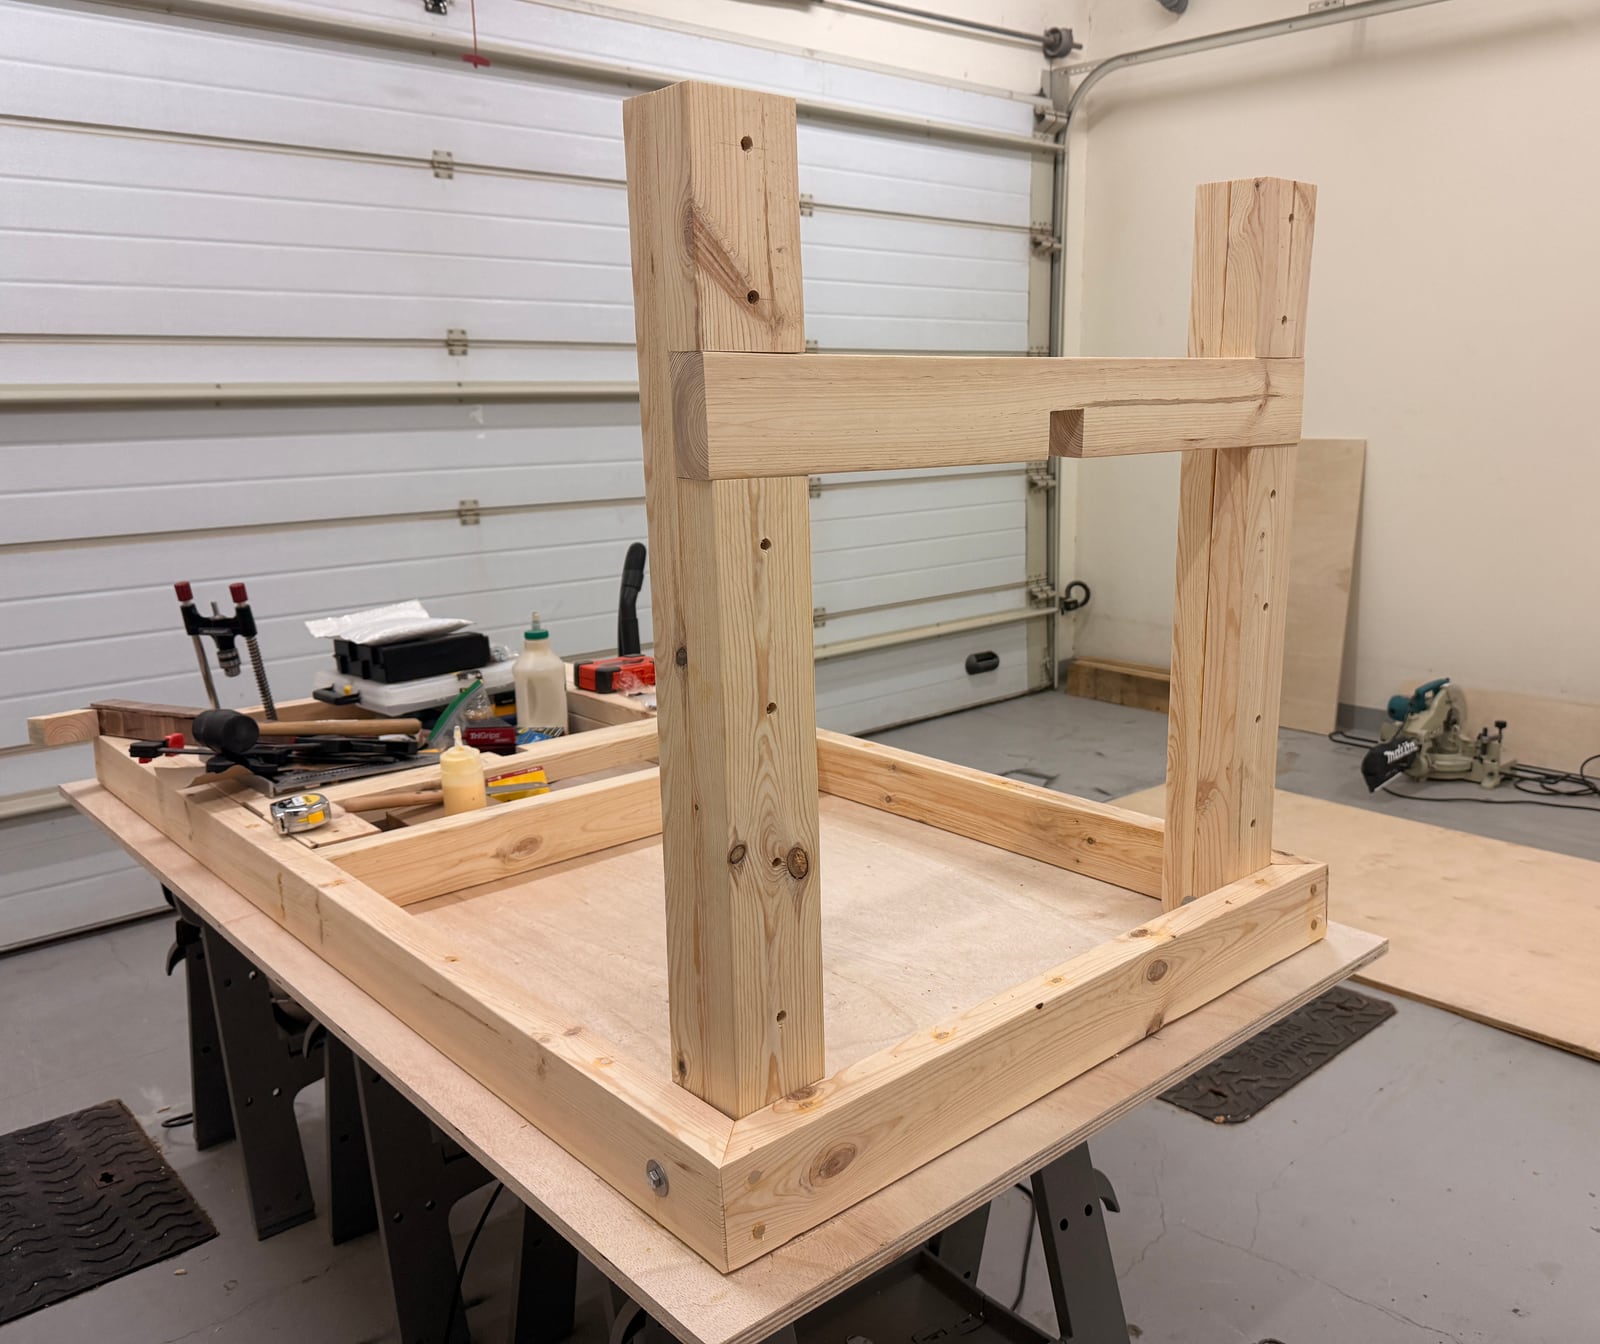
Leg one, second attempt, standing where the first hole should have been.
And then it was done, and it worked, and I was extremely happy with it.
A work surface that doesn't wobble. I stood and looked at it for a while.
A gauge, a blade, and a short flight across the garage
On to the shelves. As I started cutting 2x4s to length, I got suspicious about whether my cuts were actually square, and, still riding the high of a finished workbench and firmly in shopaholic mode, I bought a digital angle gauge (a Klein Tools 935DAG) to check the blade.
It took a few seconds to dial the blade to a true 90. Then I forgot to take the gauge off the blade before making the next cut, and it flew across the garage and chipped its plastic case. It still works. I have never forgotten it since.
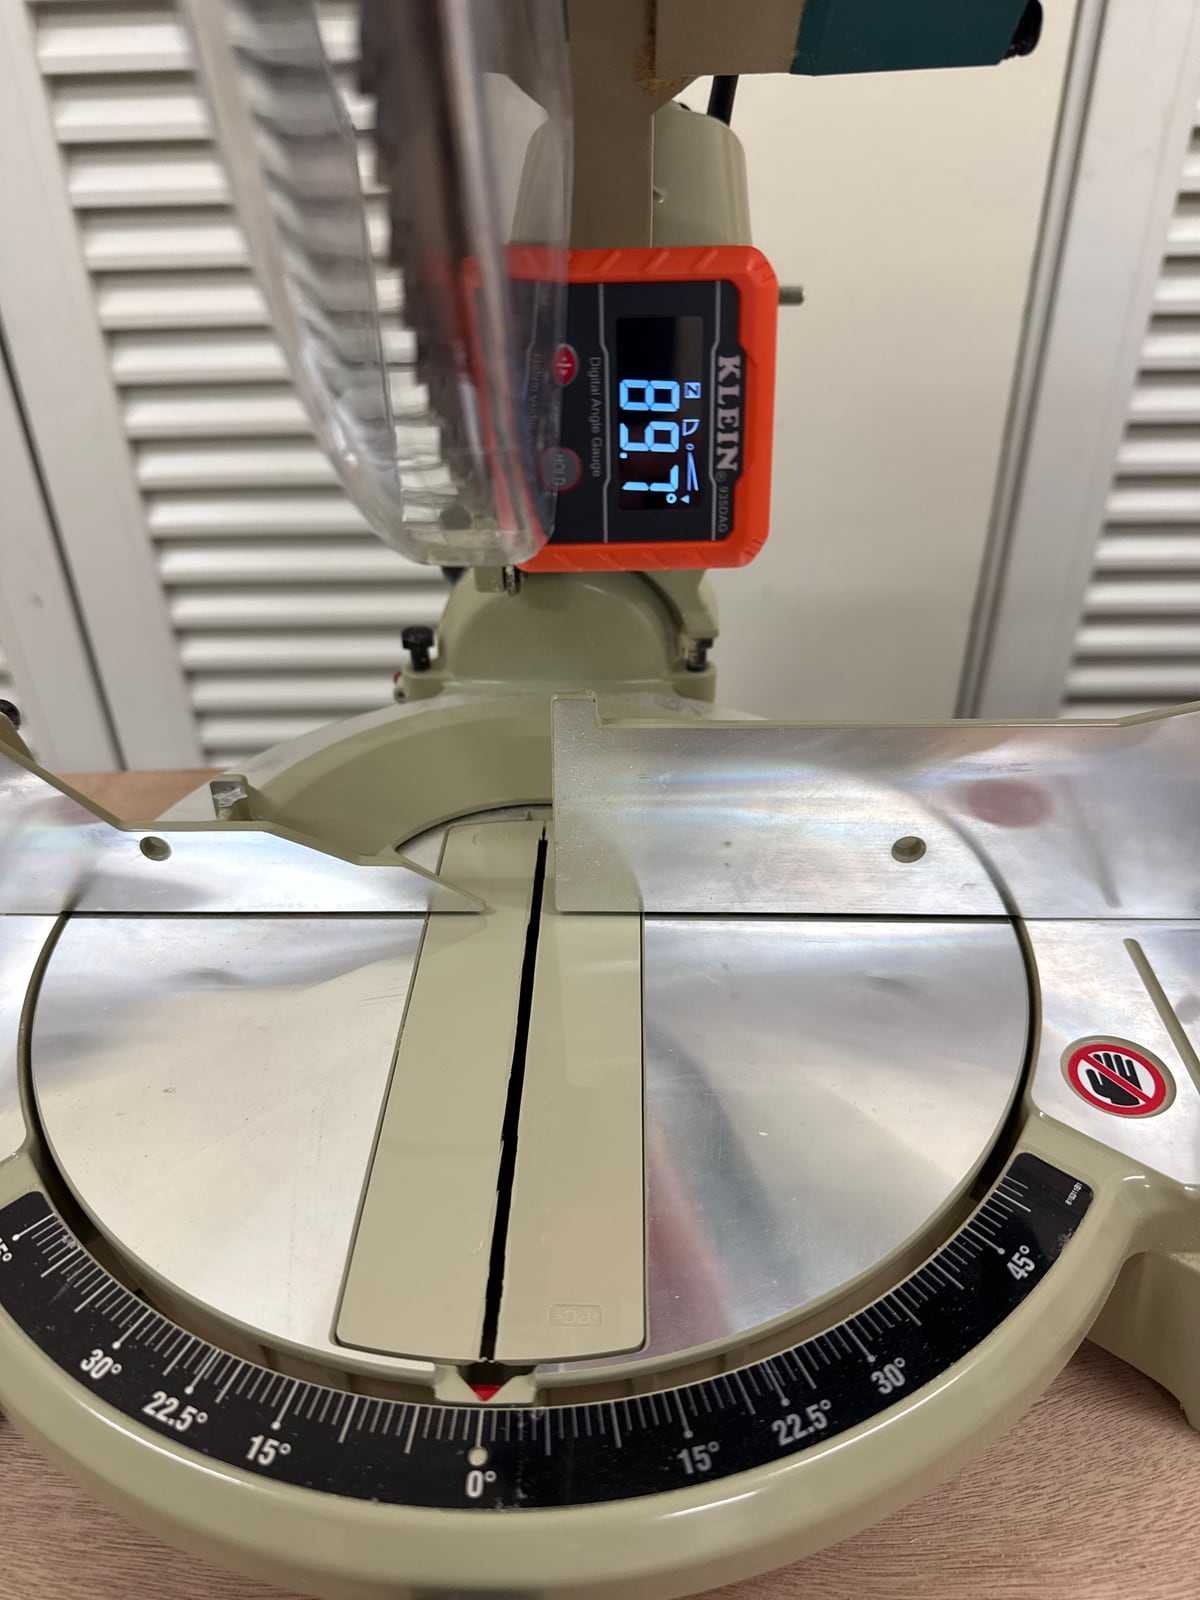
Dialling the blade in: 89.7 and closing. Moments later, its first and only flight.
Down the dust collection rabbit hole
By now the dust genuinely needed solving. I went online and bought every plastic adapter I could find, on the theory that one of them would fit something. I settled on a three-piece set and bought two, so I'd have them for more than one tool.
The answer to "what size is that port?" is always "not that one". Then I read that a shop vac fills up with chips almost immediately, and that what I wanted was a cyclone. Every ready-made one I found was expensive, but you can build your own, so I ordered the cyclone piece on its own (a Dust Commander) and a bucket to sit it on.
Here's how a cyclone is meant to work: the vac connects to the side of it, the hose from your tool goes in the top, and the heavy chips spin out and drop into the bucket underneath instead of filling your vac. Simple, elegant, and a very efficient machine for destroying buckets. I think the trauma is why I deleted every photo of the attempts.
Every bucket I put under it eventually imploded from the pressure. So I bought an anti-crush valve.
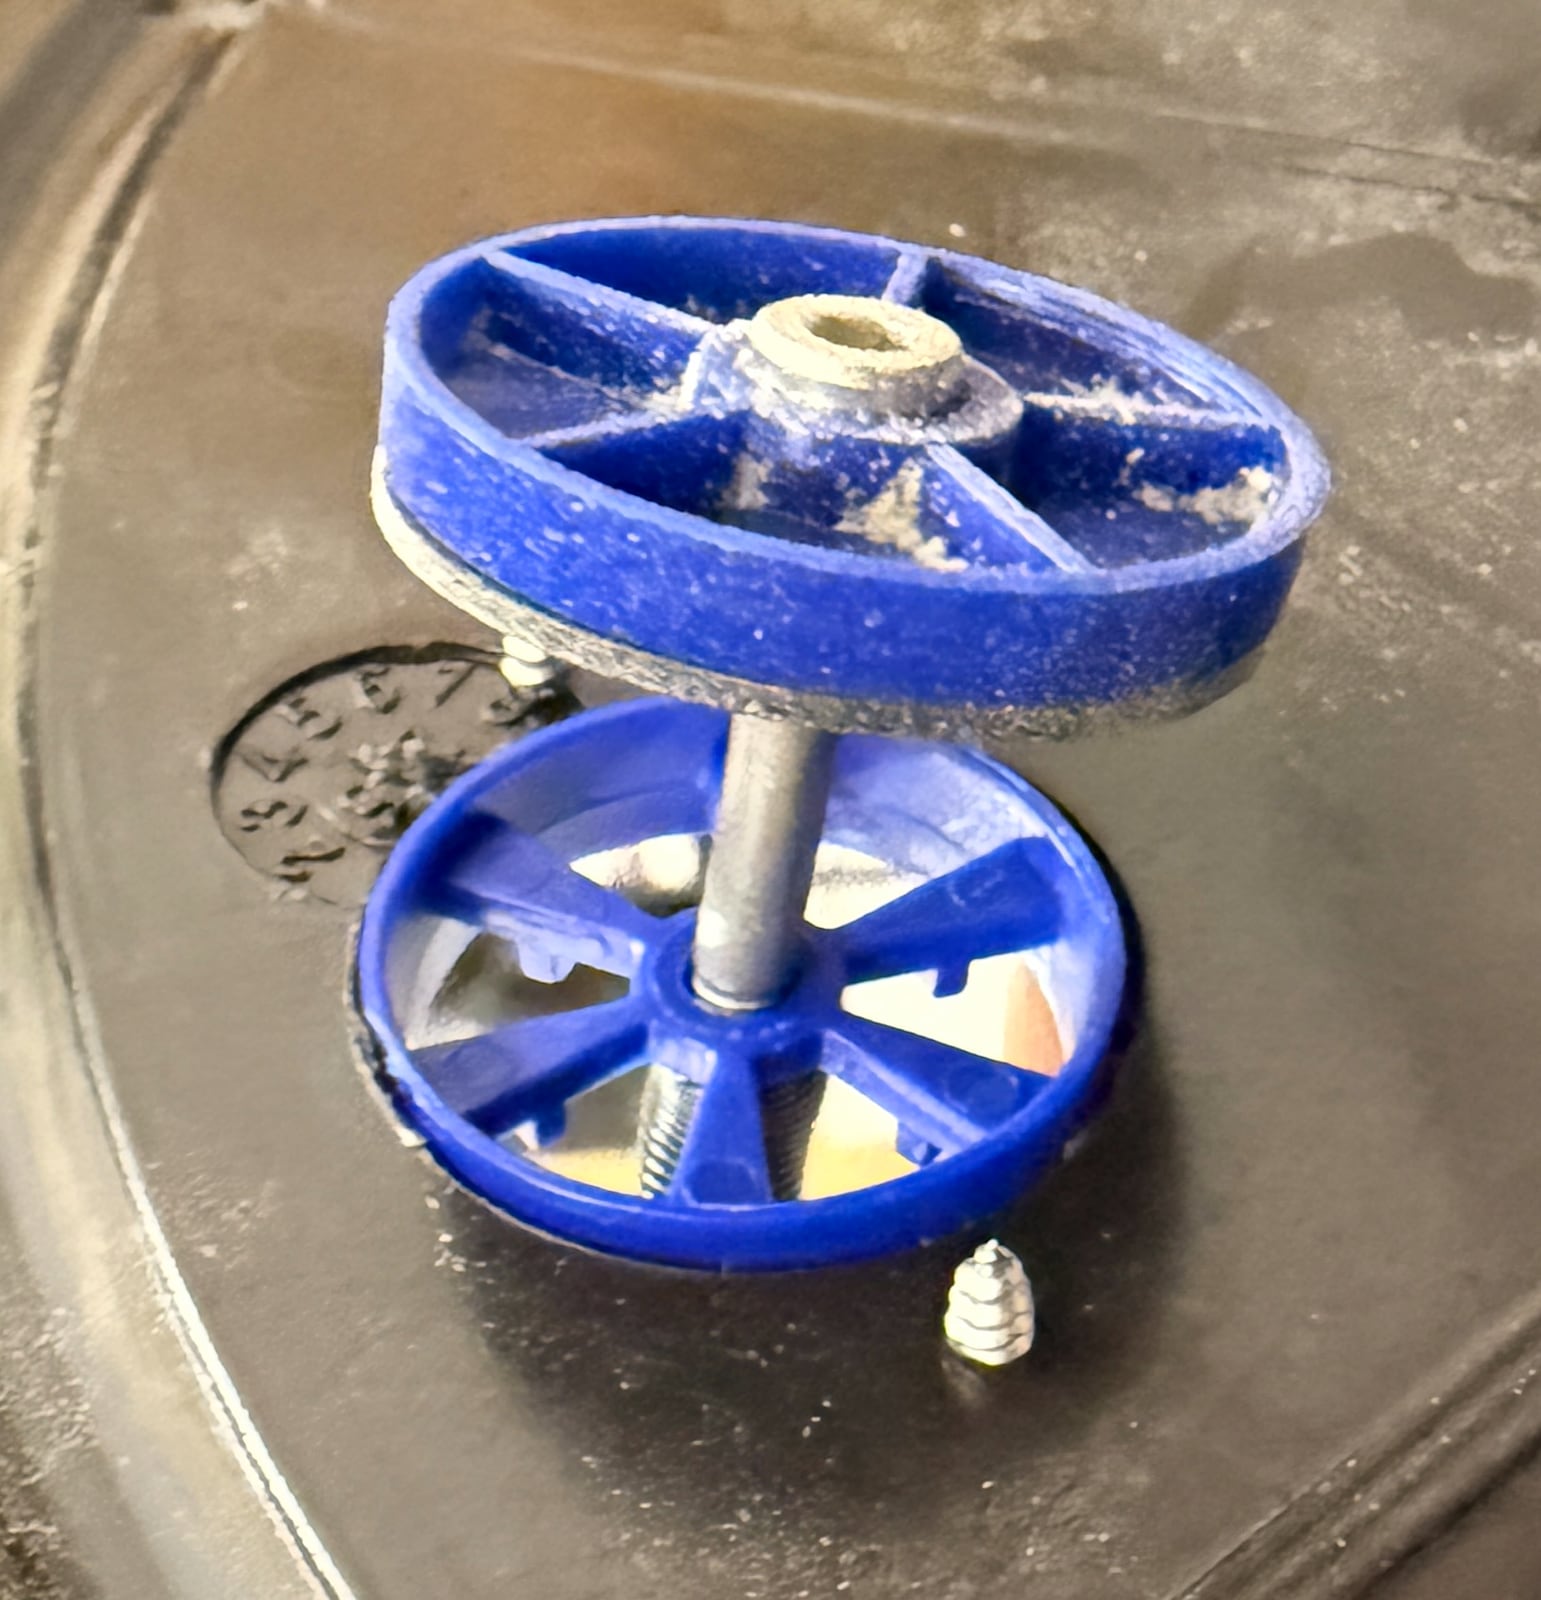
The underside of the bucket lid, with the anti-crush valve fitted. The theory was excellent.
The valve is supposed to be a deliberate weak point: when the pressure gets too high, it opens and lets air in before the bucket gives way. I don't know what I did wrong. My buckets kept crushing. Possibly they were already half-dead from the previous crushings.
Thoroughly fed up, I went for the solve-it-and-forget-it option: one of those sturdy blue barrels I'd seen people using online.
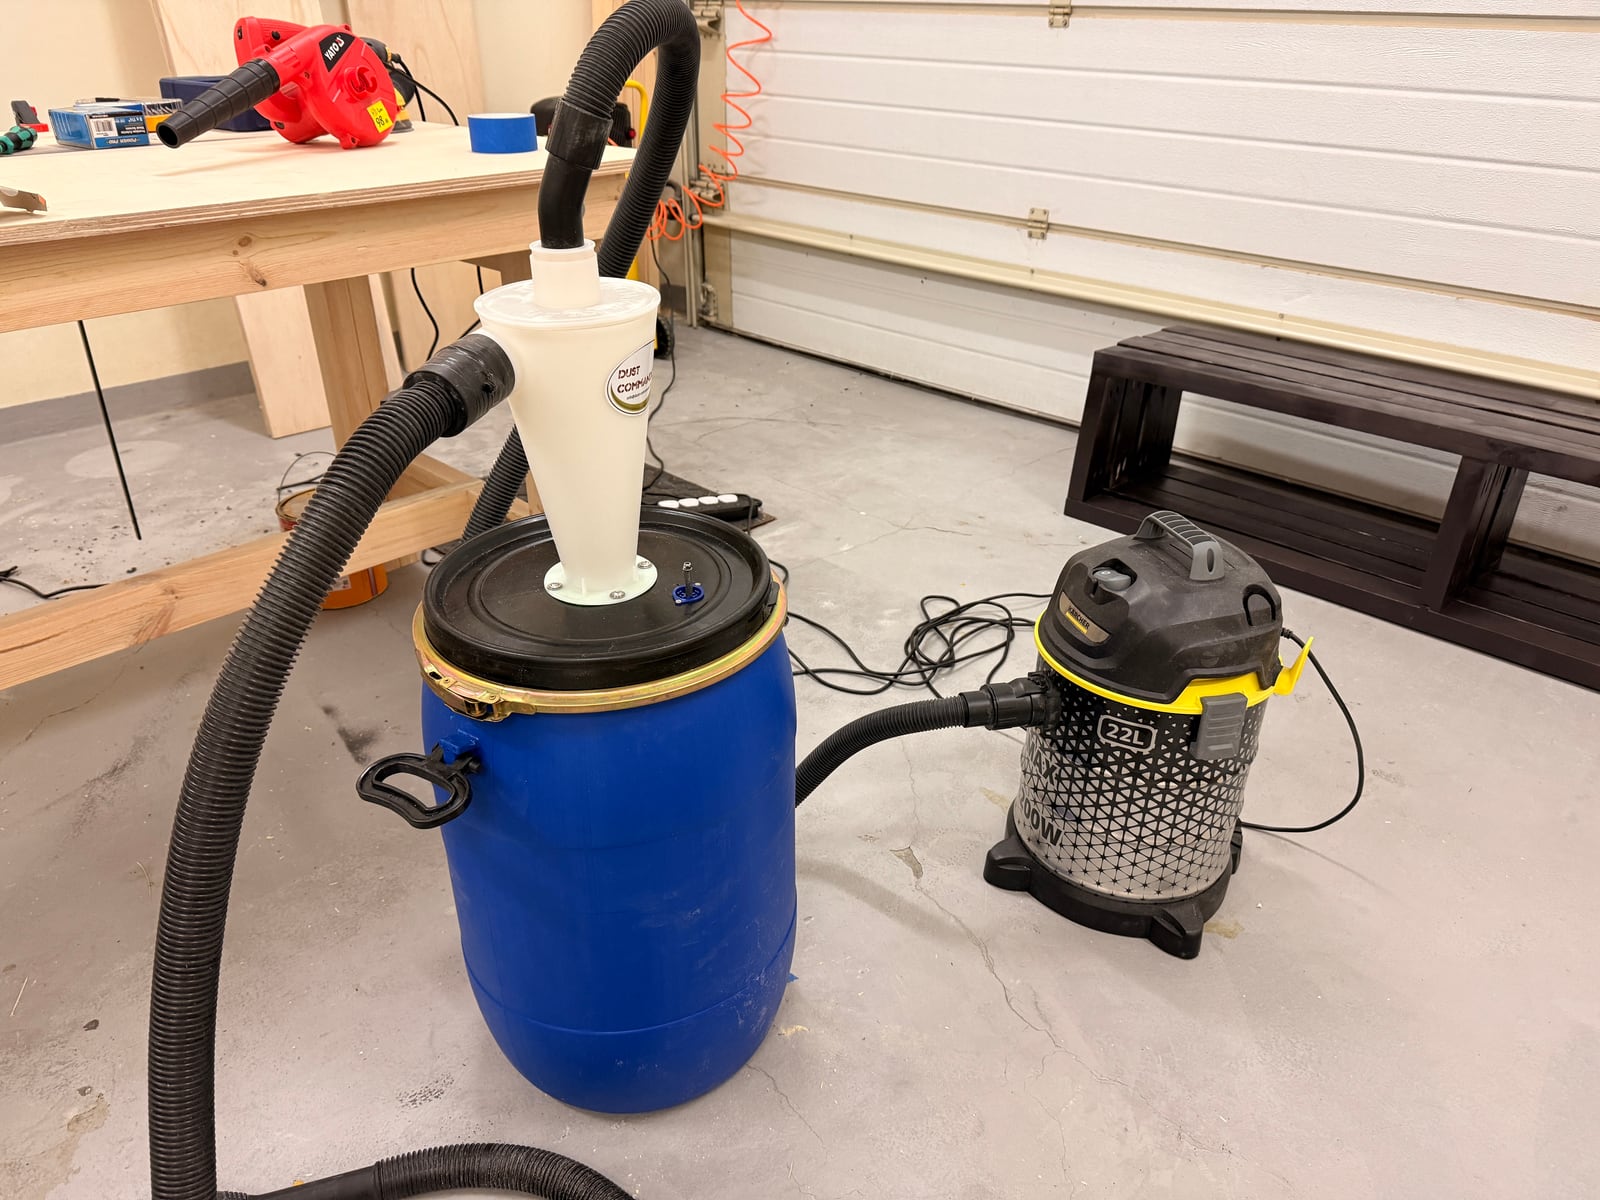
The barrel. Sturdy. Industrial. Reassuringly expensive.
It also crushed. WHYYYYYYY.
What I eventually learned is that most YouTube builds work on the day they're filmed, and nobody goes back to film the part where it fails three weeks later. The actual fix for the pressure isn't a stronger bucket, it's a blast gate: a sliding plate in the ductwork that you open and close. Leave one gate open somewhere in the line and the vac always has air to pull, so it never gets to squeeze your bucket flat. Close the gates on the tools you're not using and all the suction goes where you're working.
Cheap, boring, and the thing I needed three buckets ago. Problem: my hoses aren't 4 inches, and I could not find a blast gate anywhere online that would fit them. The project was impossible.
So I got a T adapter, put some tape over the open branch, and called it a blast gate.
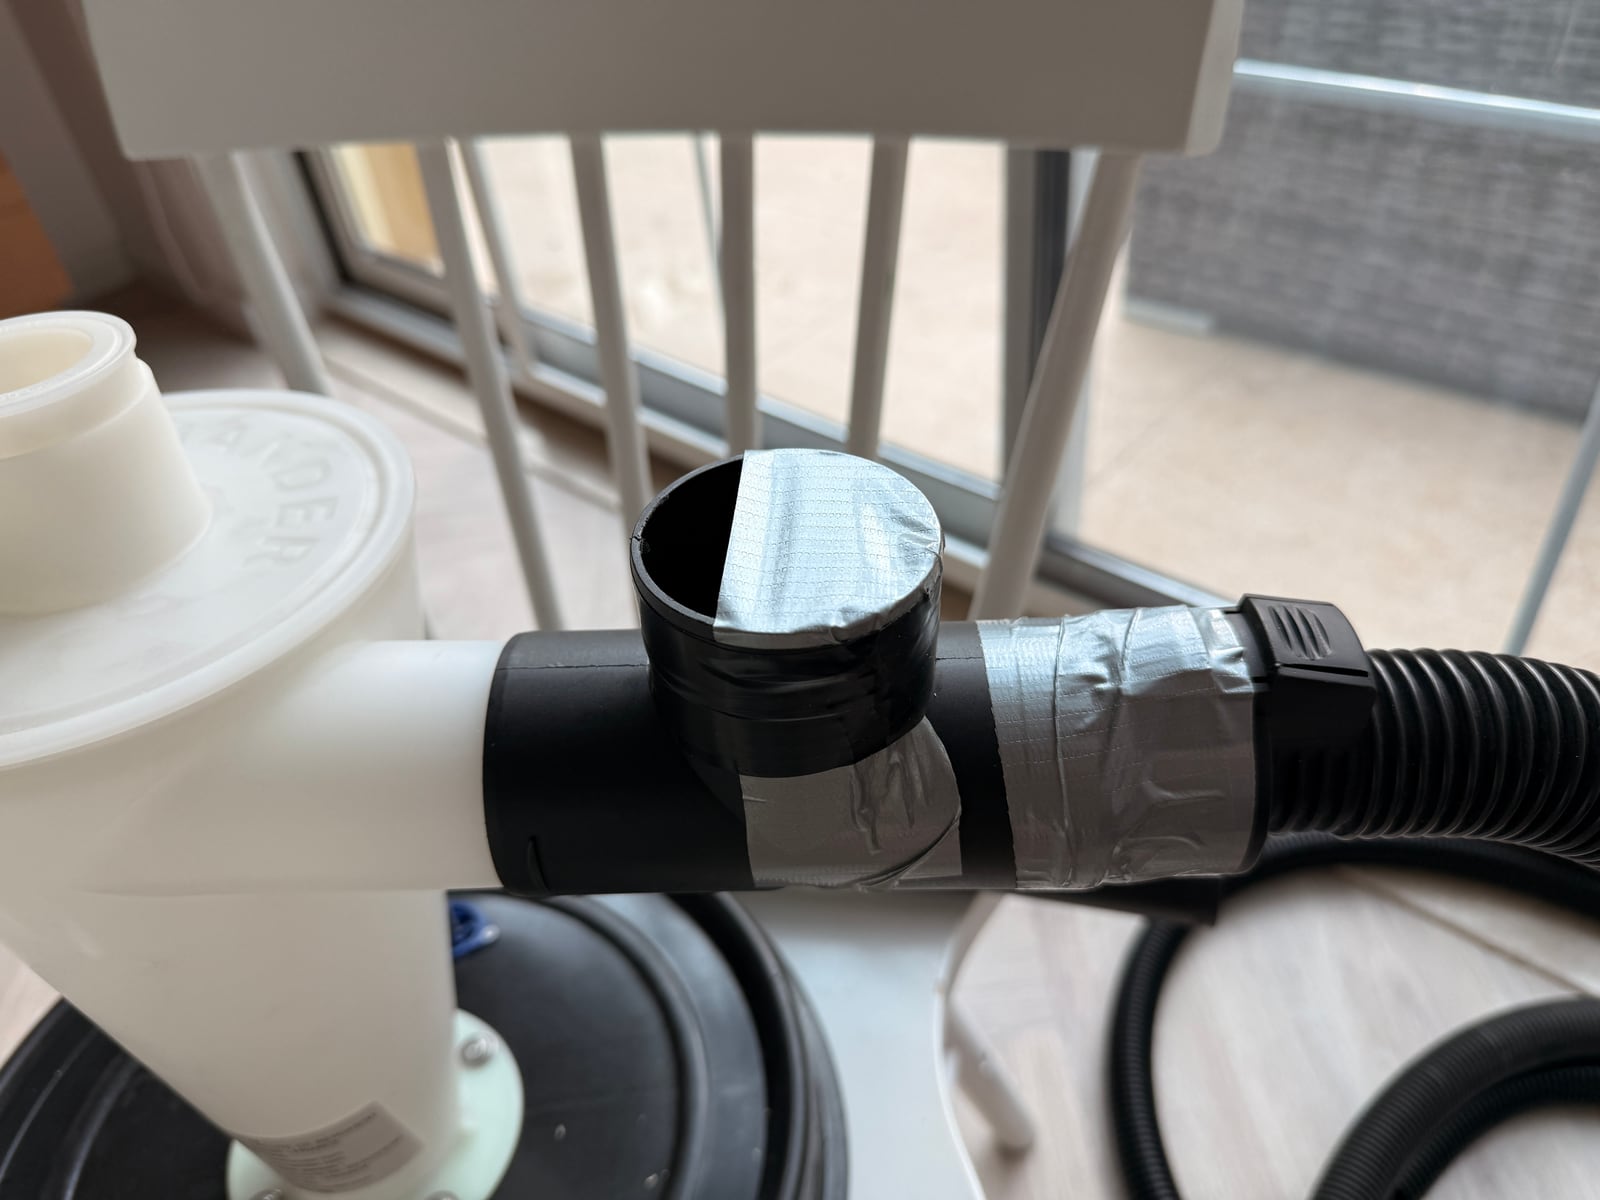
My blast gate: a T adapter and tape. It cost nothing and works perfectly, which is annoying.
After a few tests, it worked. All the dust going into the barrel, almost nothing reaching the shop vac, and no implosions. I have chosen not to add up what I spent getting here.
Back to the shelves, via a compressor
All those trips to the hardware store meant walking past all those displays, and eventually a salesperson talked me into a compressor to paint the shelf boards (a Stanley D 230/10/50 V). It would also come in handy for a nail gun, he said. I pulled the trigger, and then bought the nail gun too: a WorkPro 2-in-1 air brad nailer and stapler.
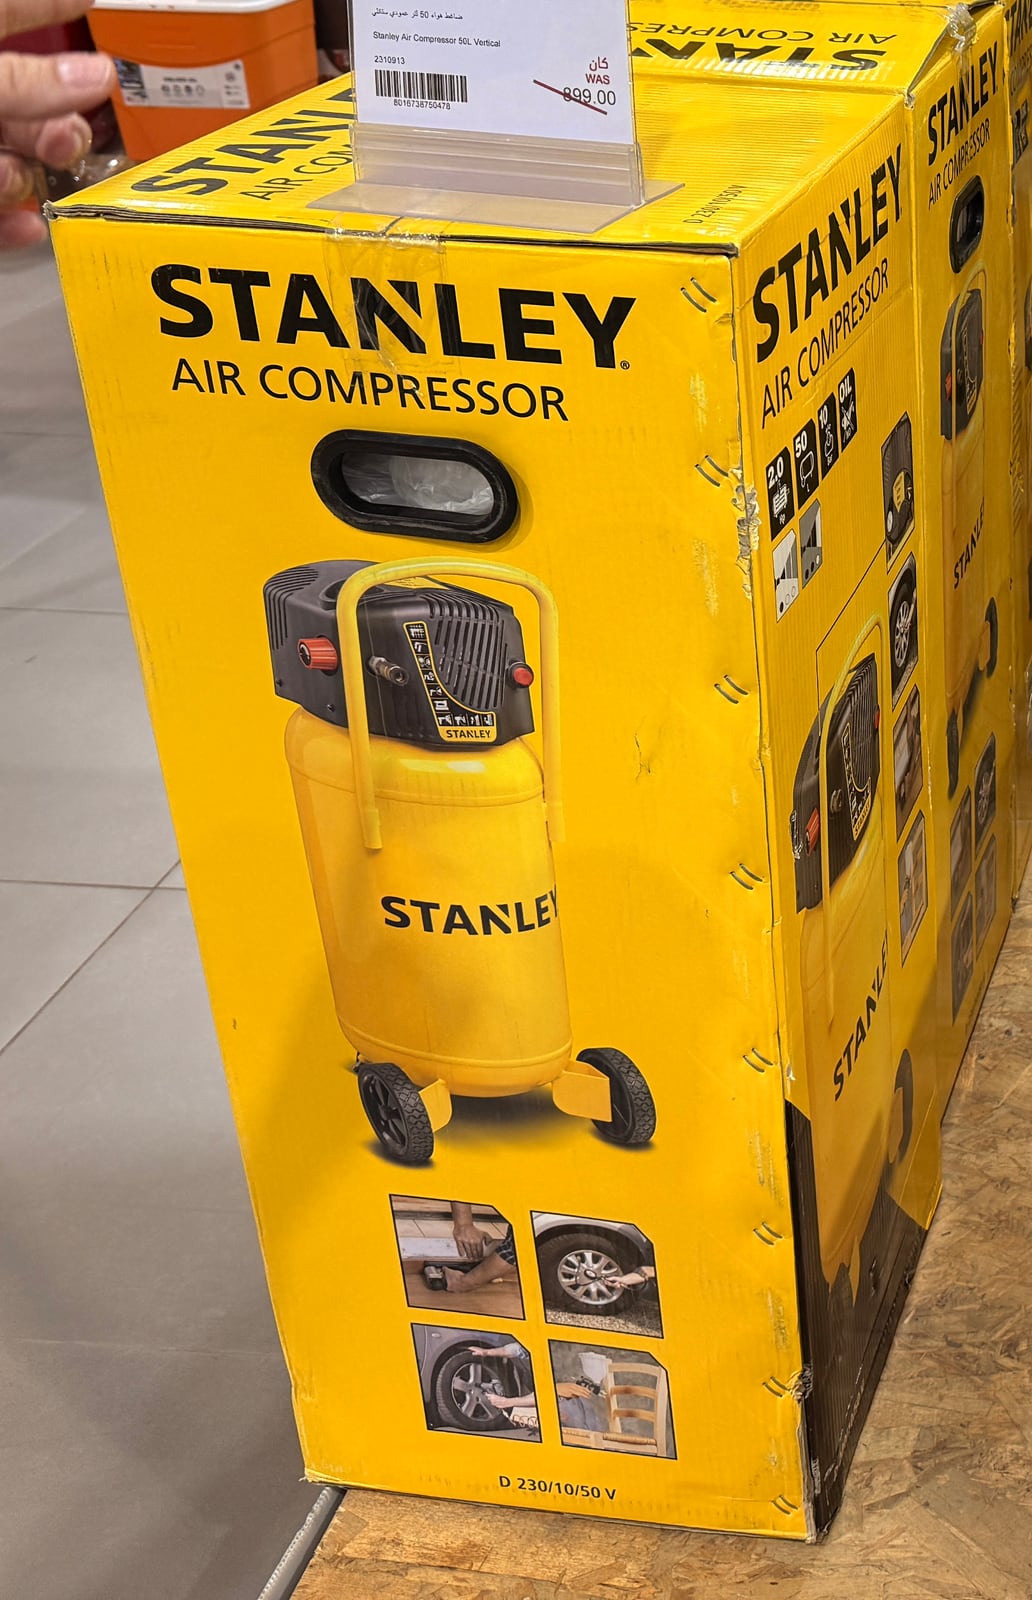
The compressor. Bought to paint shelves, justified by a nail gun I didn't own yet.
Dust under control and every board cut to length, I could finally paint.
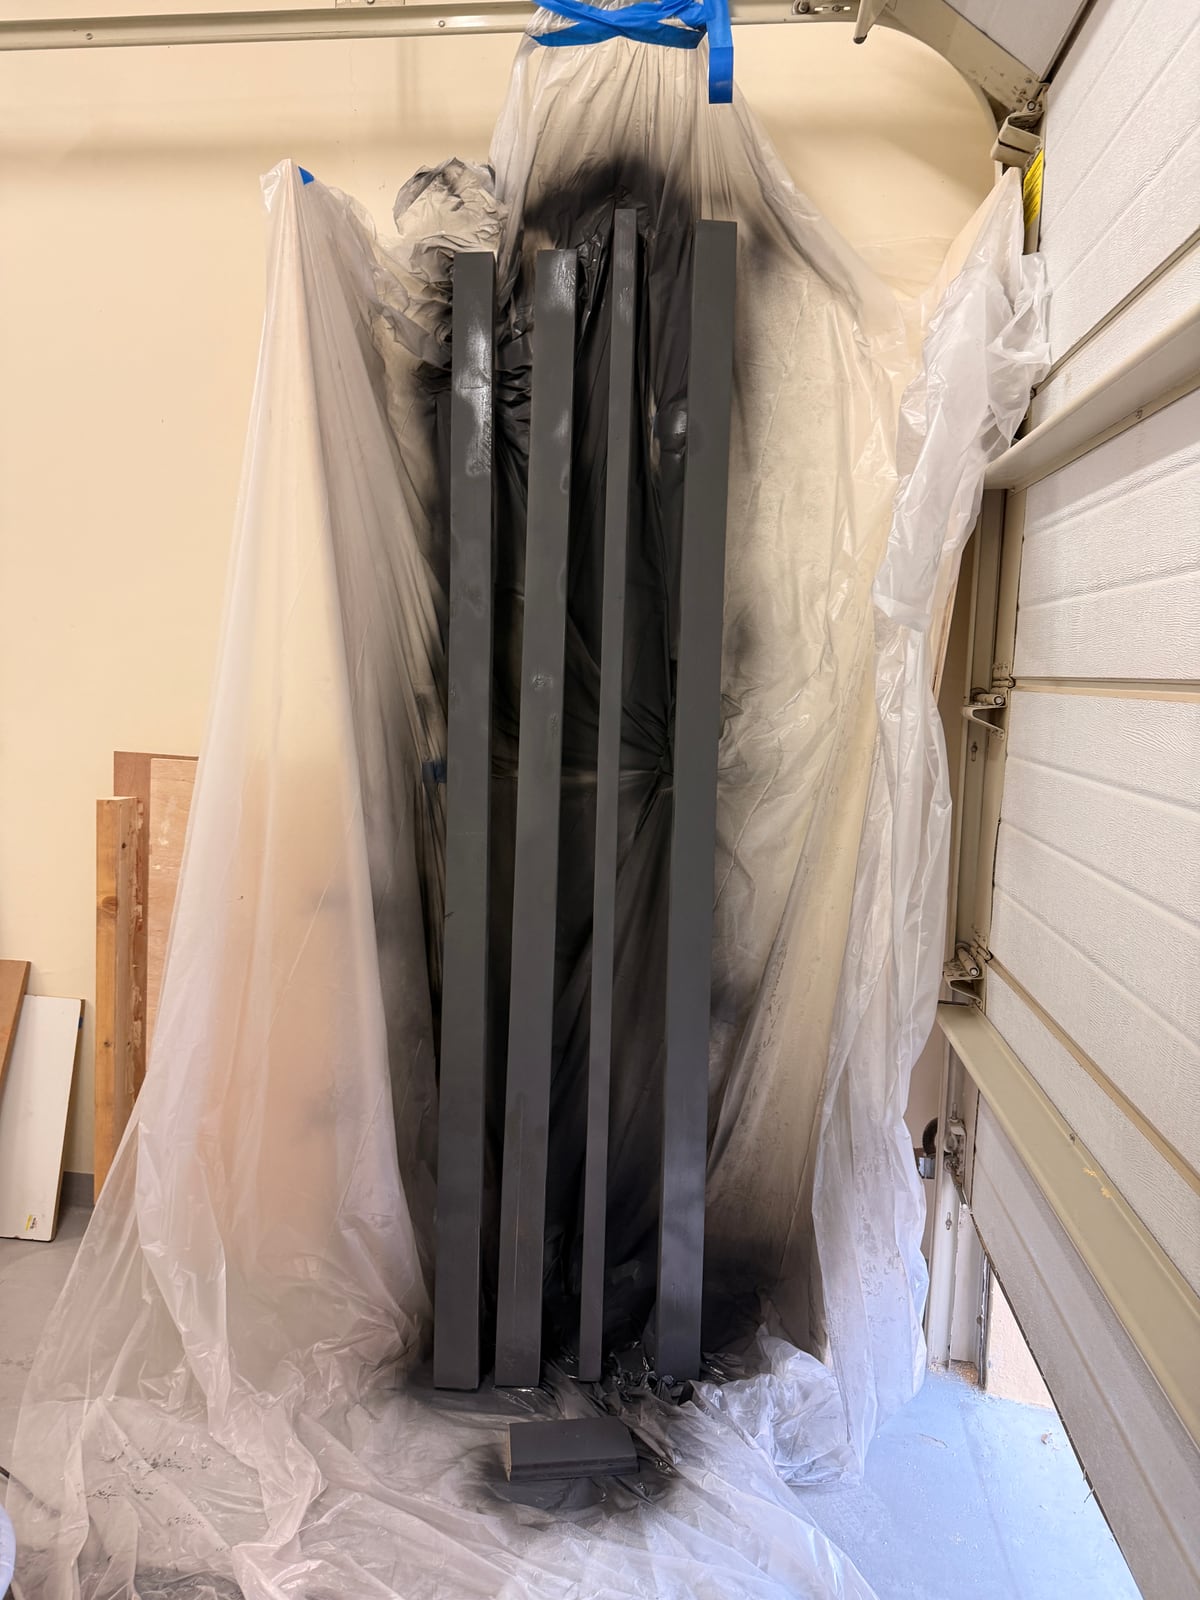
Boards, painted, drying. The most orderly this garage has ever looked.
Threaded inserts, and a floor that isn't flat
Planning the legs, I realised adjustable feet alone weren't going to make up the slope of my garage floor over a run that long: one side of the unit simply had to be built longer than the other. I also needed a proper way to mount those feet, which is how I discovered threaded inserts — a metal thread you sink into the wood so a bolt has something real to bite into.
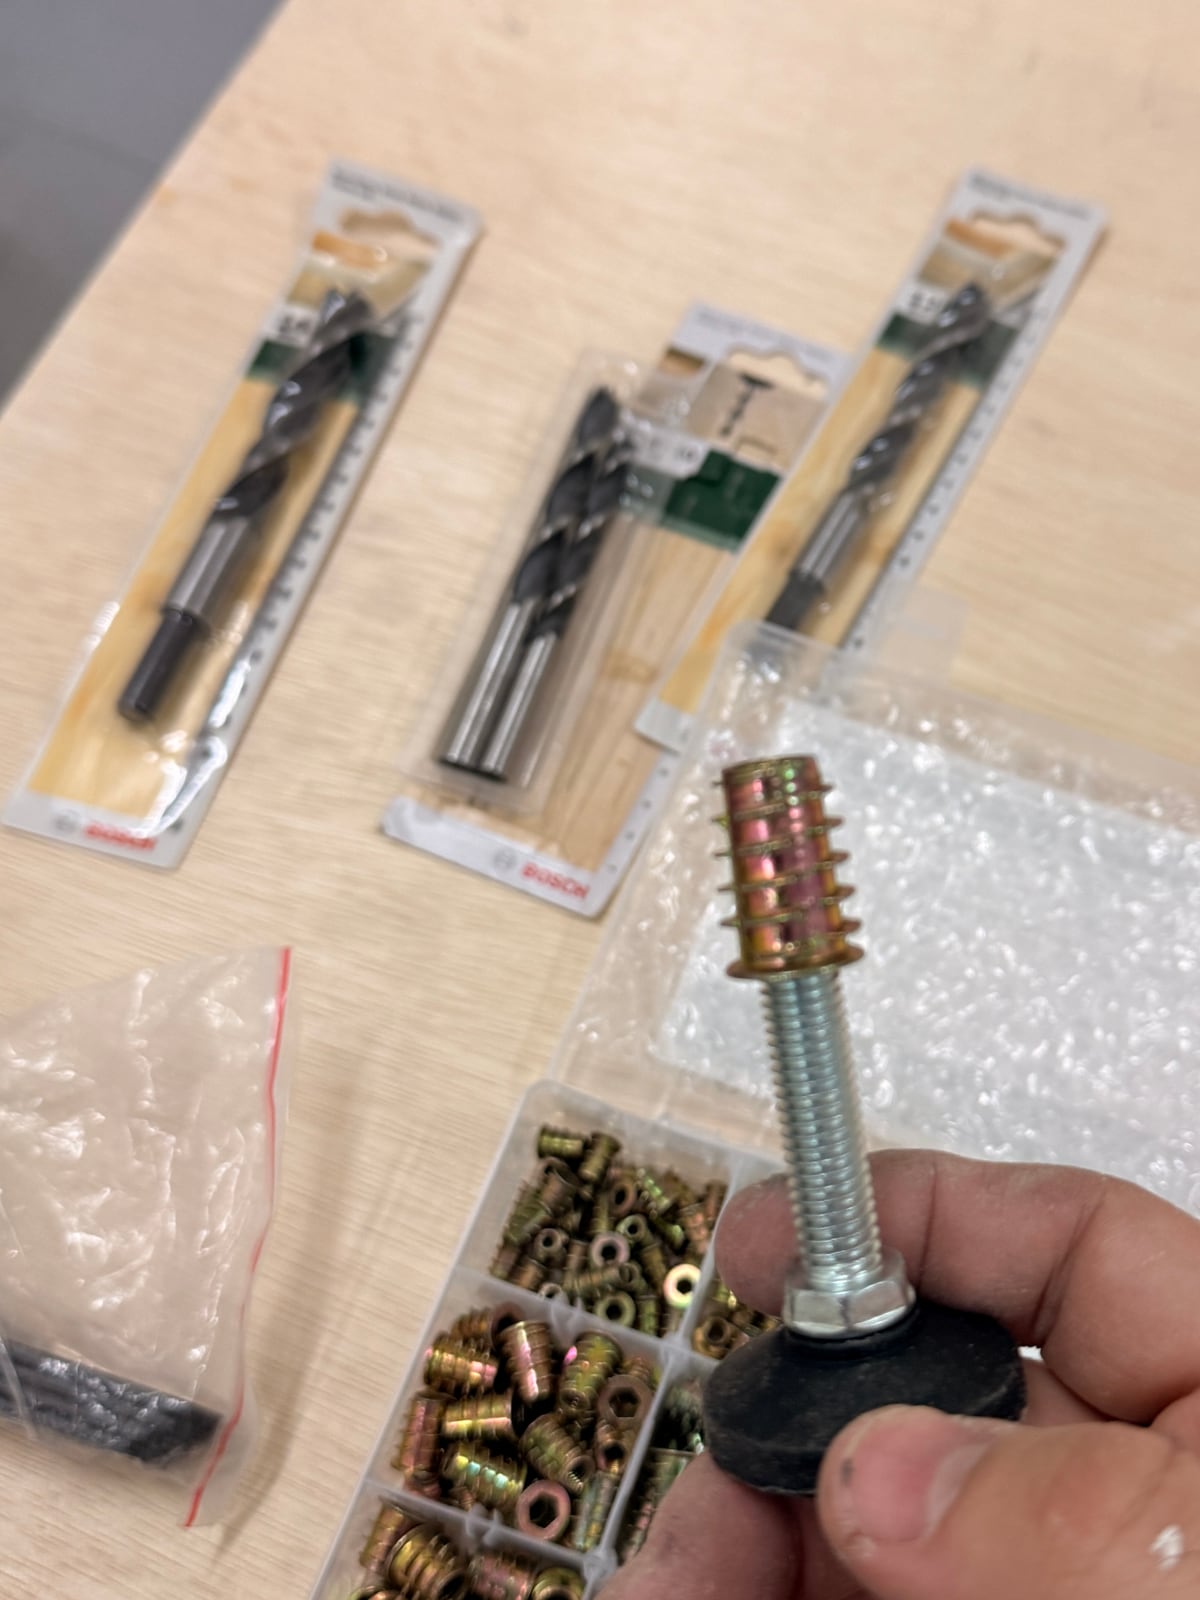
An adjustable foot, a box of inserts, and the bits to make the holes they go in.
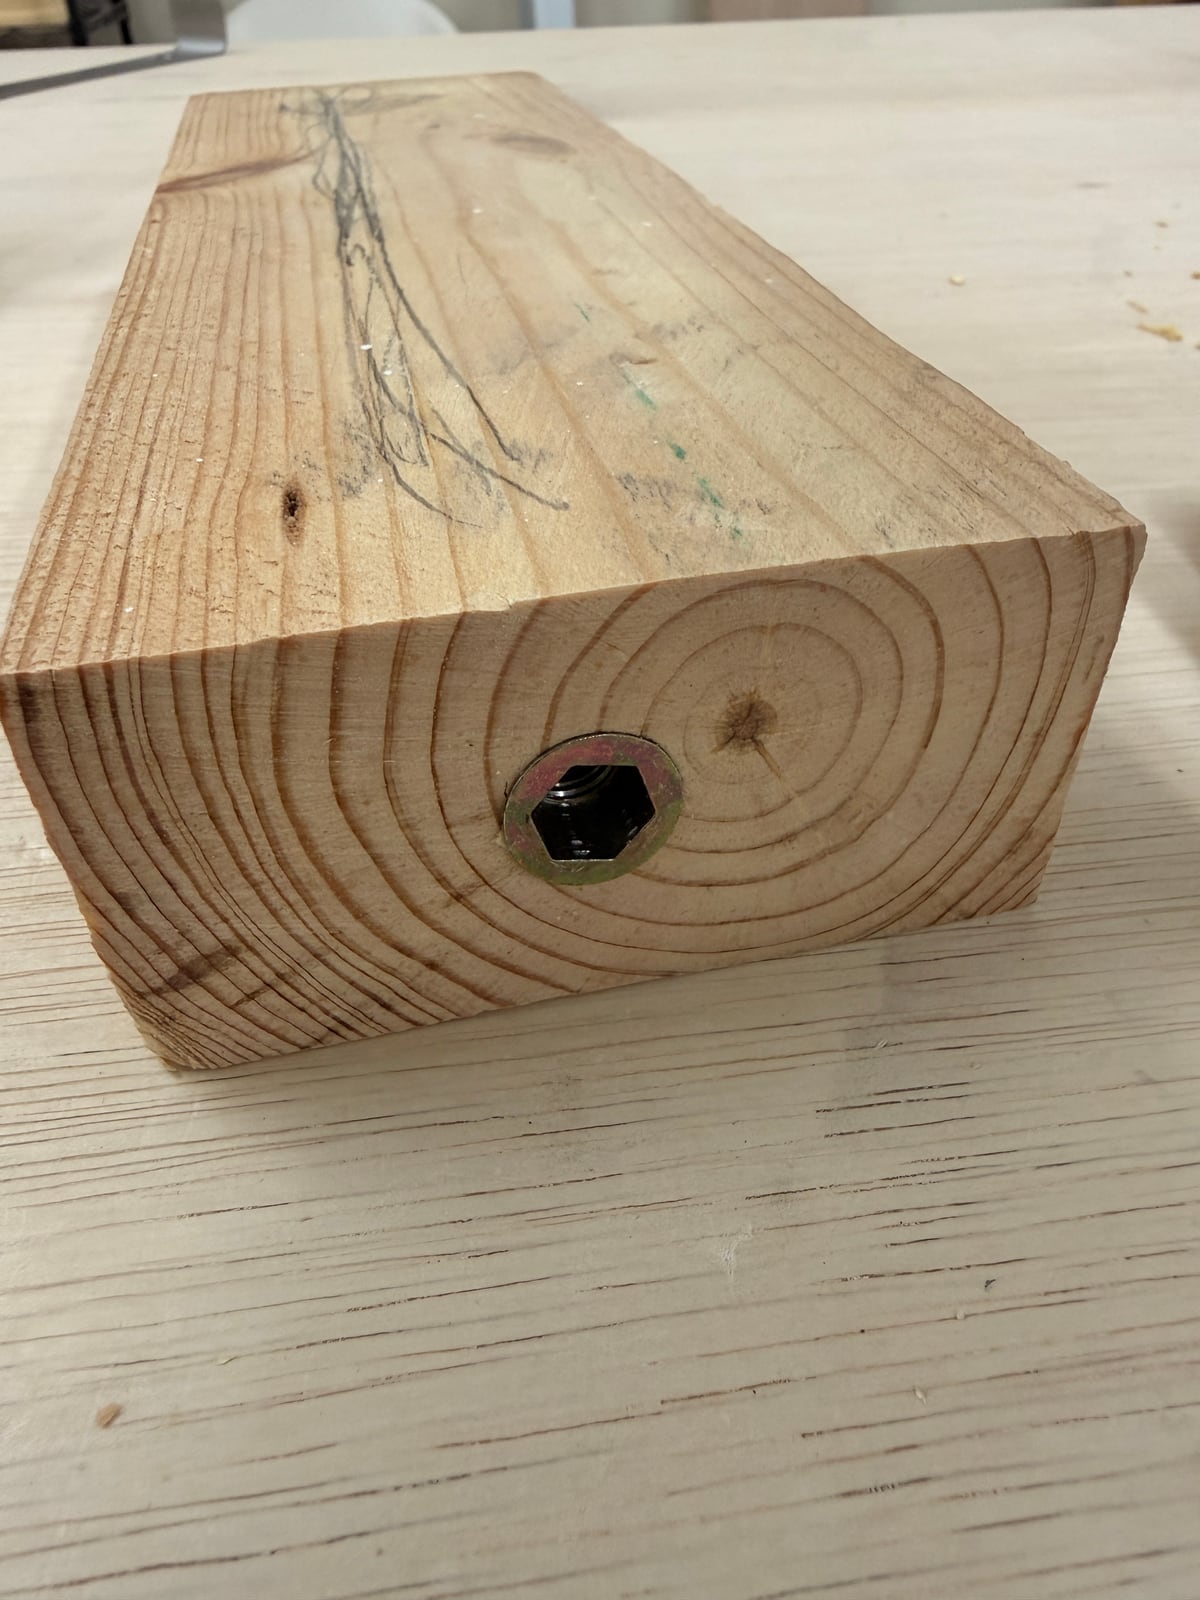
The insert, sunk into the end of a leg. Now the foot has something real to bite into.
An important tip, from the department of testing first: a threaded insert that has gone into a test piece is almost impossible to get back out. Test on scrap you're happy to lose, and buy a couple of spares. I had spares.
The result was worth it: a completely level frame, standing empty and square in a garage that is neither. Never underestimate how hard it is to get big things square.
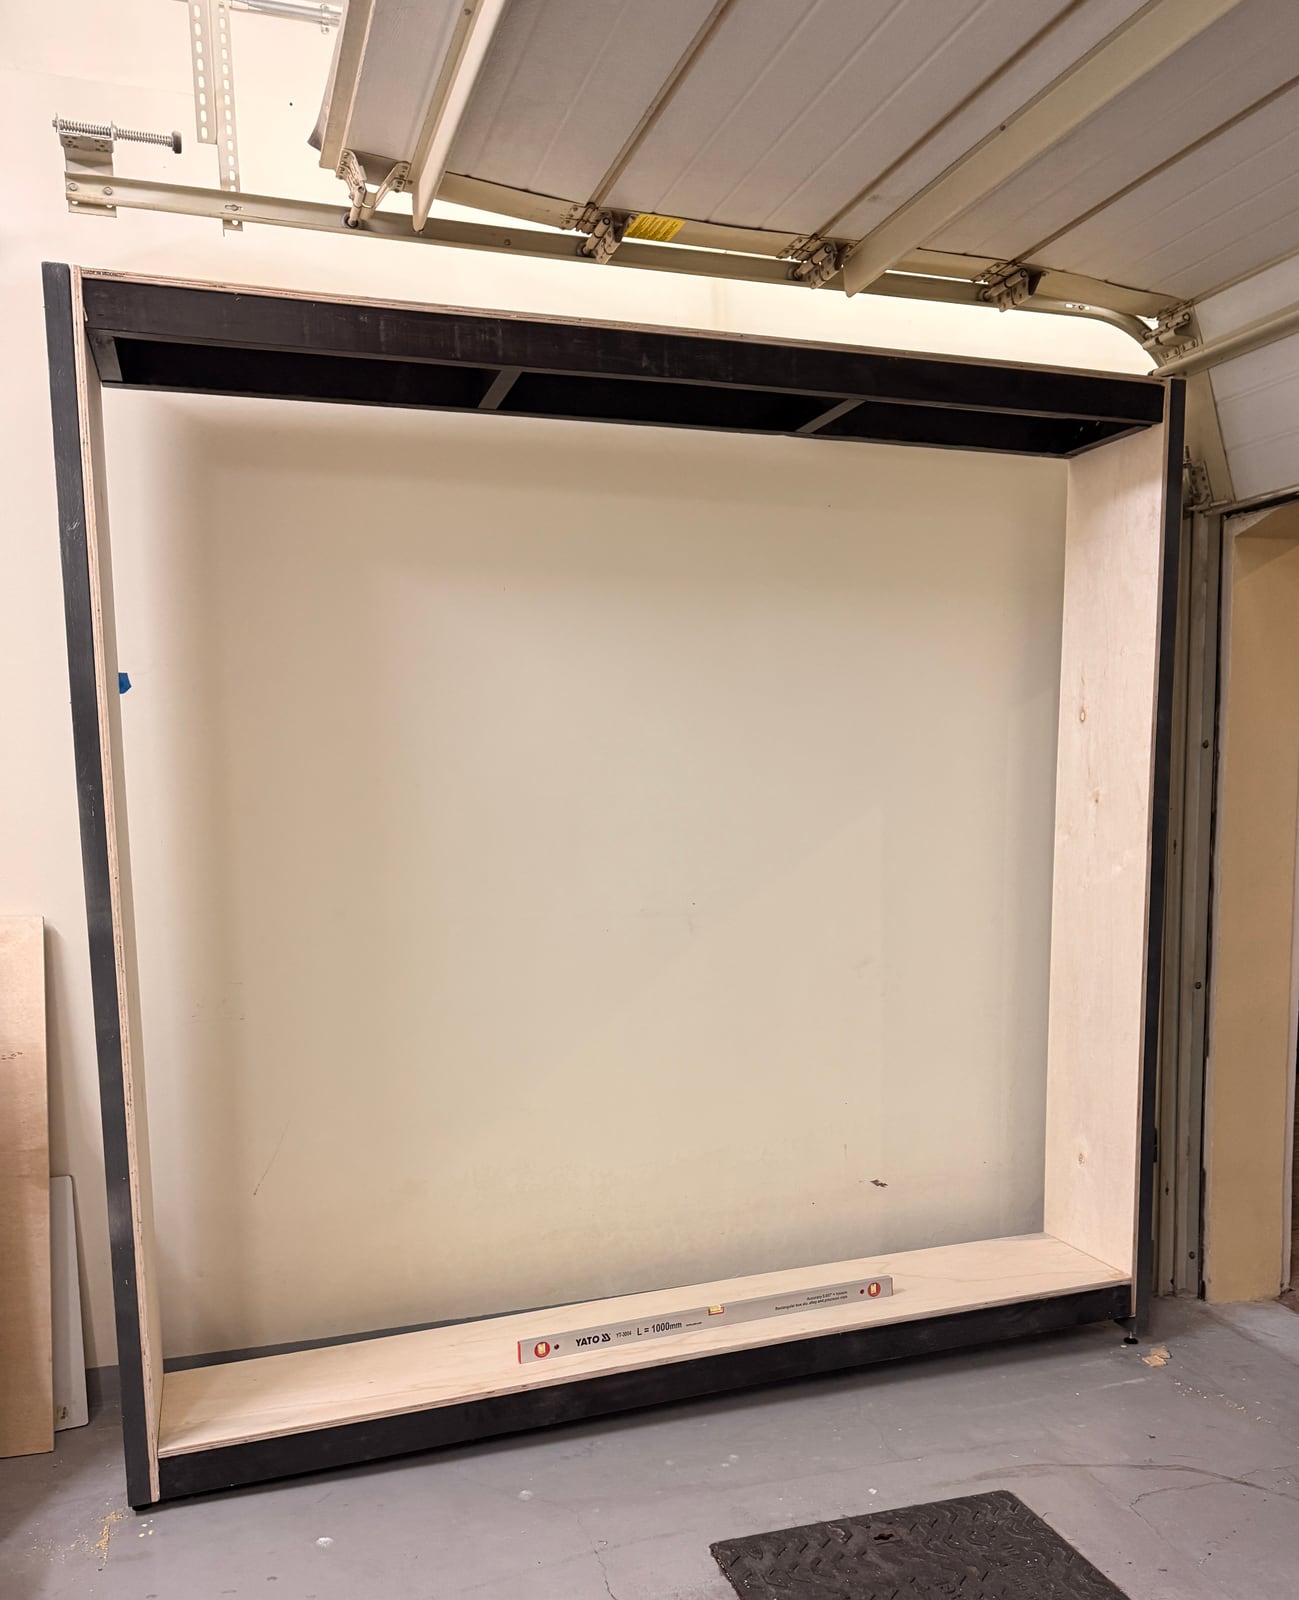
Level, square, empty. Three out of three.
After a lot of clamping, drilling and nailing, the shelves had shape.
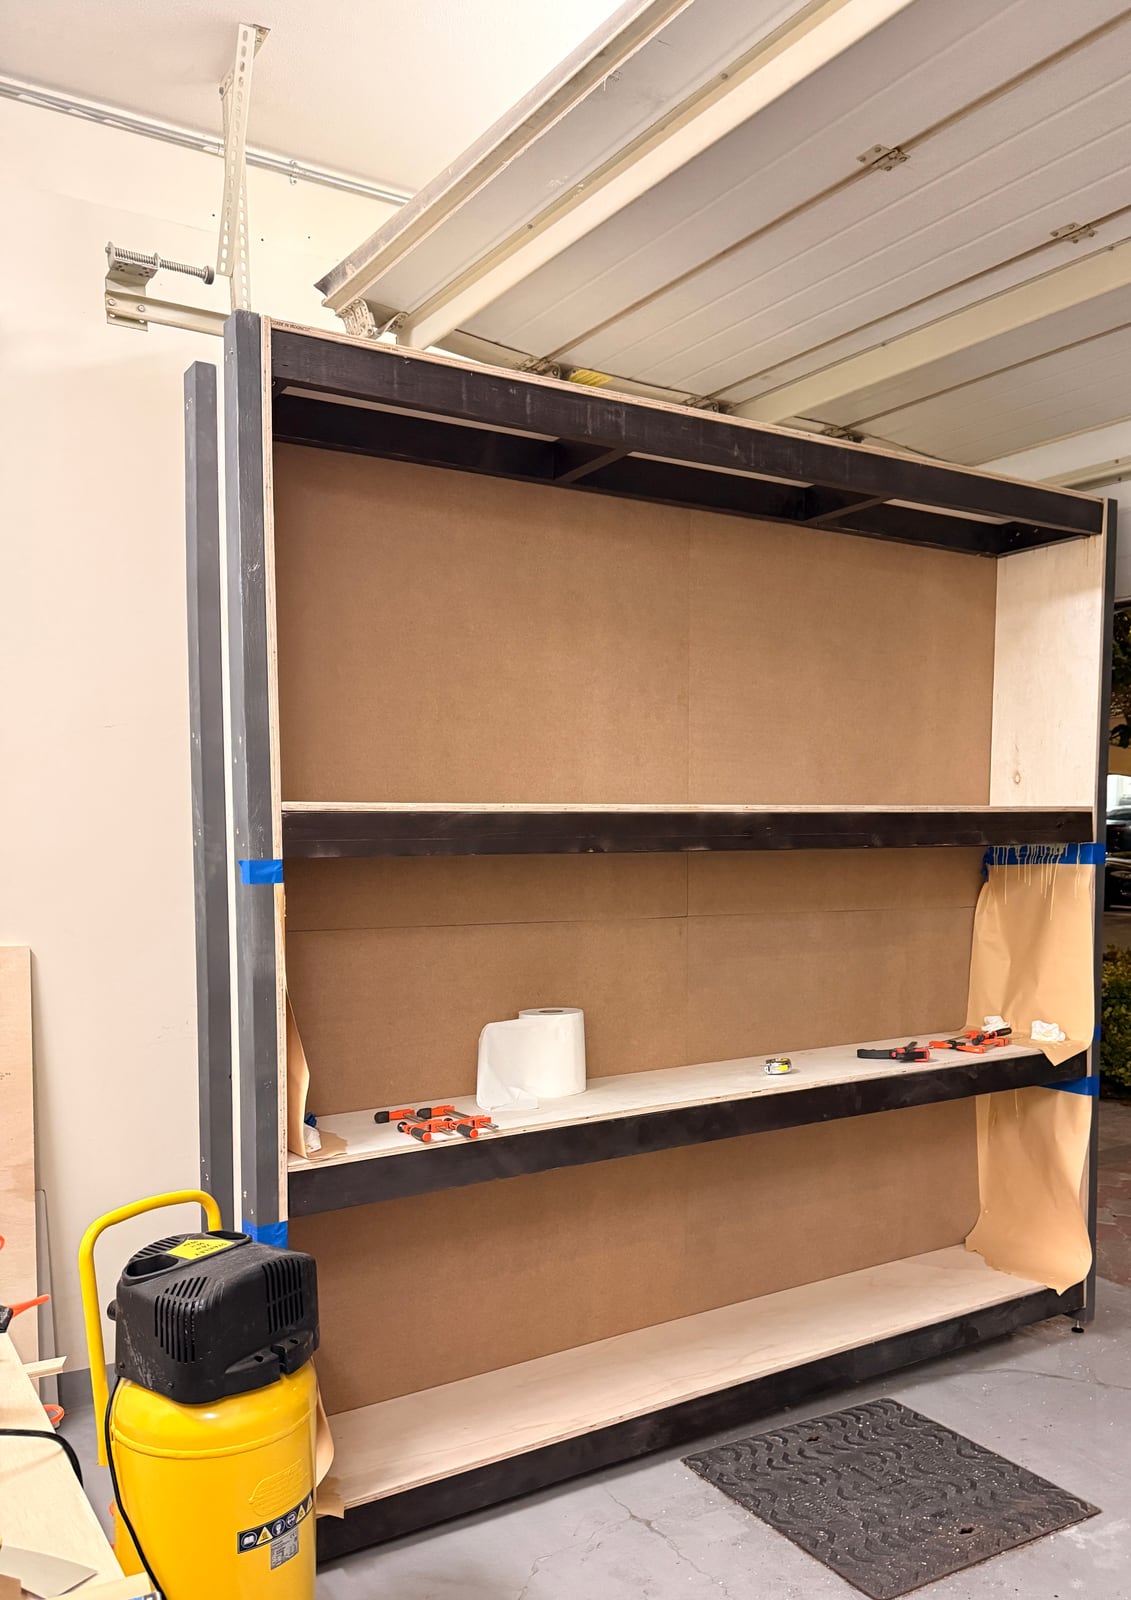
Shelves with shape. The floor is about to get its space back.
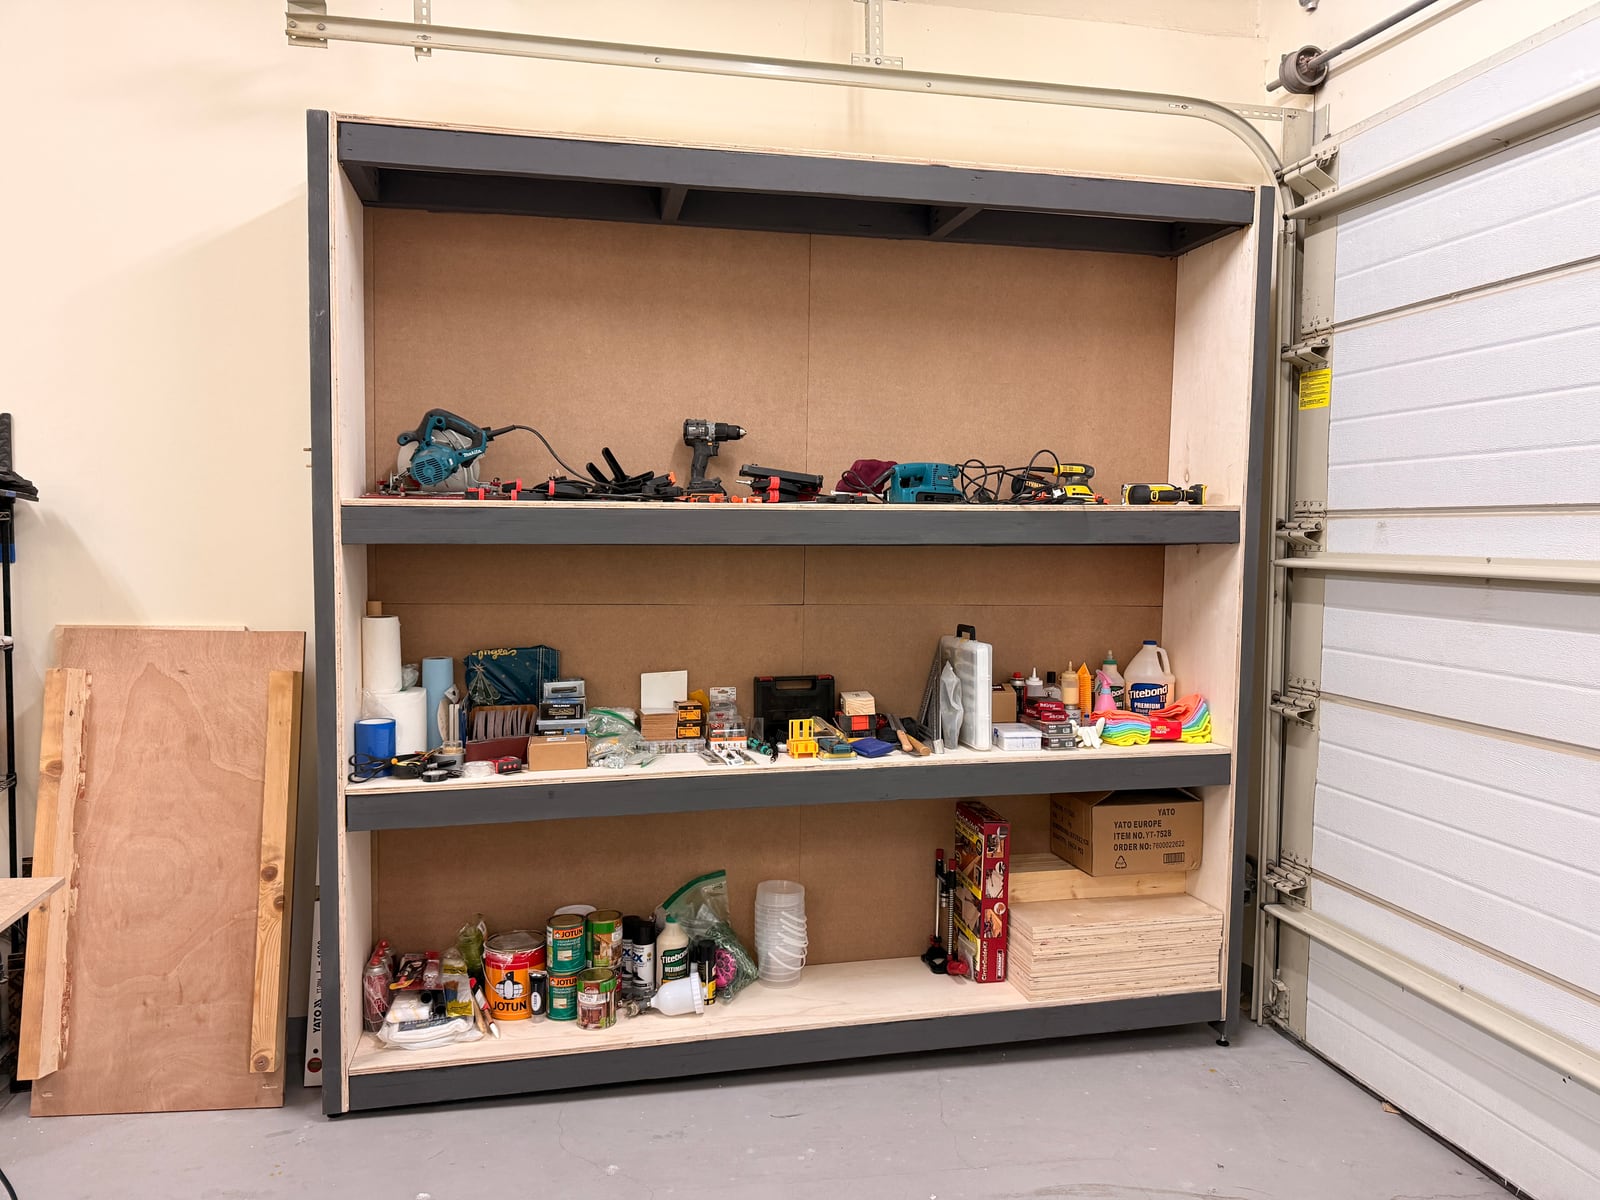
And filled, which took about a week and will never be finished.
There was still plenty to do to make proper use of them, but the result already exceeded what I'd pictured when I printed that mock-up.
One last build: the vac gets wheels
After living with the dust setup for a while, I built the shop vac its own wheeled cart, so it could follow me around the garage — and, more importantly, be shoved into a corner whenever the car needed to come in.
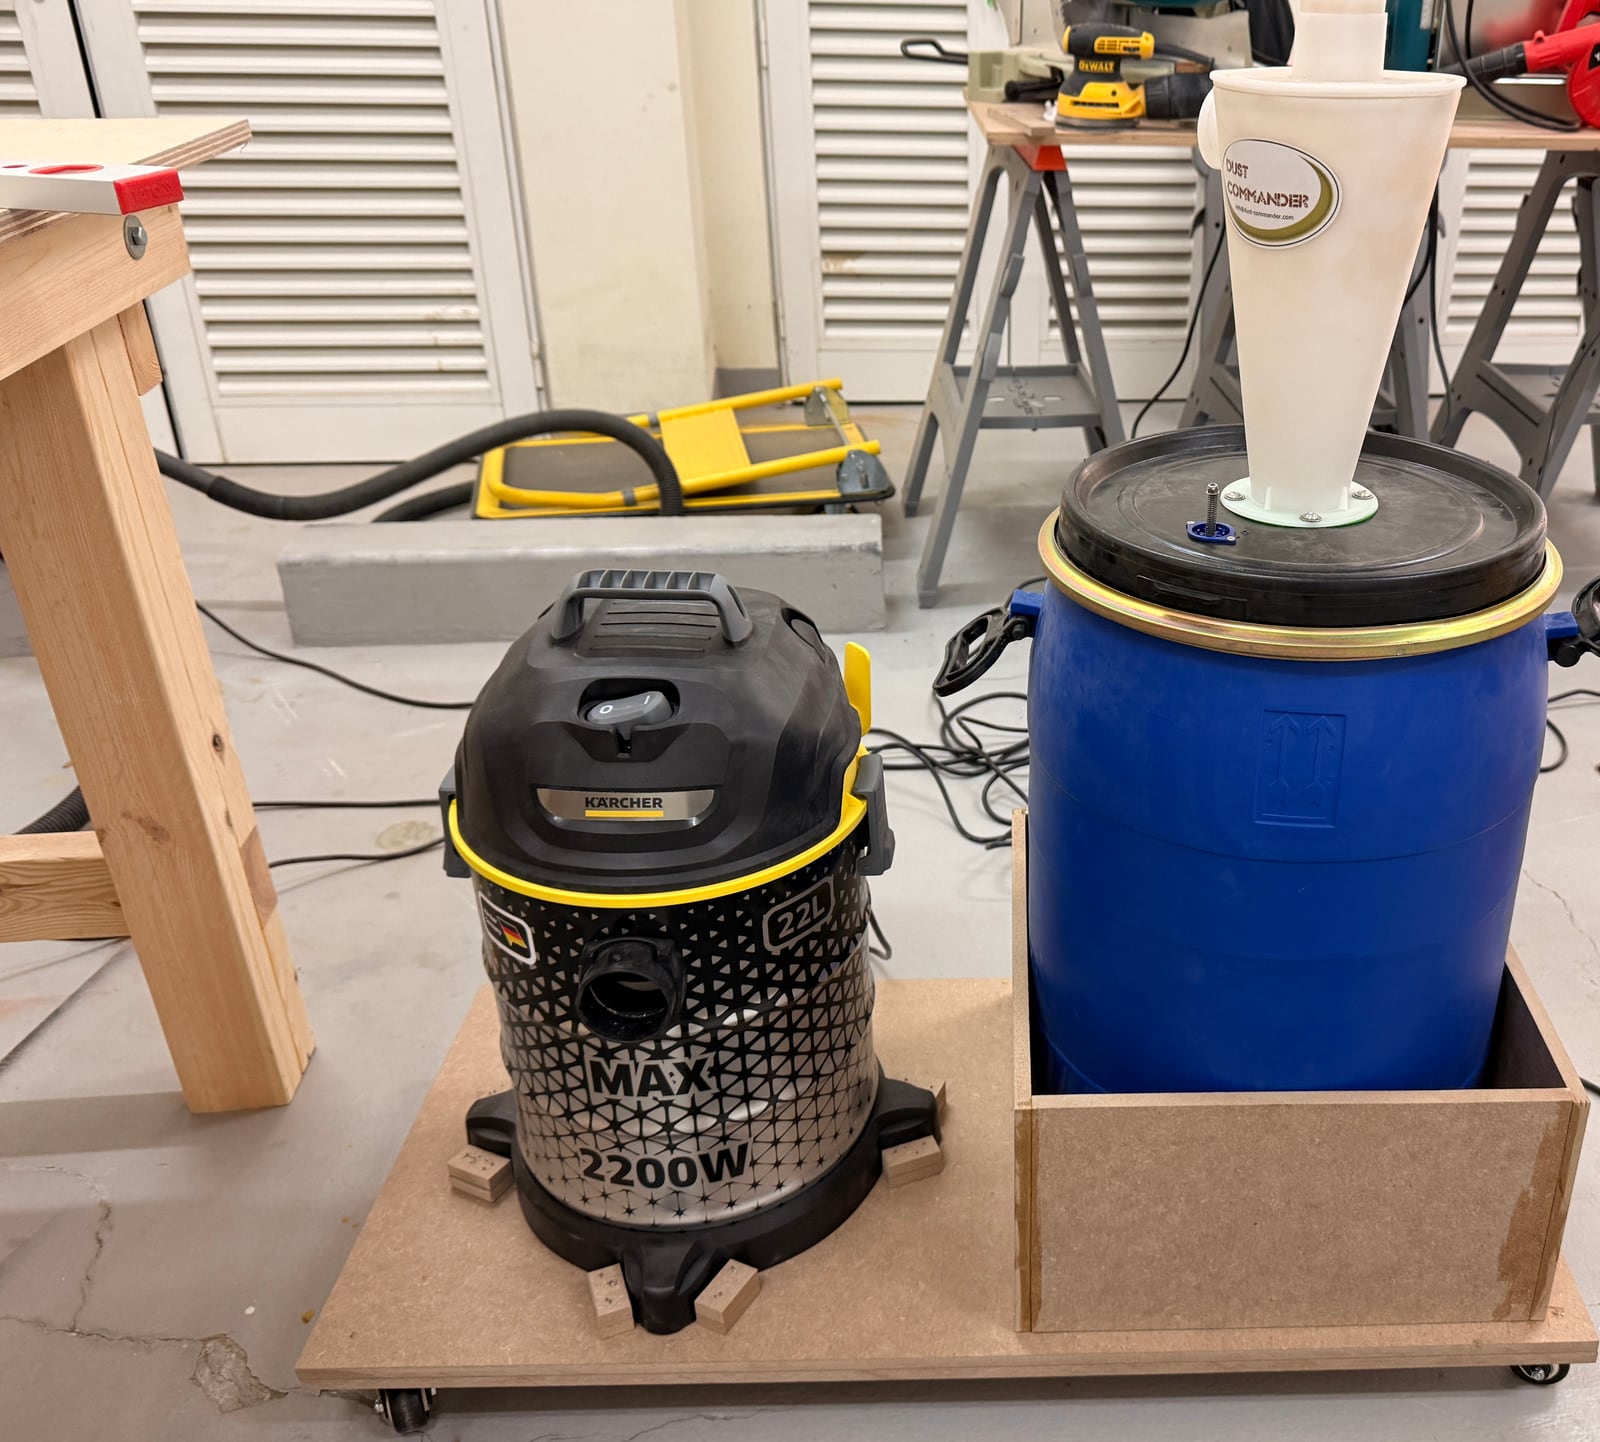
The vac, the barrel and the cyclone, finally mobile and out of the way.
Do I now officially have a shop?
Firsts in this build
- Cutting with a miter saw
- Building a workbench
- Using plywood
- Using MDF
- Threaded inserts
- Dust collection, and a cyclone separator
- Checking a blade for square with a digital angle gauge
- Using a brad nailer
- Spraying paint with a compressor
In the wiki
- Miter SawA pivoting circular blade purpose-built for crosscuts and angle cuts -- ask anyone who's tried to crosscut trim on a table saw why this tool exists.
- JigsawA narrow blade sawing up and down through a flat shoe -- the cheapest way to cut a curve, and the one tool that can start a cut in the middle of a panel.
- Dust CollectorMachine-level dust extraction, not a shop vacuum -- the difference is airflow volume, and it's the difference between a clean shop and one coated in fine dust.
- Blast GateA sliding plate in a dust line that opens and closes one branch -- how you send all the suction to the tool you're using, and how you stop a cyclone crushing its own bucket.
- Cyclone SeparatorA cone that spins chips out of the airstream and drops them into a bin before they ever reach your vac -- the single biggest upgrade to a shop vac, and a reliable way to crush a bucket.
- Threaded InsertsA metal insert that gives soft, grain-inconsistent wood a real machine-thread socket -- so a bolt can be removed and reinstalled dozens of times without chewing up the hole.