

Never Tell Me the Odds
My butcher block ran on luck. Yours doesn't have to.
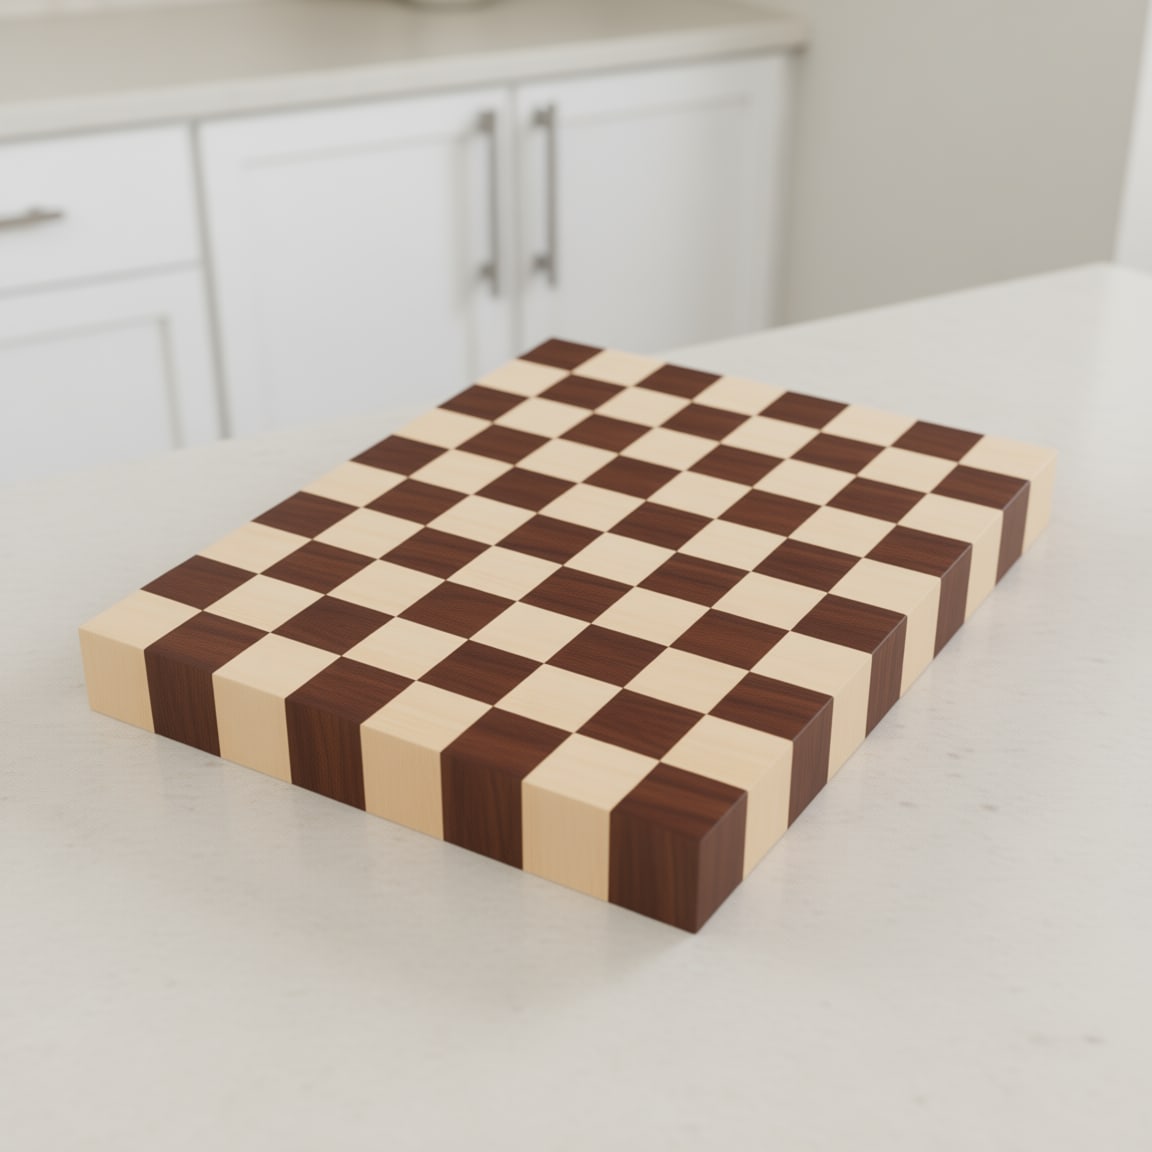
Here's an uncomfortable truth about my end grain butcher block: it came out great, and almost none of that was planned.
Luck is a terrible project manager
An end grain board looks like a woodworking project. It's actually a spatial reasoning test with a glue bottle. Rip strips, glue them into a panel, cut the panel into rows, stand the rows on end, flip every other one, glue again. Every calculator online will give you a number for each of those steps. Not one will tell you which face ends up where after the flip, which is the only question that matters. A number is not a plan. It's a number.
So I pictured it. Badly. Every piece has six faces, and I could keep track of about two.
Then there's the waste. How much extra should you buy? The internet answers with a percentage, and a waste percentage is a polite way of saying "we don't know either." I skipped the question entirely: I'd bought the walnut before I knew what I was going to make with it, which is like booking the honeymoon before the first date. Whether I had enough got answered one cut at a time. Never tell me the odds.
The final size wasn't a measurement. It was a vibe. Big. Chunky. That way-ish. I found out how wide my panel actually was the day it didn't fit in my router sled. That isn't planning. That's archaeology.
And it all worked out. That's the problem with luck: it works just often enough that you keep relying on it.
So I built a tool that doesn't need any.
Please excuse the crudity of this model
Doc Brown apologised for his model of the town square: he didn't have time to build it to scale, or to paint it. The cutting board designer builds yours to scale and paints it, before you've spent a cent on walnut. Here's the tour.
Pick a style by looking at it
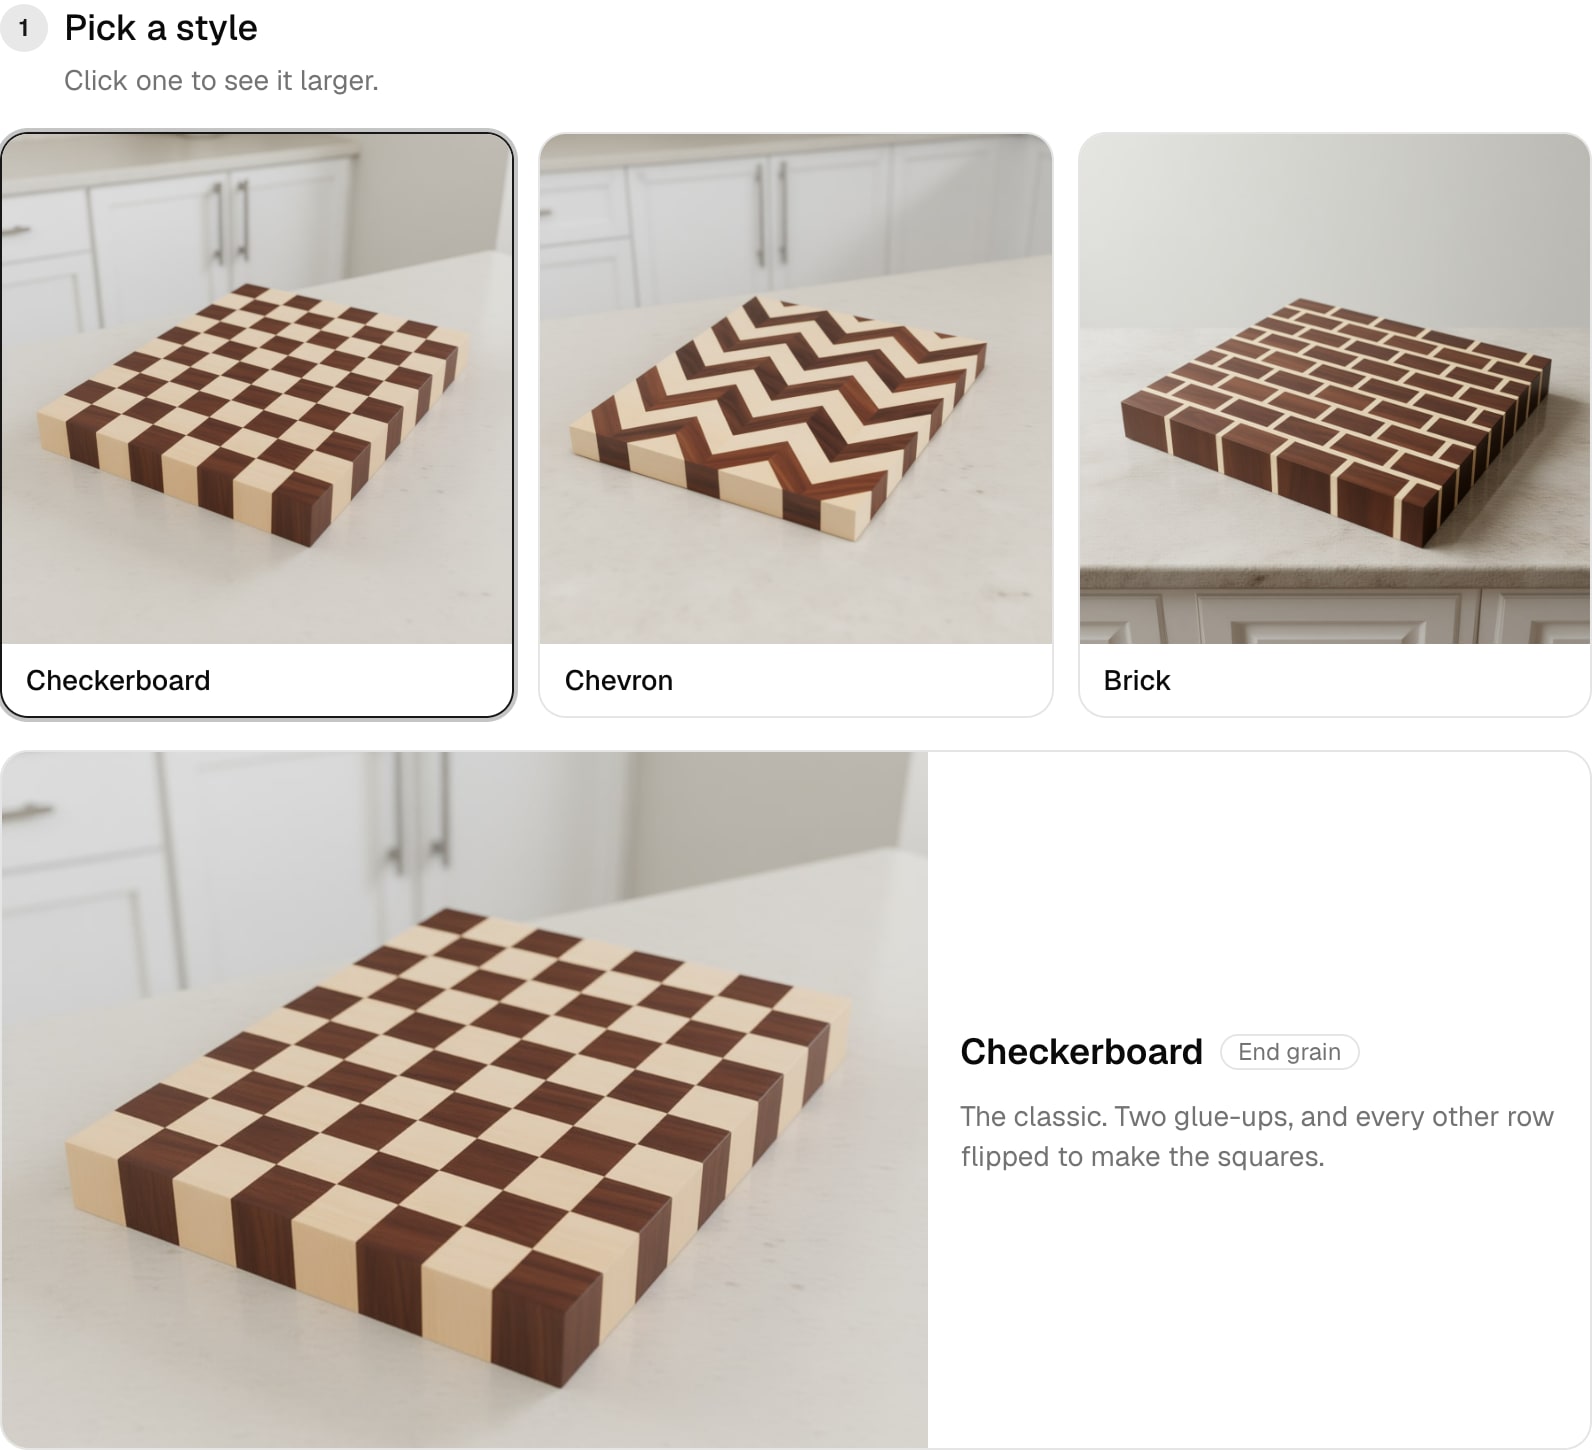
Three styles. Zero TikTok miracles required.
Checkerboard, chevron or brick, each shown finished. They're renders made from the designer's own 3D model, so what you pick is exactly what it will tell you to build. No "as seen on TikTok" board that turns out to need a CNC machine and a small miracle.
Pick two woods
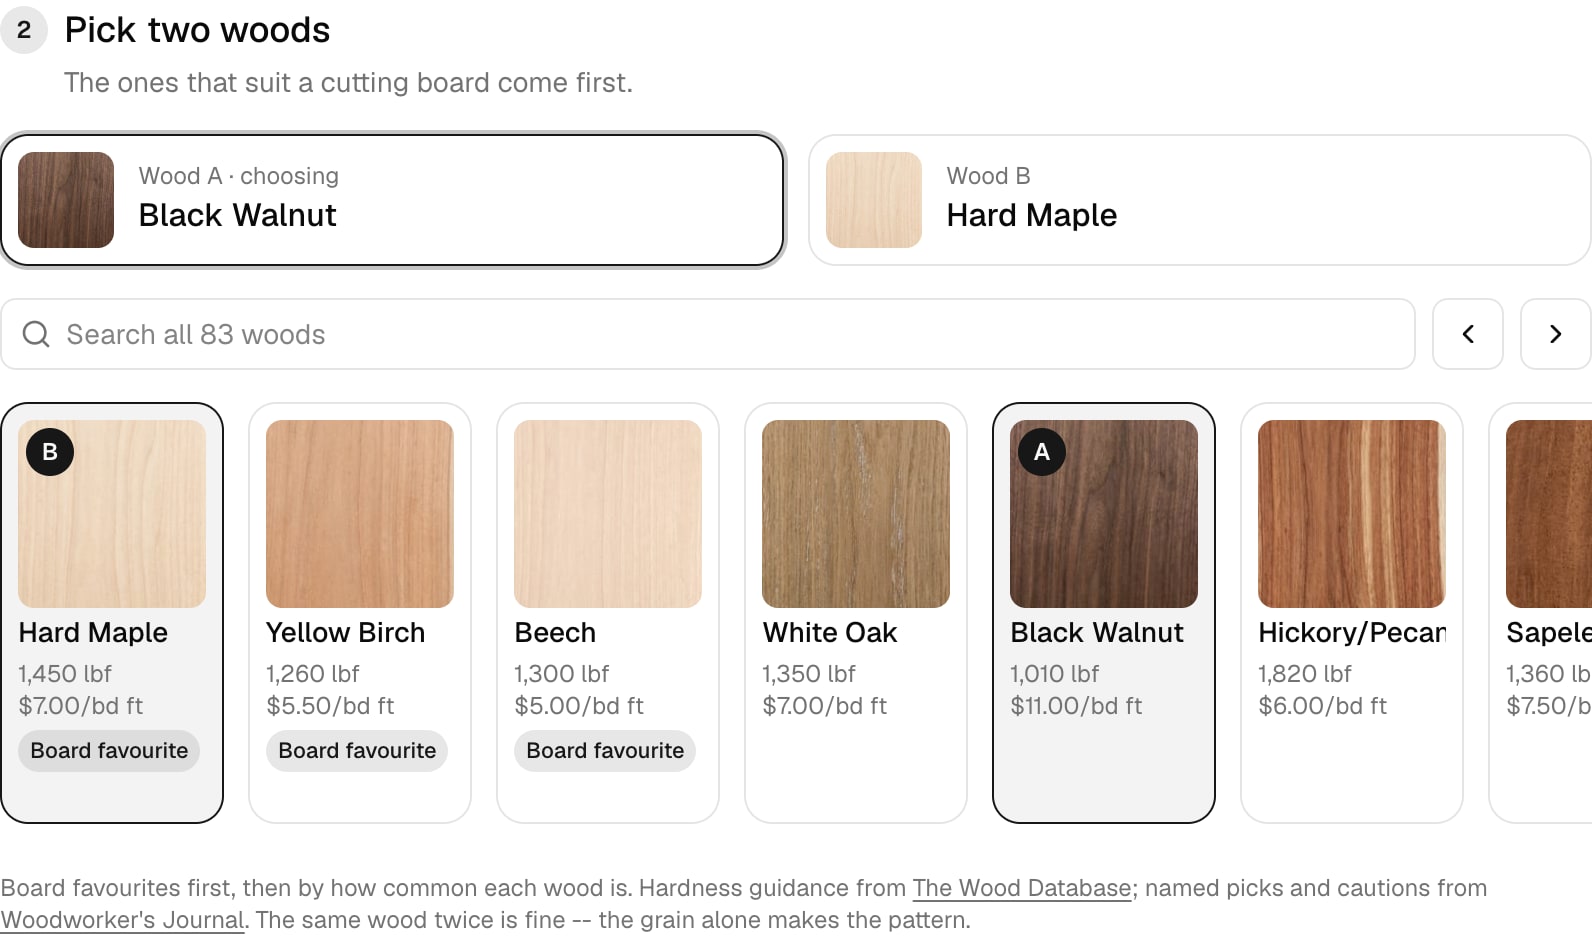
Favourites first. Warnings where they're earned.
The woods that actually suit a cutting board come first, with hardness and price on every card, and the rest follow by popularity. A few carry a warning, because pretty and suitable are not the same thing: red oak looks great, and its open pores hang on to juice and crumbs.
Size it in squares, and watch it change
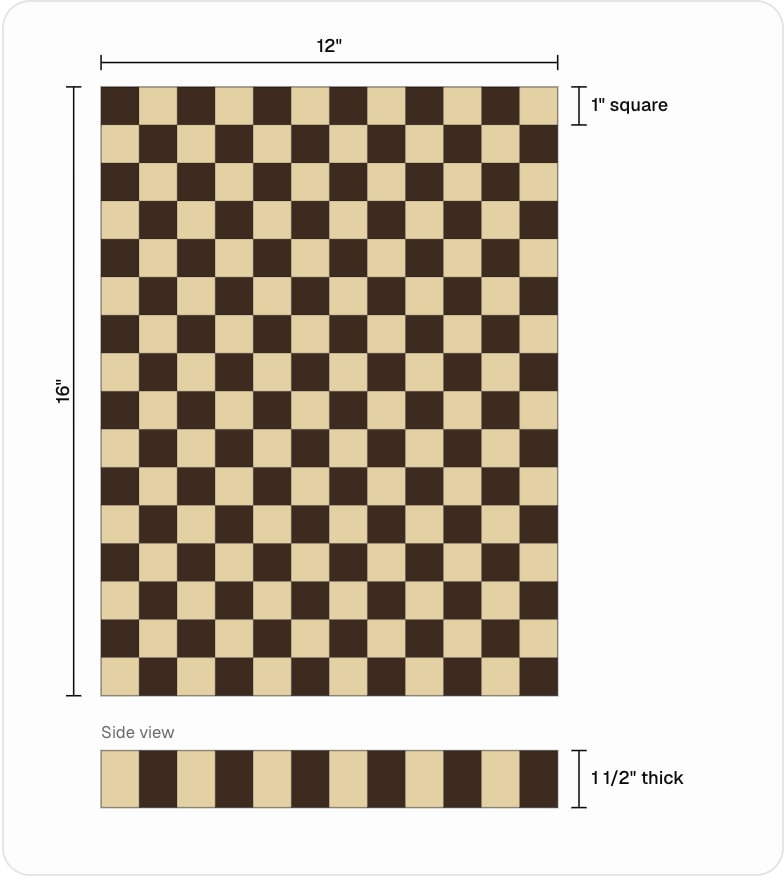
To scale, and painted.
You size it the way you'd say it out loud: twelve squares across, sixteen down, inch squares, an inch and a half thick. Nobody has ever walked into a lumber yard asking for "a row height of one inch." The drawing redraws as you type, with every measurement on it and a side view underneath, so when you make it thicker you watch it get chunkier. There are presets too, including one called "butcher block". Of course there is.
Then turn it over
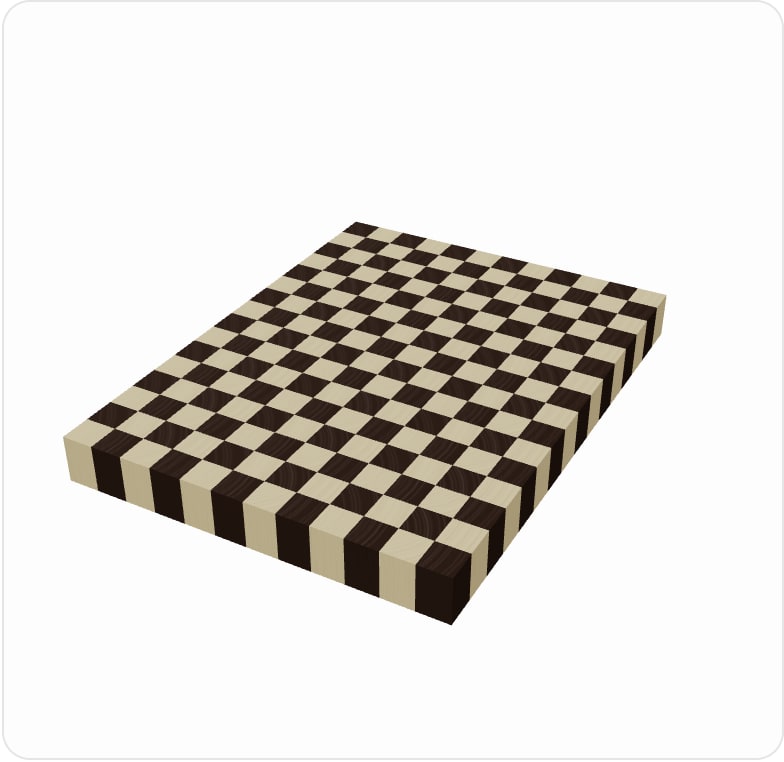
Same board, one more dimension.
Flip to 3D and it builds the board block by block, end grain and all. Drag it around, turn it over. Strictly necessary? No. The first thing you'll play with? Absolutely.
The flip, finally explained
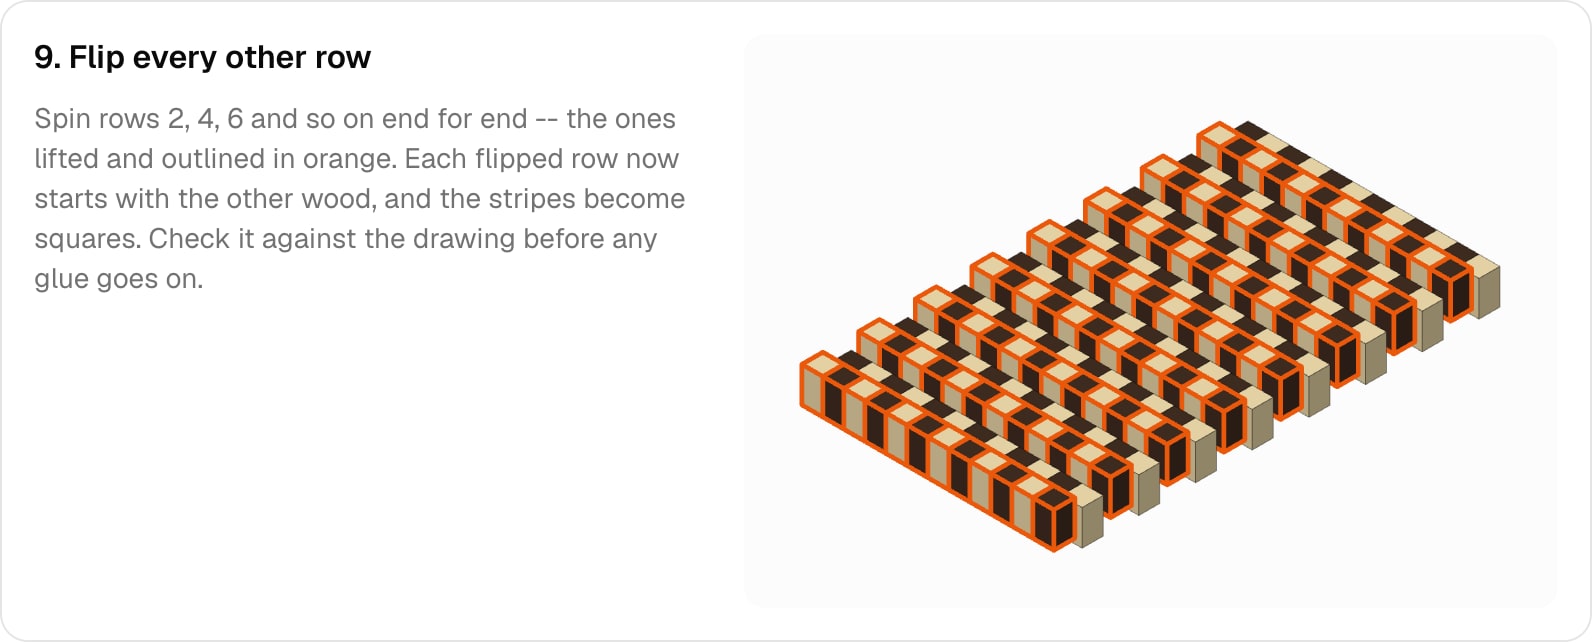
The step that broke my brain, in orange.
The build guide draws every step with your woods, your sizes and your strip count. When it gets to "flip every other row", it lifts the rows you flip and outlines them in orange. That's it. That's the entire secret, and I needed a picture of it.
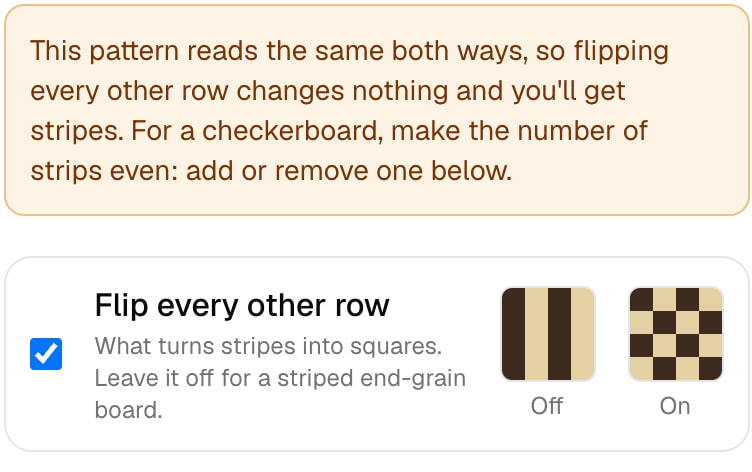
The warning I needed in November.
Pick an odd number of strips and it warns you that flipping will do nothing, because the pattern reads the same both ways. Better to find that out now than after the glue dries.
Chevron: pick your pain
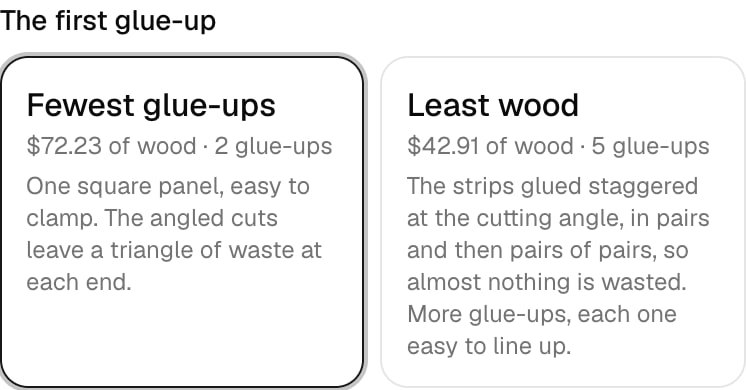
Both endings have a cutting board. Only one has walnut left over.
Chevron boards get a fork in the road. Glue the striped panel up square: two glue-ups in total, and a triangle of waste at each end. Or glue the strips staggered at the cutting angle: about 40% less wood on a 12 × 16 board, but you glue them in pairs, then pairs of pairs, and two glue-ups become five. The tool puts both side by side, in dollars and in glue-ups, because "least wood" sounds free right up until you count the clamping sessions.
What to buy, and the odds
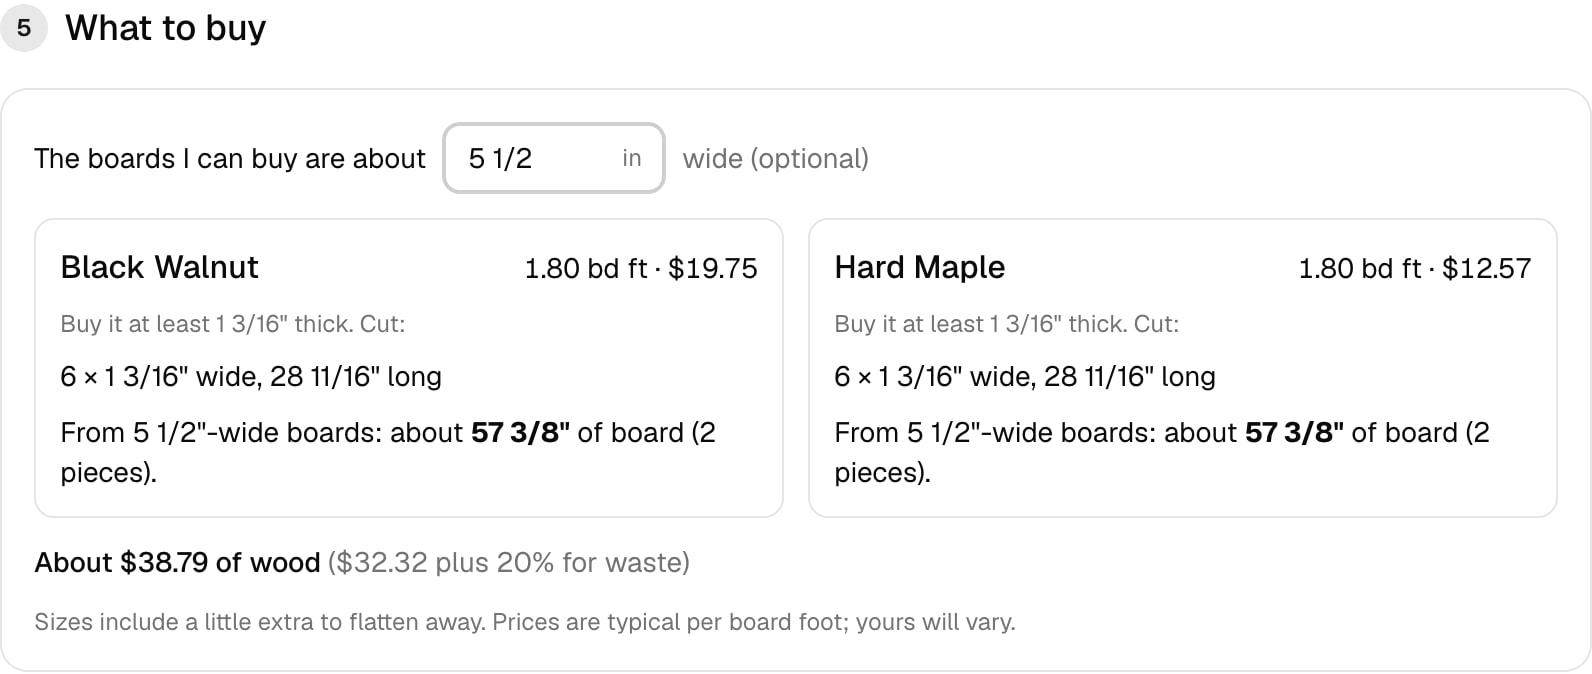
The odds, whether you want them or not.
Remember the odds I didn't want to hear? It tells you anyway: every wood, every piece, 20% on top for waste, and if you tell it how wide the boards at your lumber yard are, how much board that actually is. You find out you're short of walnut before the first cut, not after the last one.
Then it walks you through the whole build, one drawing per step, with the tips I learned the expensive way sitting right at the step where they bite. Use more glue than feels necessary. It even tells you how big a router sled you'll need before you glue anything up (ask me how I know that matters). Print it for the shop; the laptop can stay inside, away from the sawdust.
Wax on, wax off
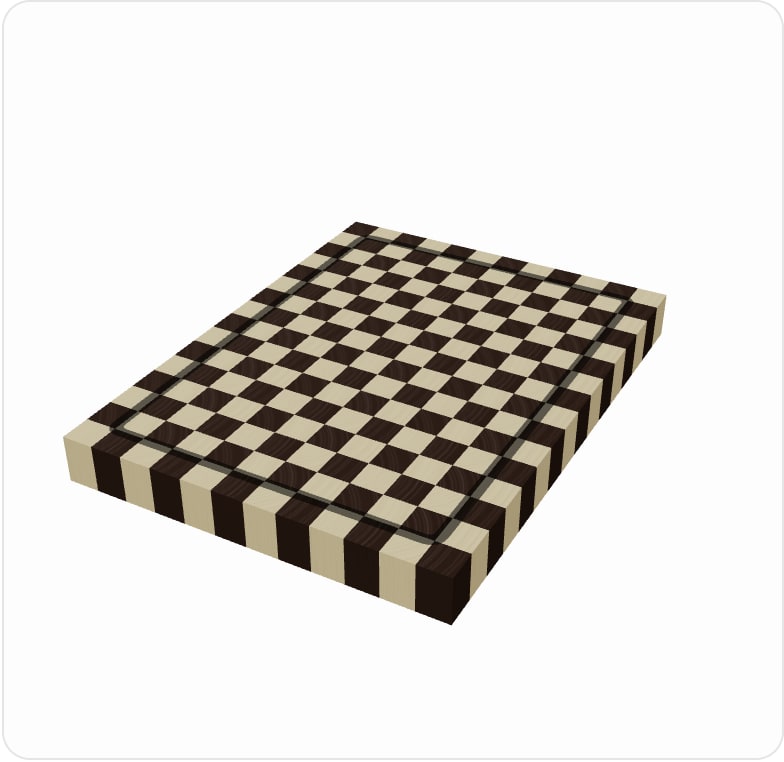
Groove on top. Feet underneath. Trust me.
Last, tick the finishing touches: a juice groove, wax, rubber feet. They show up on the drawing, on the 3D board and as steps in the guide, in the right order. Wax on, wax off. The juice groove is for braver people than me. I skipped mine and decided I'd just overcook the meat.
It's the tool I needed in November. Now it's yours.
Life moves pretty fast. If you don't stop and plan once in a while, you could run out of walnut. So go design a board, and if you build one, I want to see it.
You're still here? It's over. Go to the garage.
In the wiki
- End GrainThe cut end of a board, where the fiber tubes point straight at you -- thirstiest surface for glue and finish, toughest for a cutting board.
- Glue-UpThe actual assembly step where glued parts get clamped together -- distinct from the glue itself, this is the whole time-pressured process of getting it right before the glue sets.
- RouterOne tool, absurd range: swap the bit and it'll round an edge, cut a dado, hollow a mortise, or trim laminate flush, all at a speed that demands you pay attention.