

Pine Is Fine. I Bought Walnut Anyway
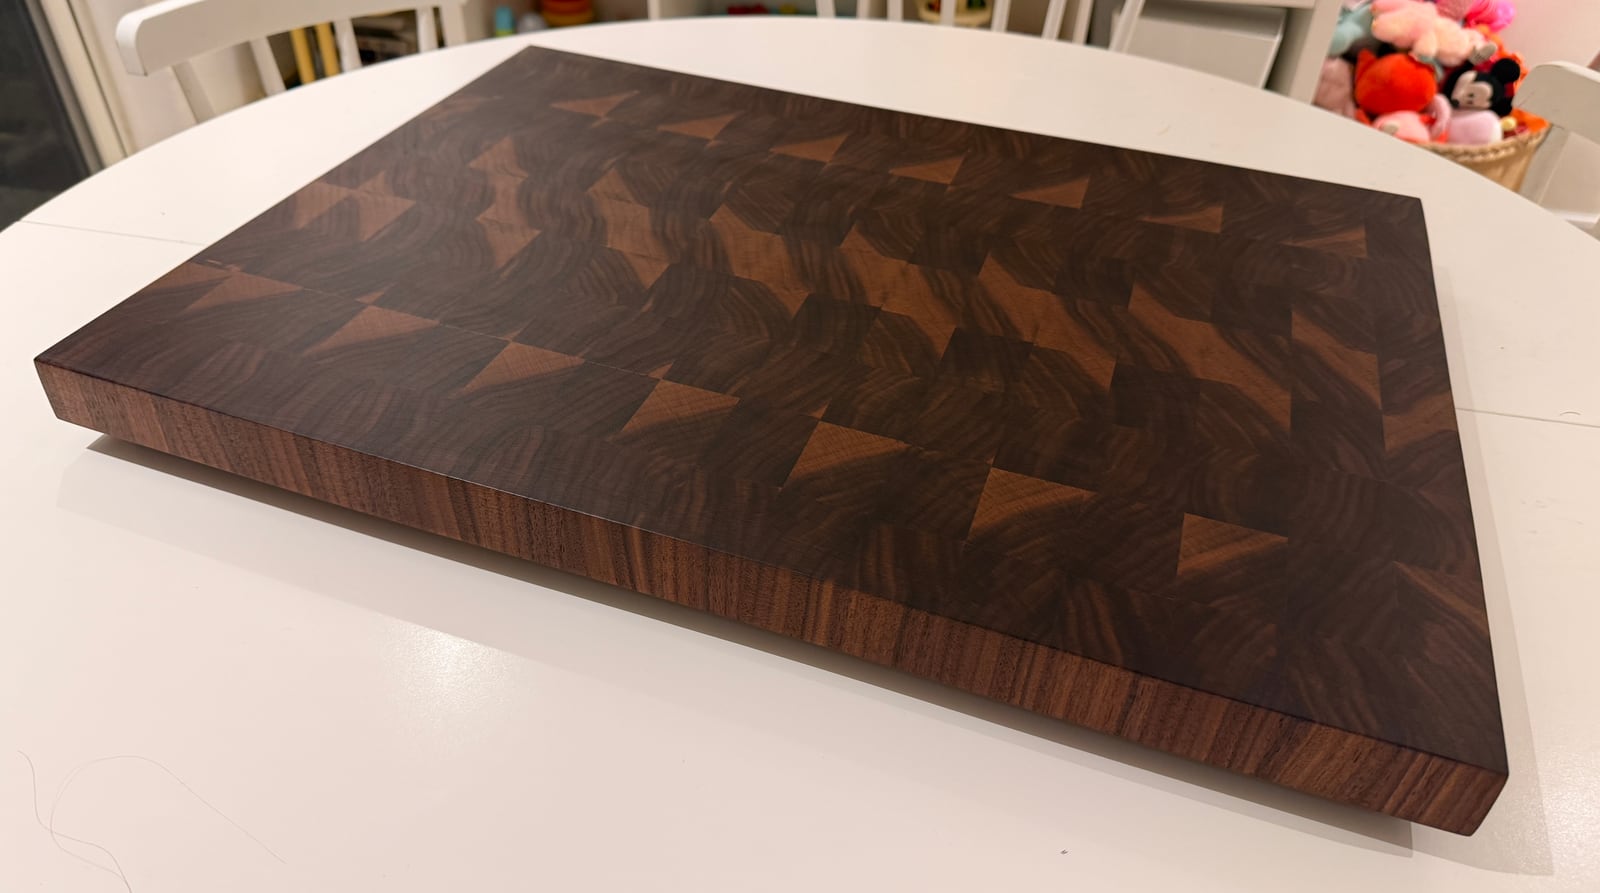
When I got into woodworking I watched a lot of YouTube, and a lot of that YouTube was Foureyes Furniture. He always seemed to be working with walnut, and somewhere along the way I decided that's what real woodworkers do: they work with hardwood. Matt Outlaw from 731 Woodworks will tell you that "pine is fine," and he's probably right. But after one pine side table, sticking with pine felt like the kids' version of the hobby — like going to a fancy restaurant and ordering the chicken tenders and fries.
So I went looking for hardwood here in the Middle East, which turned out to be less a shopping trip than a side quest. This is not the US Pacific Northwest. There's no store where you walk in and browse the hardwood aisle. The best Reddit could offer was to drive around an industrial area and start asking. So one Saturday morning, that's exactly what I did — until I found a place that specialised in veneers, where someone mentioned they had "some boards" lying around that they could sell me, if I wanted.
The boards marked "Test"
They led me past the stacks of MDF and plywood to a corner of a little room at the back of the warehouse, where a few boards were leaning against the wall.
If the dimensional lumber from my side table wasn't exactly S4S, I didn't have a word for this. These boards were rough. They also had the word "Test" chalked on them. No further questions. After all the time I'd spent asking for hardwood and talking them into showing me their random boards, I couldn't look surprised now. I knew exactly what I was looking at. (I did not.) I pointed at the light board and the dark board they told me were oak and walnut.
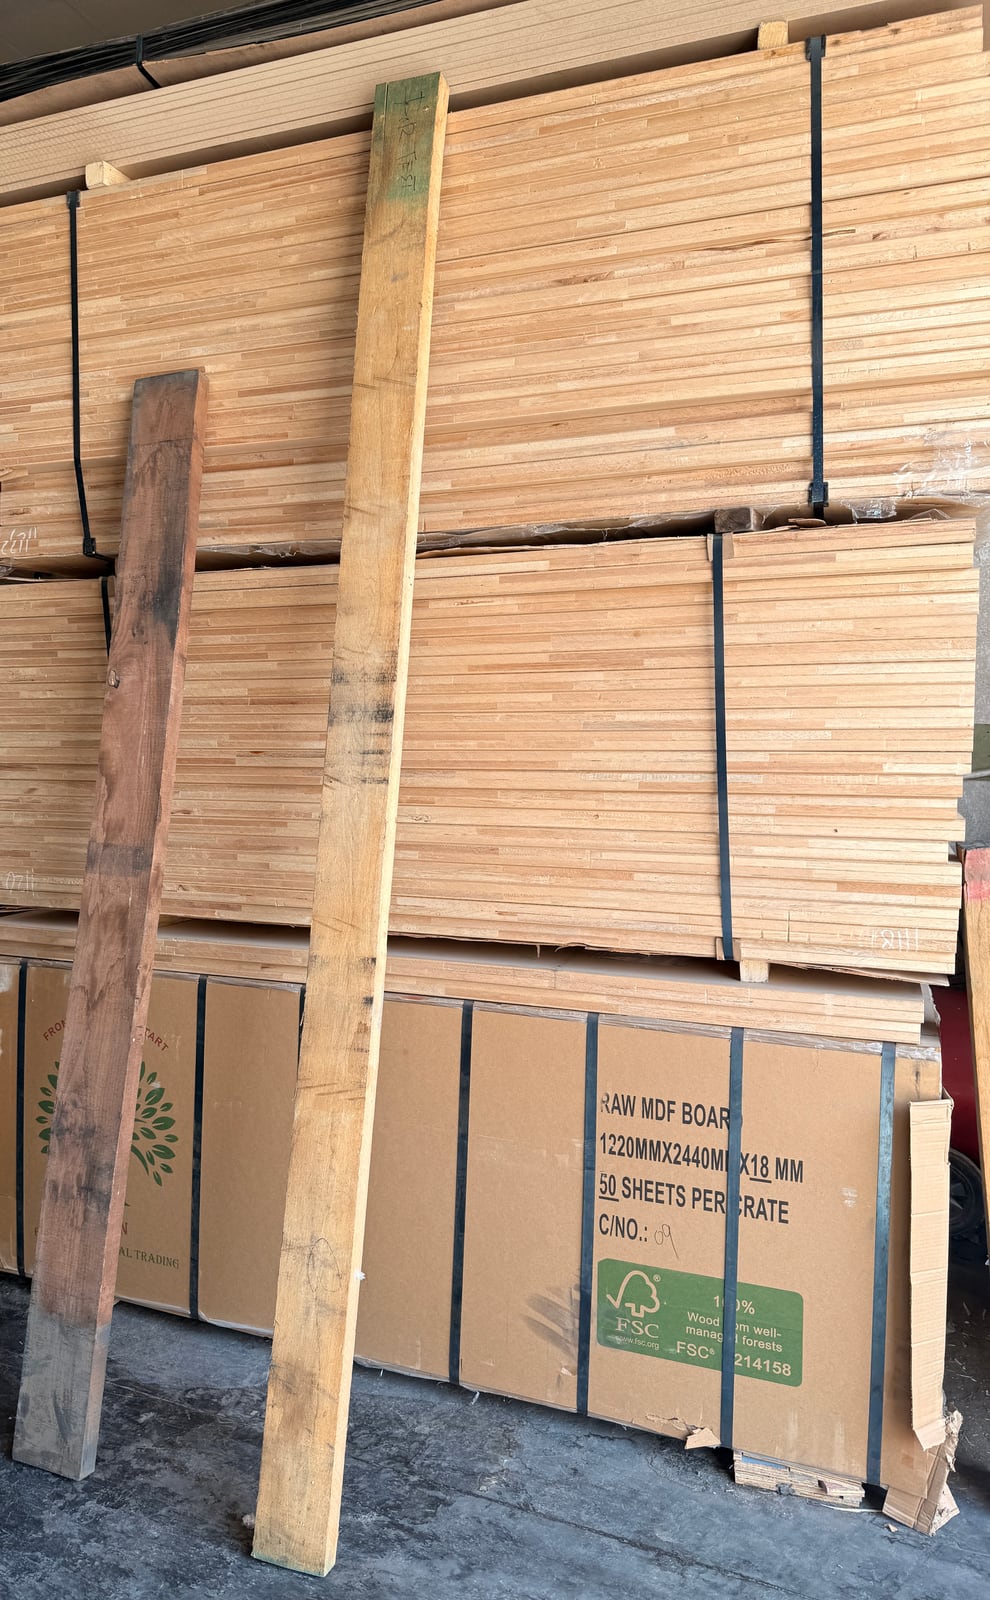
The selection. That's "Test" chalked at the top. I nodded like I knew what it meant.
Then, in a voice that cracked like a fourteen-year-old ordering at a drive-through, I asked the big question: "How much?"
There was no price. They took me to the supervisor, who did some mental math, said a few words in Arabic, and then named a number. Remember learning in school that trees don't grow in the desert? They really don't. So the heavy stuff comes from very far away, and they charge accordingly. I won't disclose the price in case my wife ever reads this. But after all that bluffing, backing out wasn't an option, so I kept a straight face and took out my card.
My truck is a Peugeot
Then came the next question: "Bring your truck around the back, and we'll load the boards."
My what?
I hadn't thought this through. My "truck" is a Peugeot family car. It's a lovely car. It is not a truck. Thankfully, the kids' booster seats made a surprisingly good cradle for the boards and kept them off everything else. And luck was on my side: the oak board was longer than the car, so we took it to the warehouse next door, and they cut it in half so it would fit.
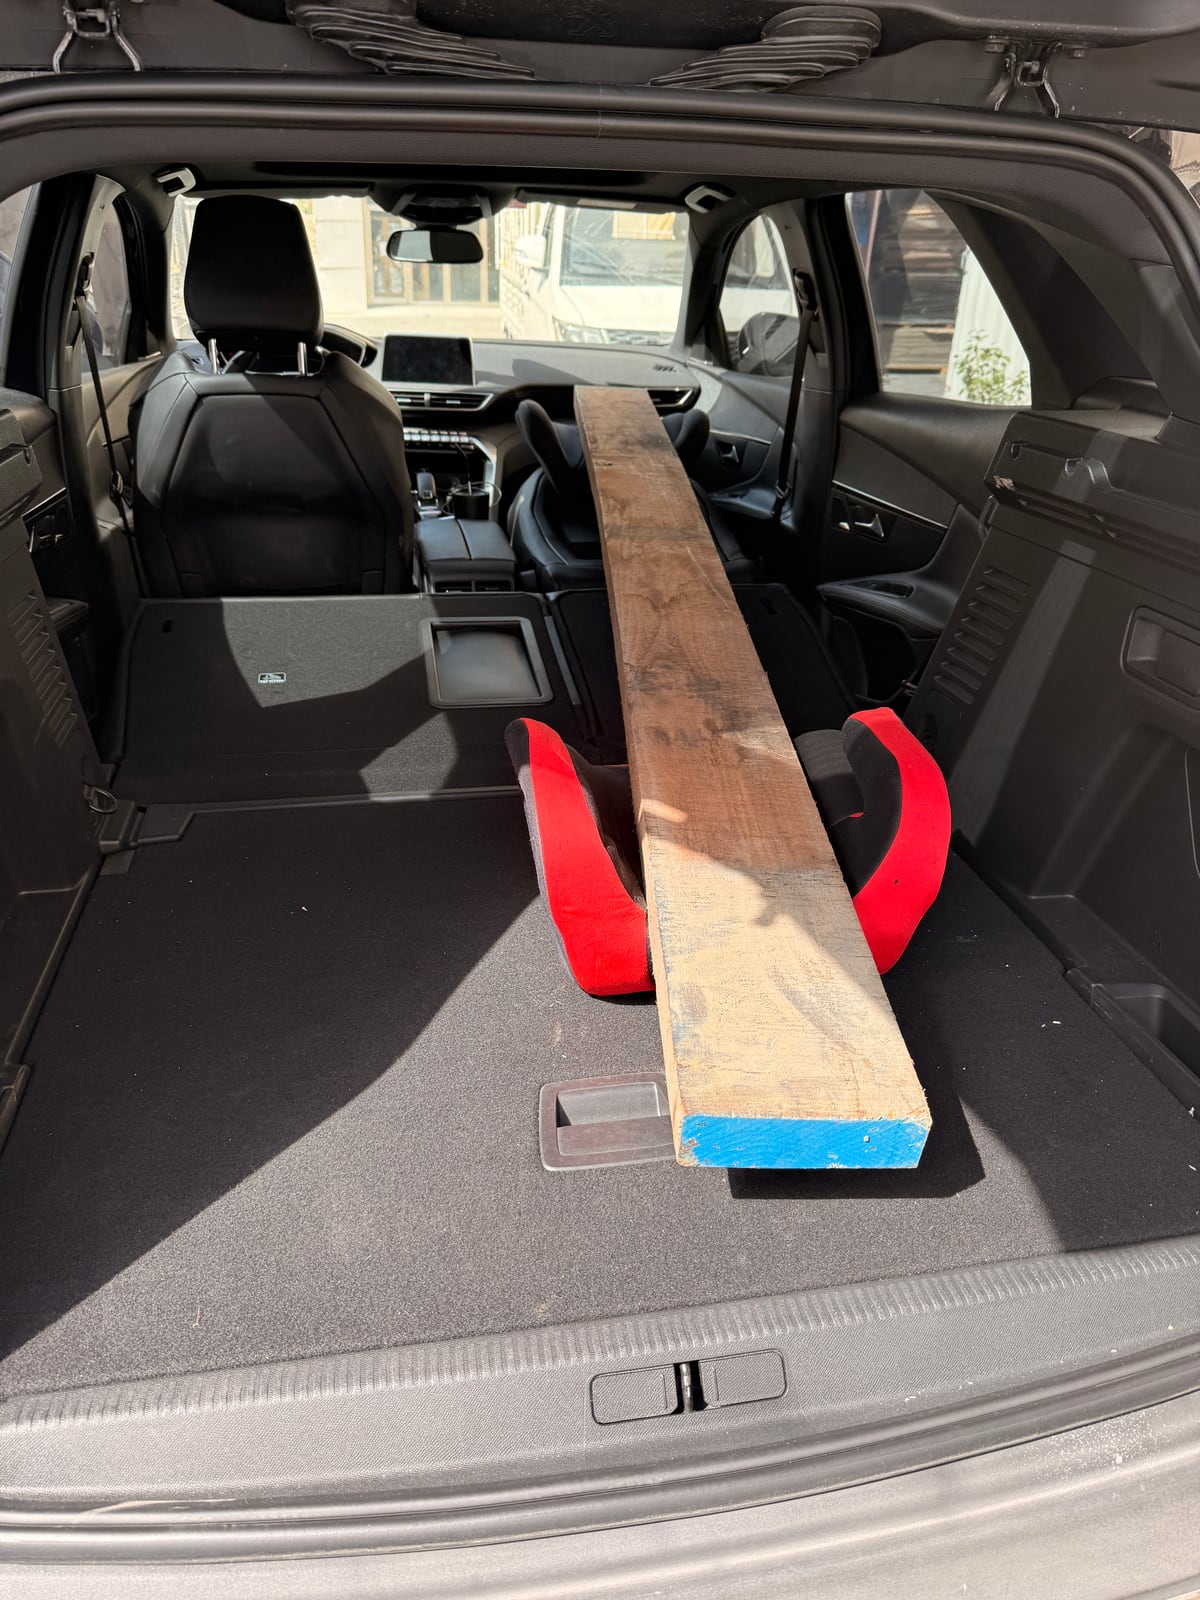
Booster seats: not just for kids.
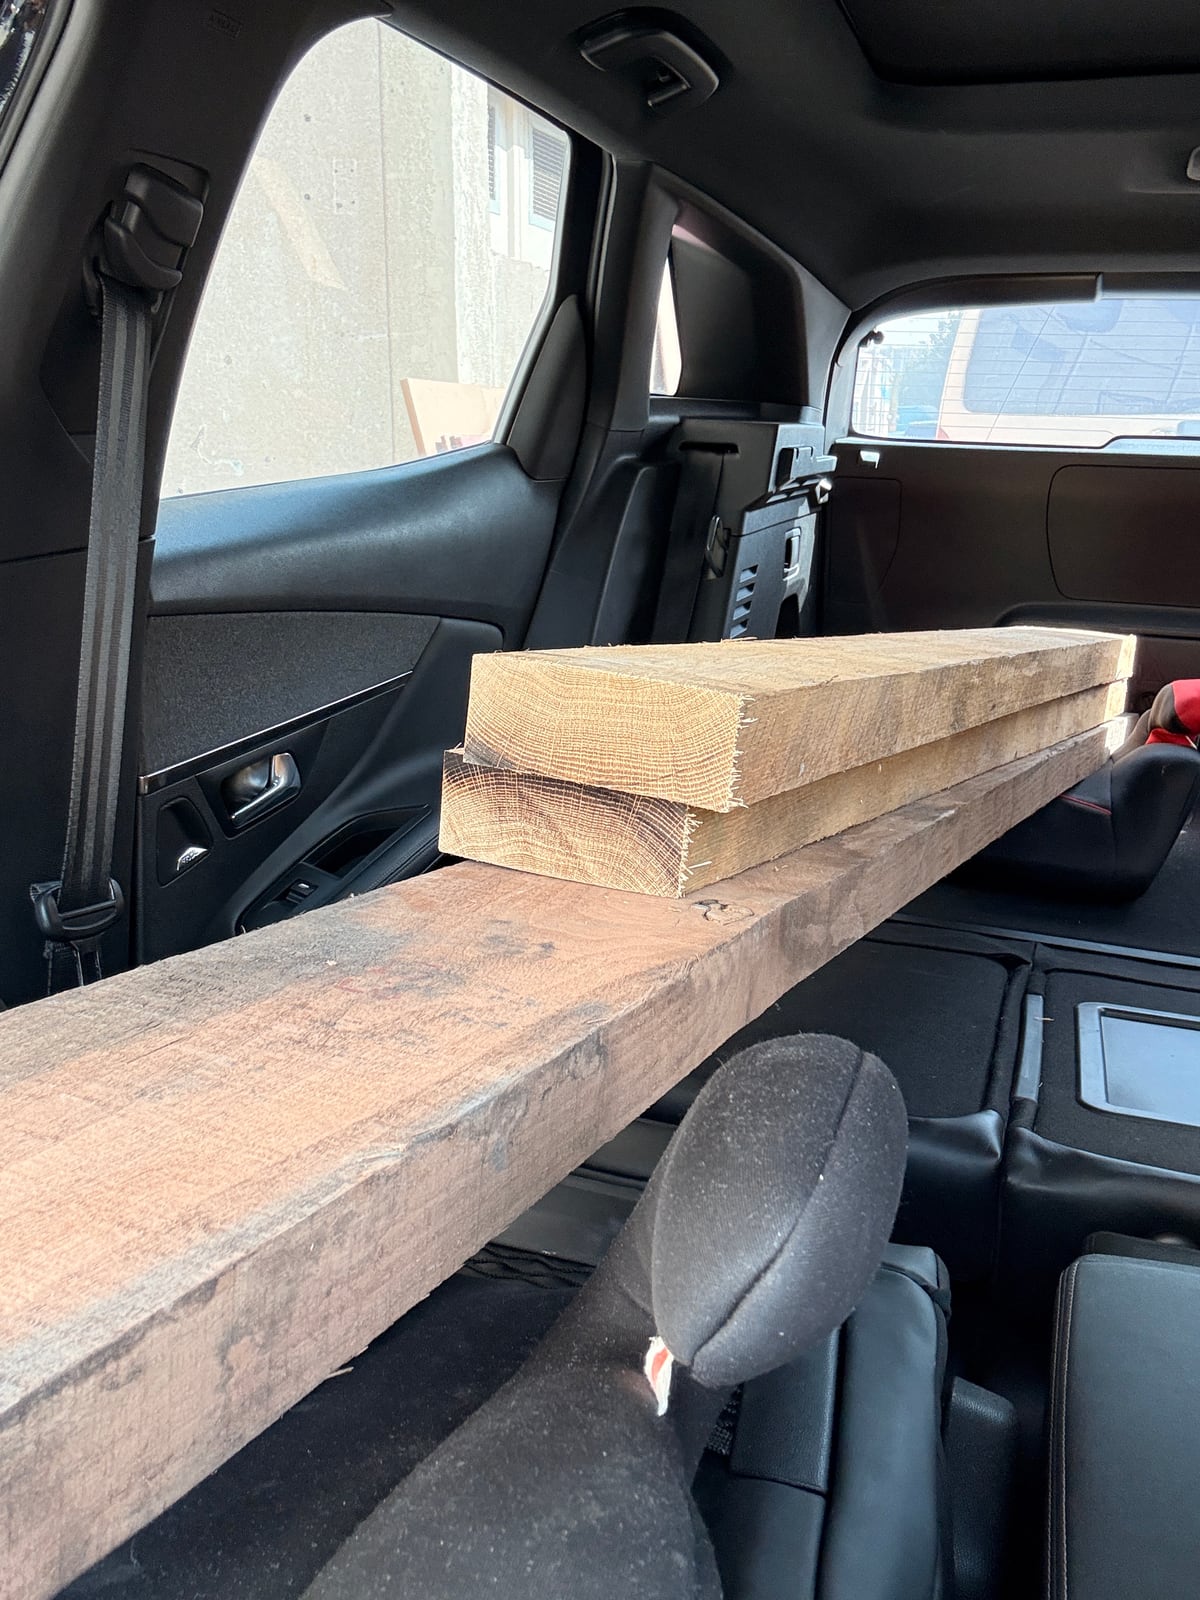
Cut in half next door, so it would fit.
Hardwood, safely home. Now I could finally become a real woodworker.
Wood first, project later
You're supposed to decide what you're building and then buy the wood for it. I did it backwards — the woodworking equivalent of buying the frame before the painting — because I had no idea what I'd actually be able to find here. So: find hardwood, buy whatever exists, then decide what to make.
TikTok had already shown me people making cutting boards with hypnotic, intricate patterns, and they looked like fun. A checkerboard seemed easy enough for a first hardwood project. What I didn't realise was that I was signing up for an end grain butcher block, with the vast experience of one crappy side table made of dimensional lumber behind me.
There was no guide this time, just a handful of online calculators to work out the cuts. Even with those, the geometry of what gets flipped where had me stumped for a while. (This site has its own cutting board designer now, for the record.)
Once I understood what I'd gotten myself into, I dropped the checkerboard and went walnut only — and thank God I did. It looked more elegant, and I had a vision: BIG, chunky, sitting on little rubber feet, a statement piece for my barbecues. I'd seen boards like that online, at places like hardwood-lumber.com, and they were very expensive — one I configured came to $1,094.73. Which handed me the perfect justification: if I could build one myself, then paying all that money for wood had actually been a steal. Practically the responsible thing to do.
The pyramid scheme strikes again
The plan was simple, on paper: cut the walnut into thirds, rip the thirds into strips, glue the strips up, cut them again, and glue them up again.
I got the circular saw out, cut the board into thirds, and life was good. Progress! Then the obvious question: how do I flatten this thing? I own three tools, and I don't think a sander is going to make rough walnut flat.
Enter the woodworking pyramid scheme, right on schedule. The most affordable way to flatten a board, it turns out, is to build a sled and run a router over it with a surfacing bit. So the router became my next power tool — though not the DeWalt that 731 Woodworks recommends, which was more money than I was ready to sink into the hobby at this stage. I found a deal on a Makita RT0700C palm router for around $100, plus a Whiteside 6210 surfacing bit with a ¼-inch shank, which I'd read would work with it. Both ordered. Sled time.
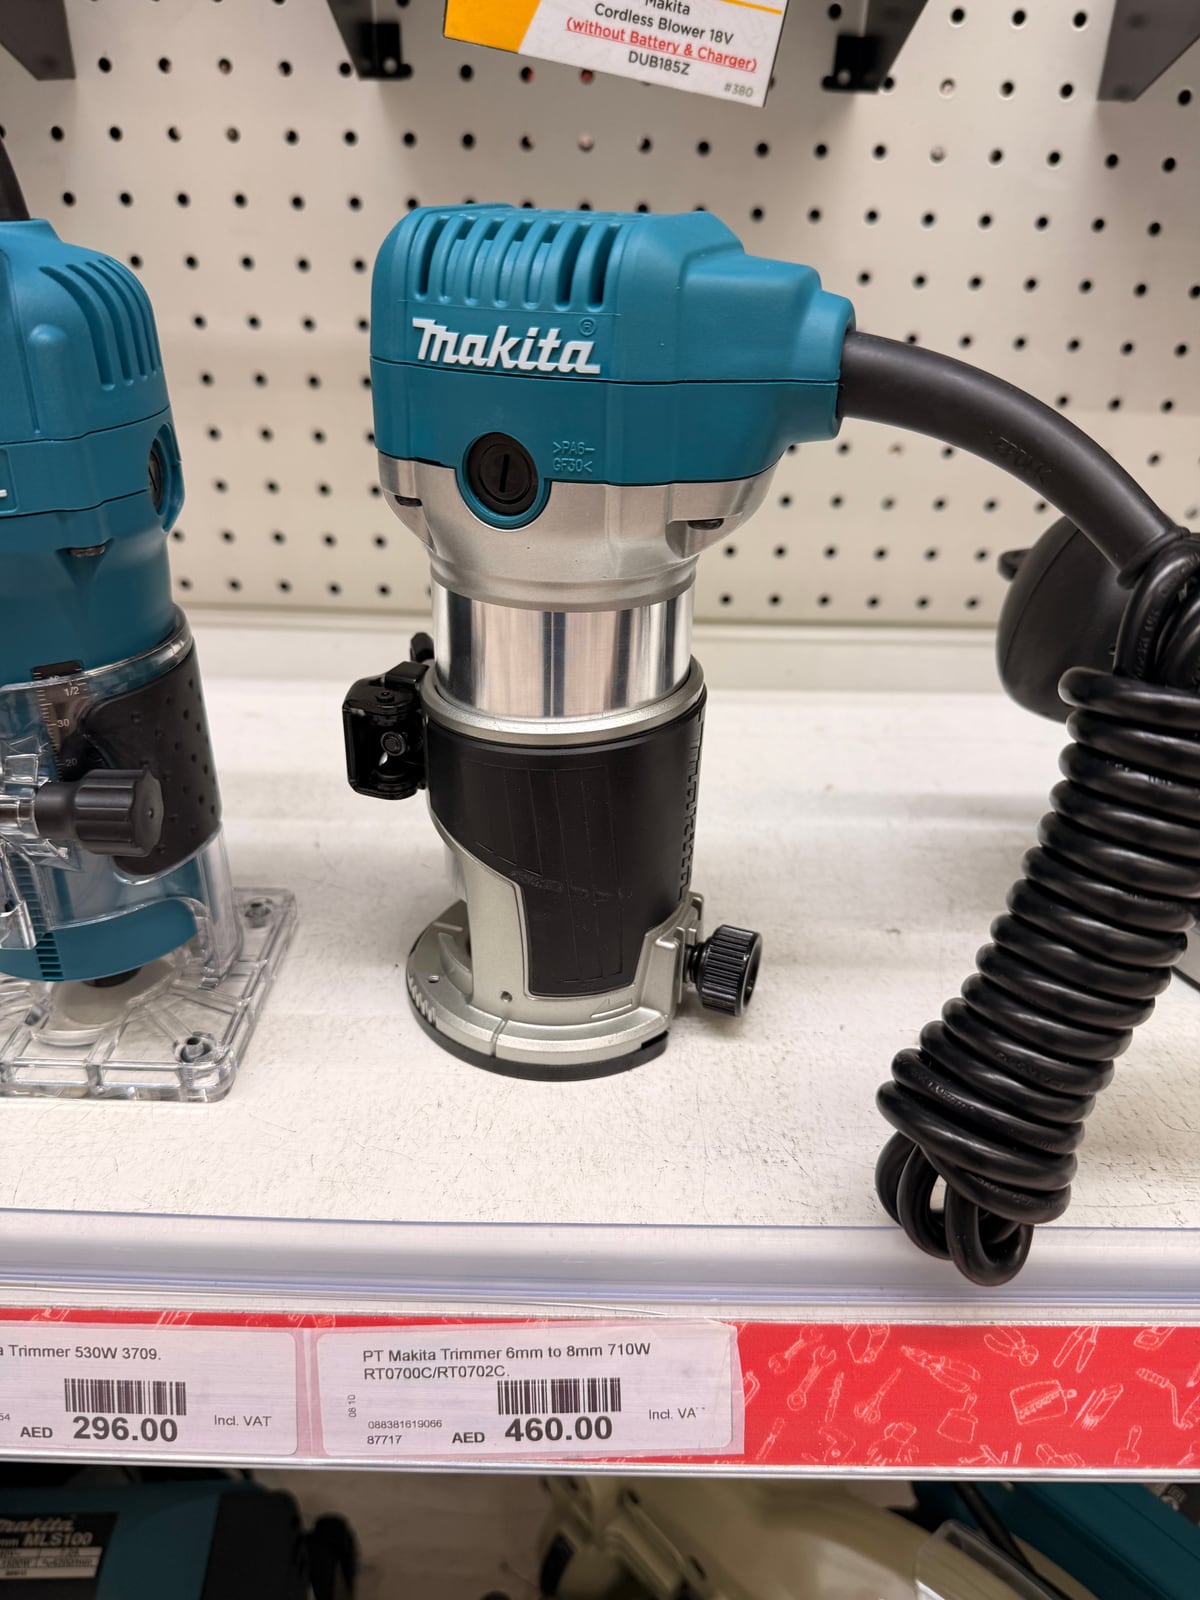
The router, in its natural habitat. That is not the price I paid.
Building the sled
I kept it simple: a sheet of plywood as the base, and a 4x4 from the store for the rails the sled would ride on. The sled itself was just two L-shaped aluminium brackets, with a couple of wooden spacers holding them exactly far enough apart for the router to fit between.
Back home, first job: cut the 4x4 in half. First problem: my saw doesn't cut that deep. How does one cut a 4x4 with a circular saw? I'm fairly sure I'm the only person in history to have typed that into YouTube. Two good cuts later, I had it.
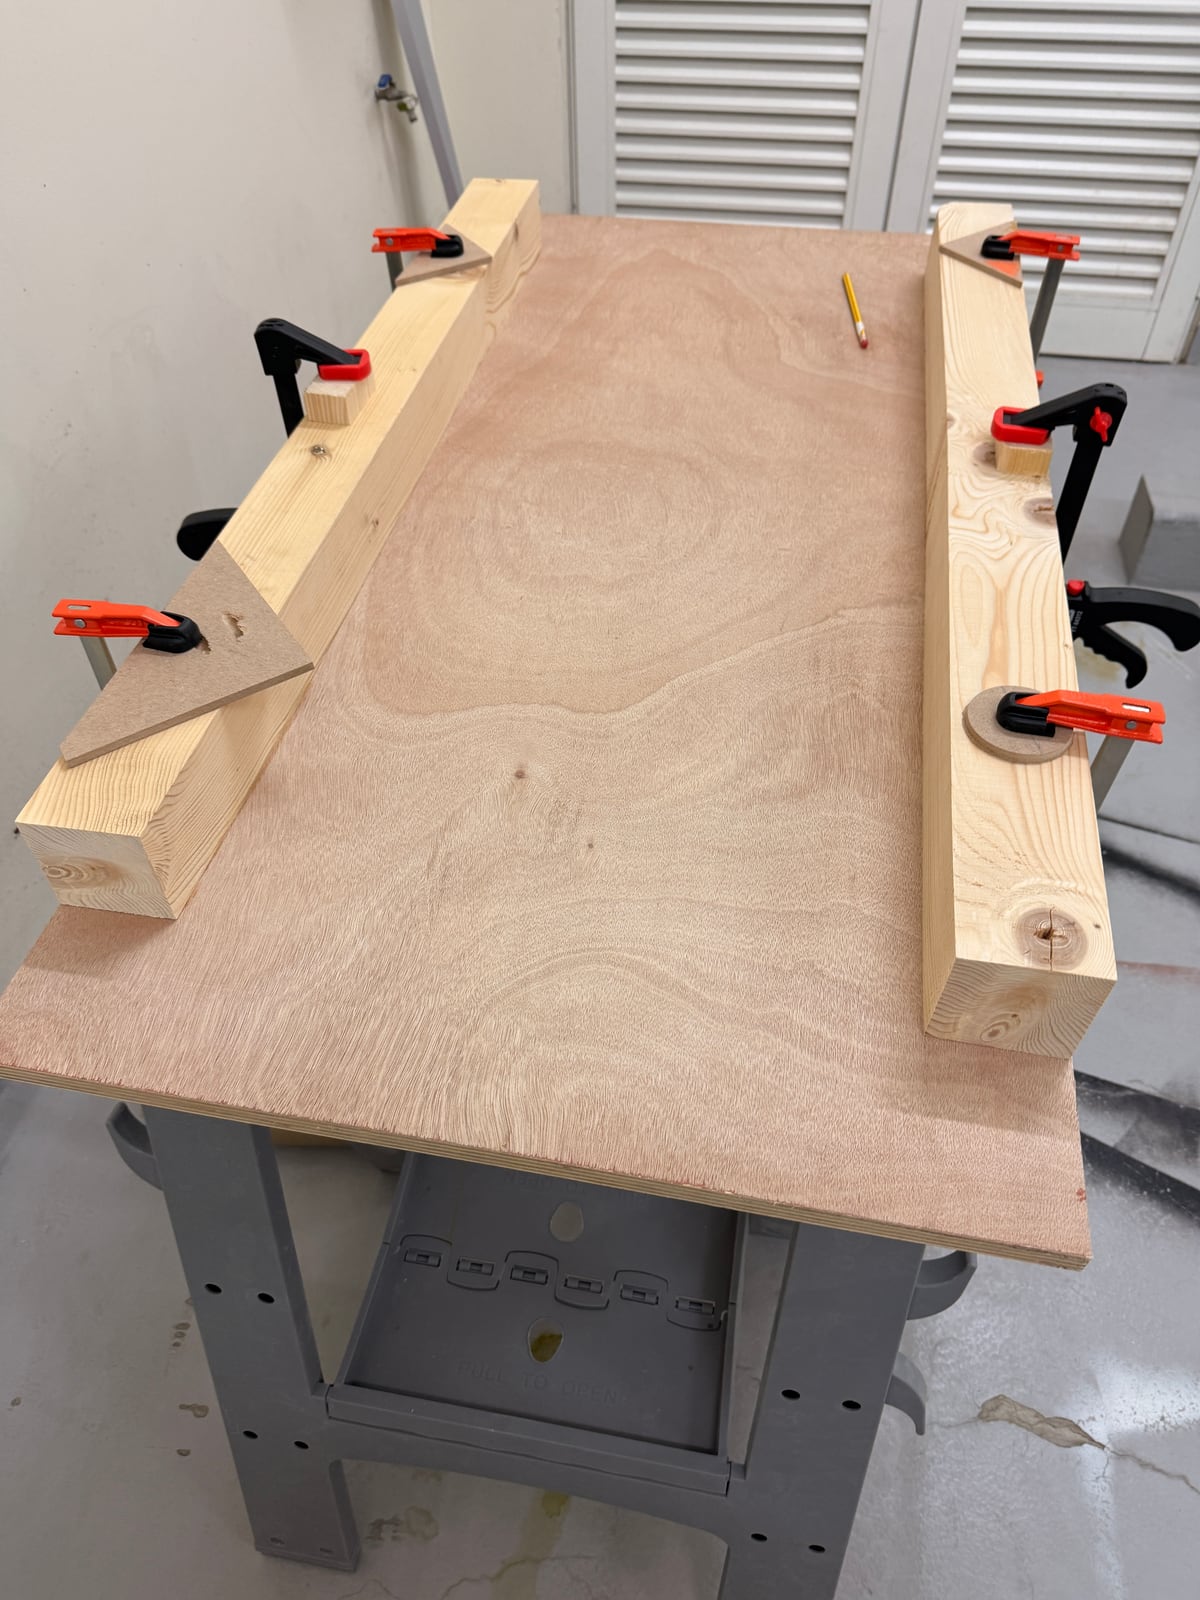
Dry fit: plywood base, 4x4 rails.
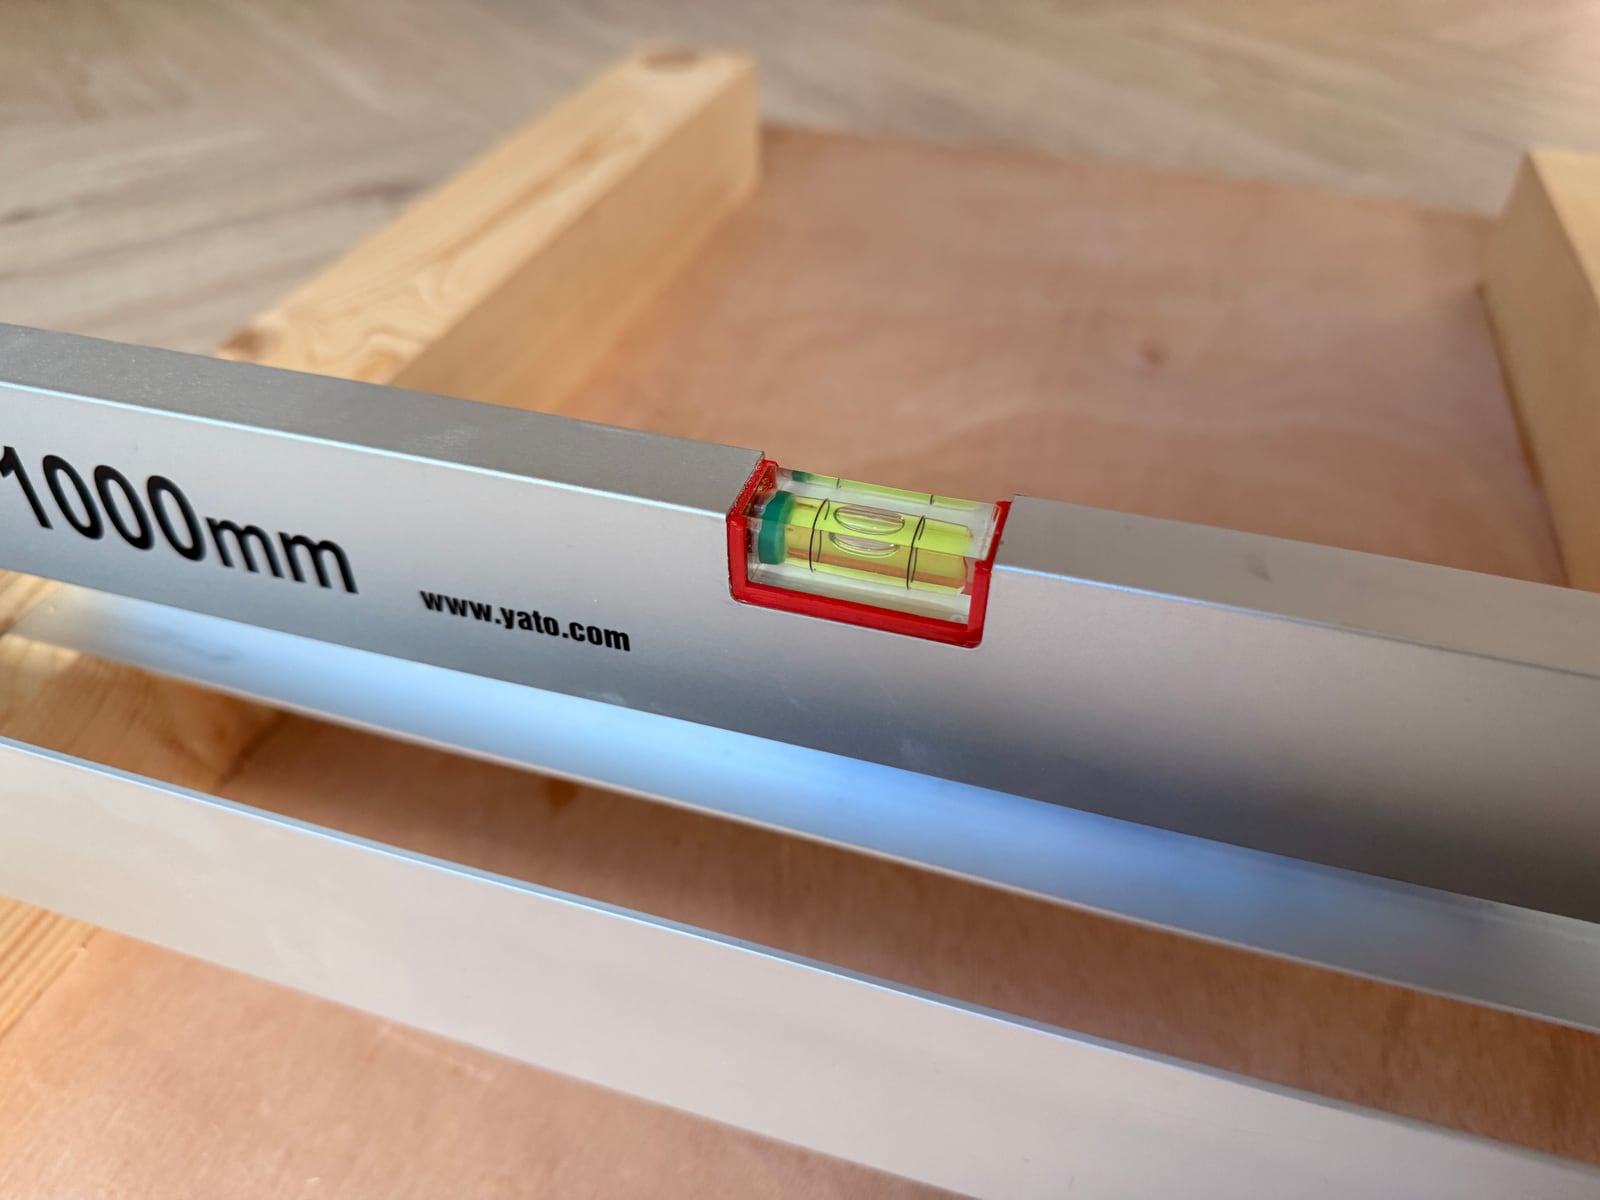
Dialled in. The bubble does not lie.
I glued the rails down and added screws from underneath — predrilled, a first — so nothing would ever move, then dialled the whole thing in perfectly. So far, so good.
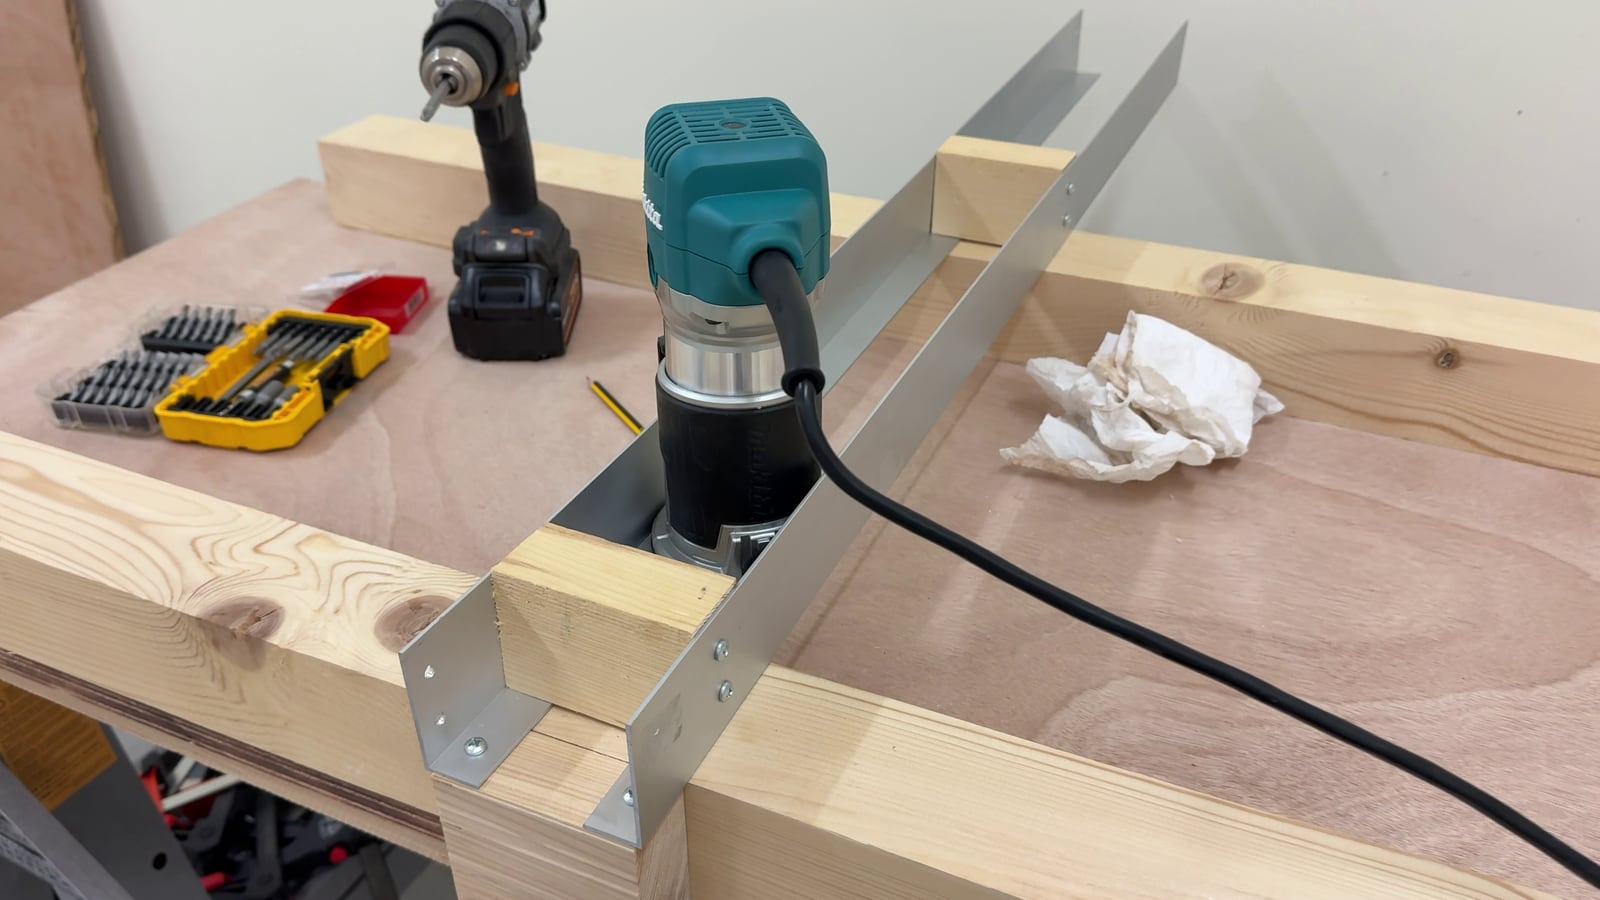
The finished sled, router riding on its brackets.
This sled was awesome. I was good at this.
The international standards mafia
Then the Whiteside bit arrived. In it goes.
Or not. It's too tight. I'm checking online whether I should just push harder, and everyone keeps mentioning something called a collet. Ah, right — the router came with two of them, a 6mm and an 8mm. Swap.
Now it's too loose. What is this sorcery?
A bit more reading, and the international standards mafia had me. My bit was imperial: a ¼-inch shank, which works out to 6.35mm. A hair more than 6, nowhere near 8, and a match for neither. Makita does at least make a ¼-inch collet for this router, so I ordered one — and waited. Again.
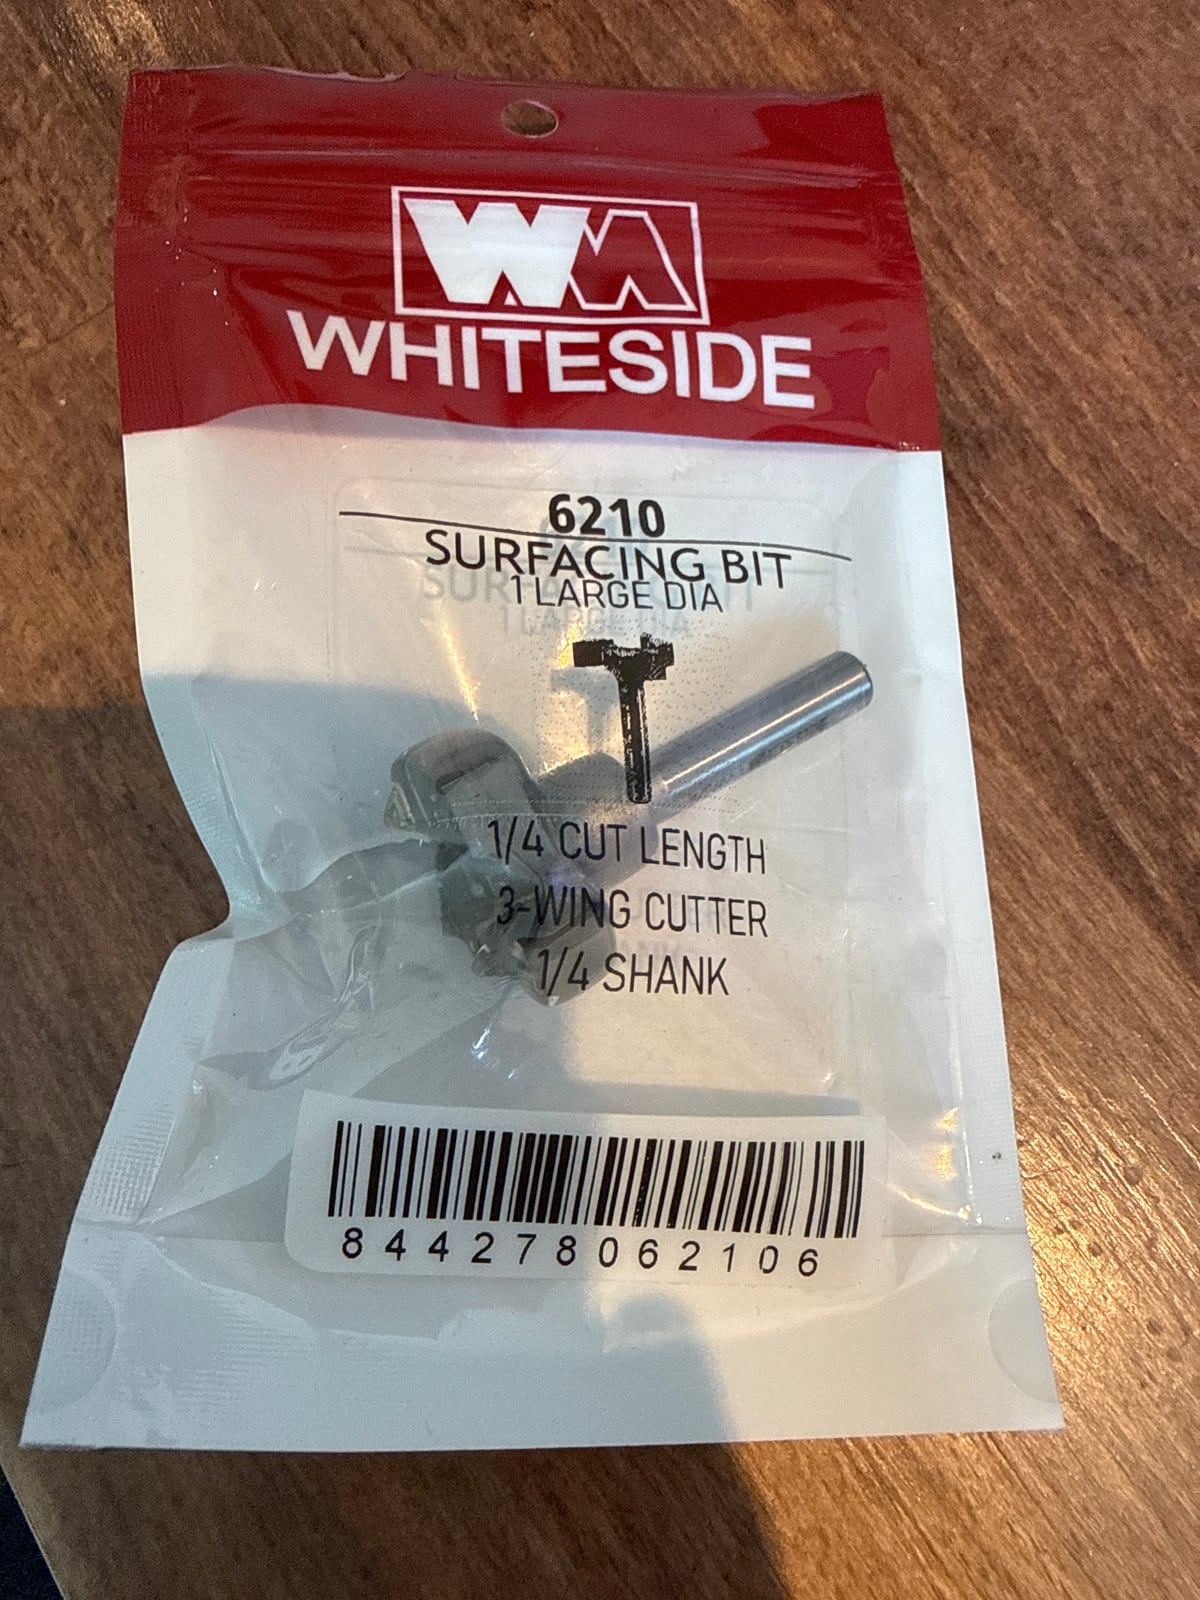
The bit: Whiteside 6210, ¼-inch shank.
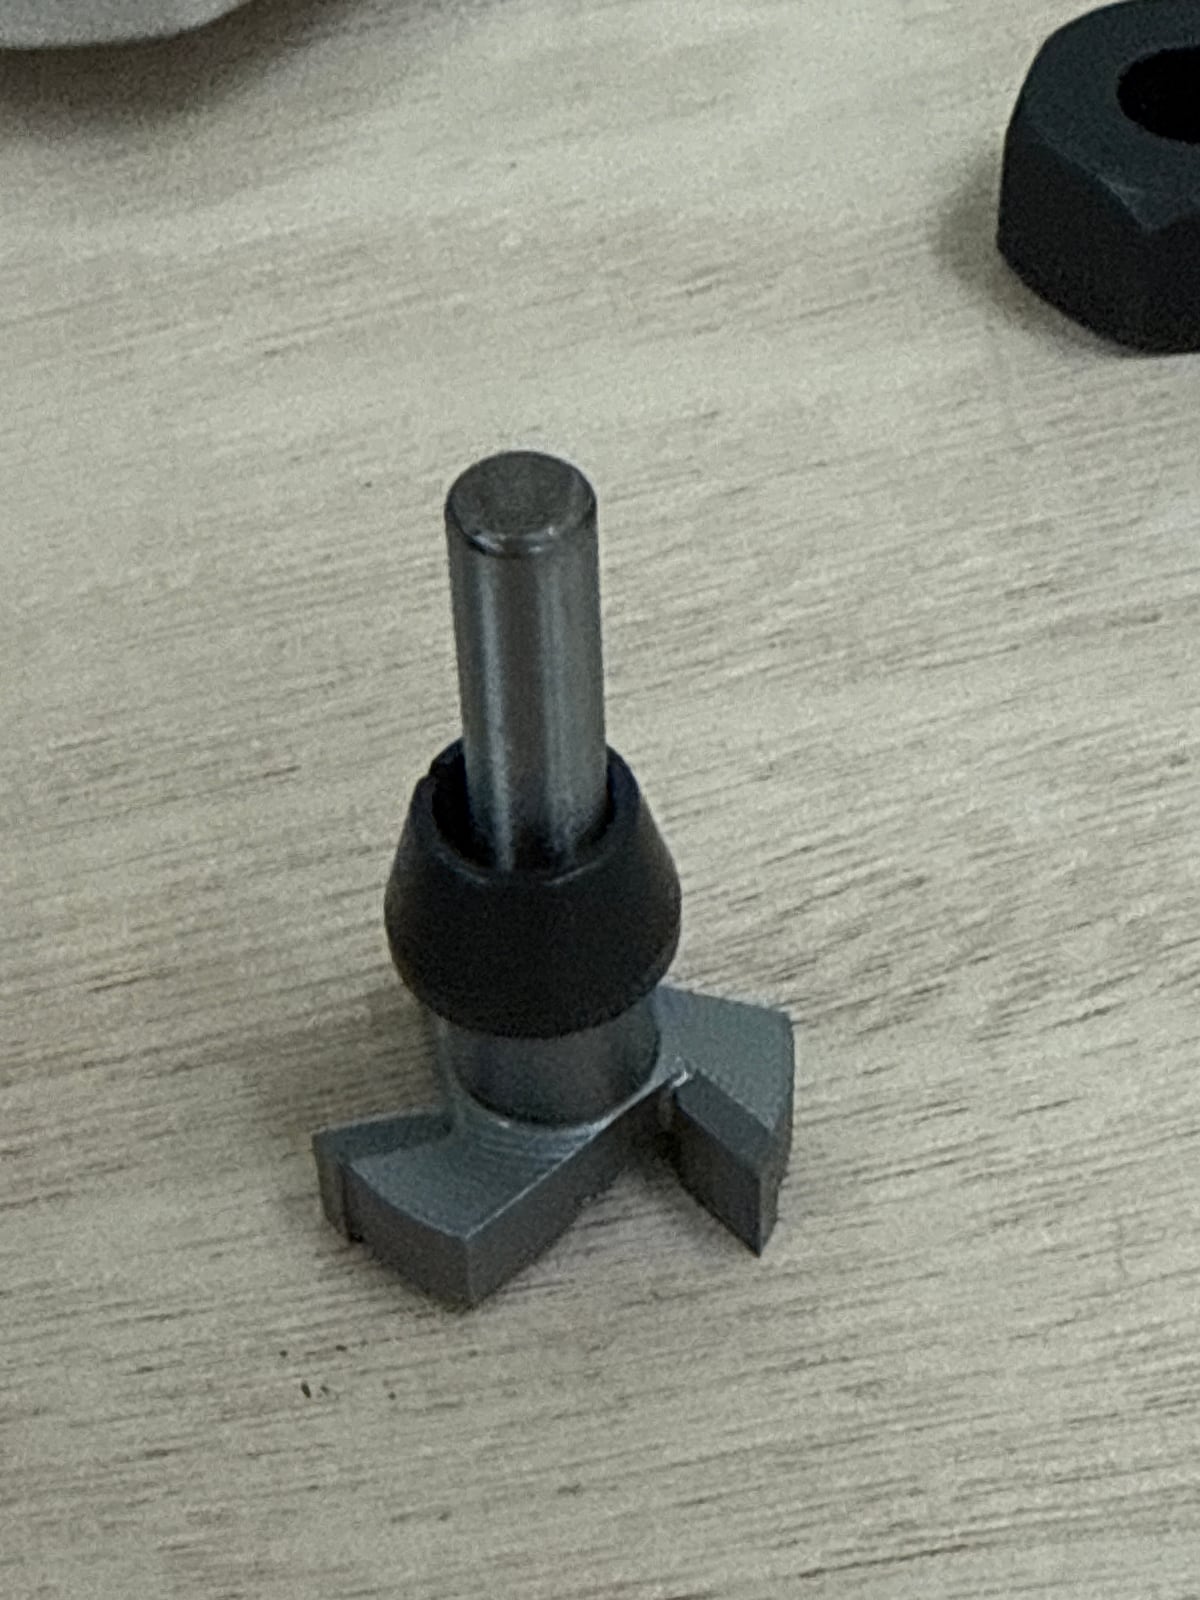
Off the router, the 6mm collet slides right on. In the router: absolutely not.
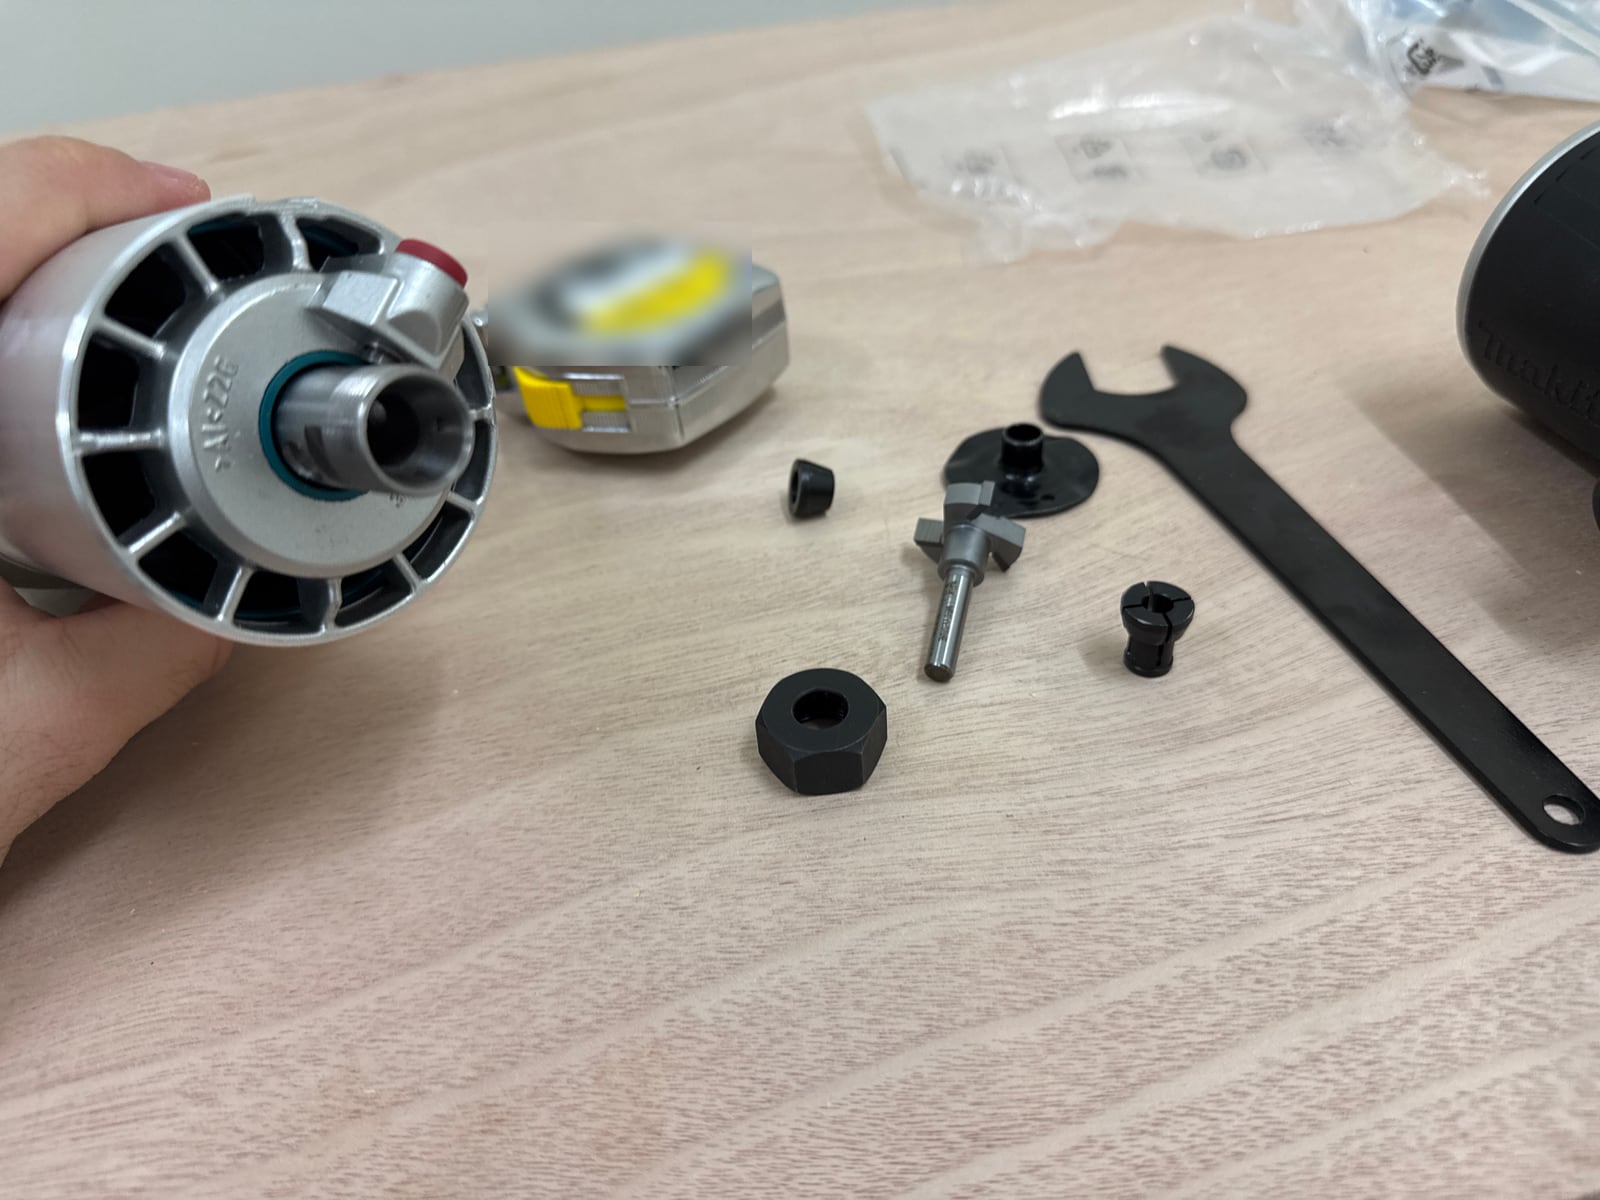
The collet fiasco, fully assembled.
First chips
The new collet arrived, and at long last I got to make wood chips. The result was AWESOME. Oh, is this wood nice.
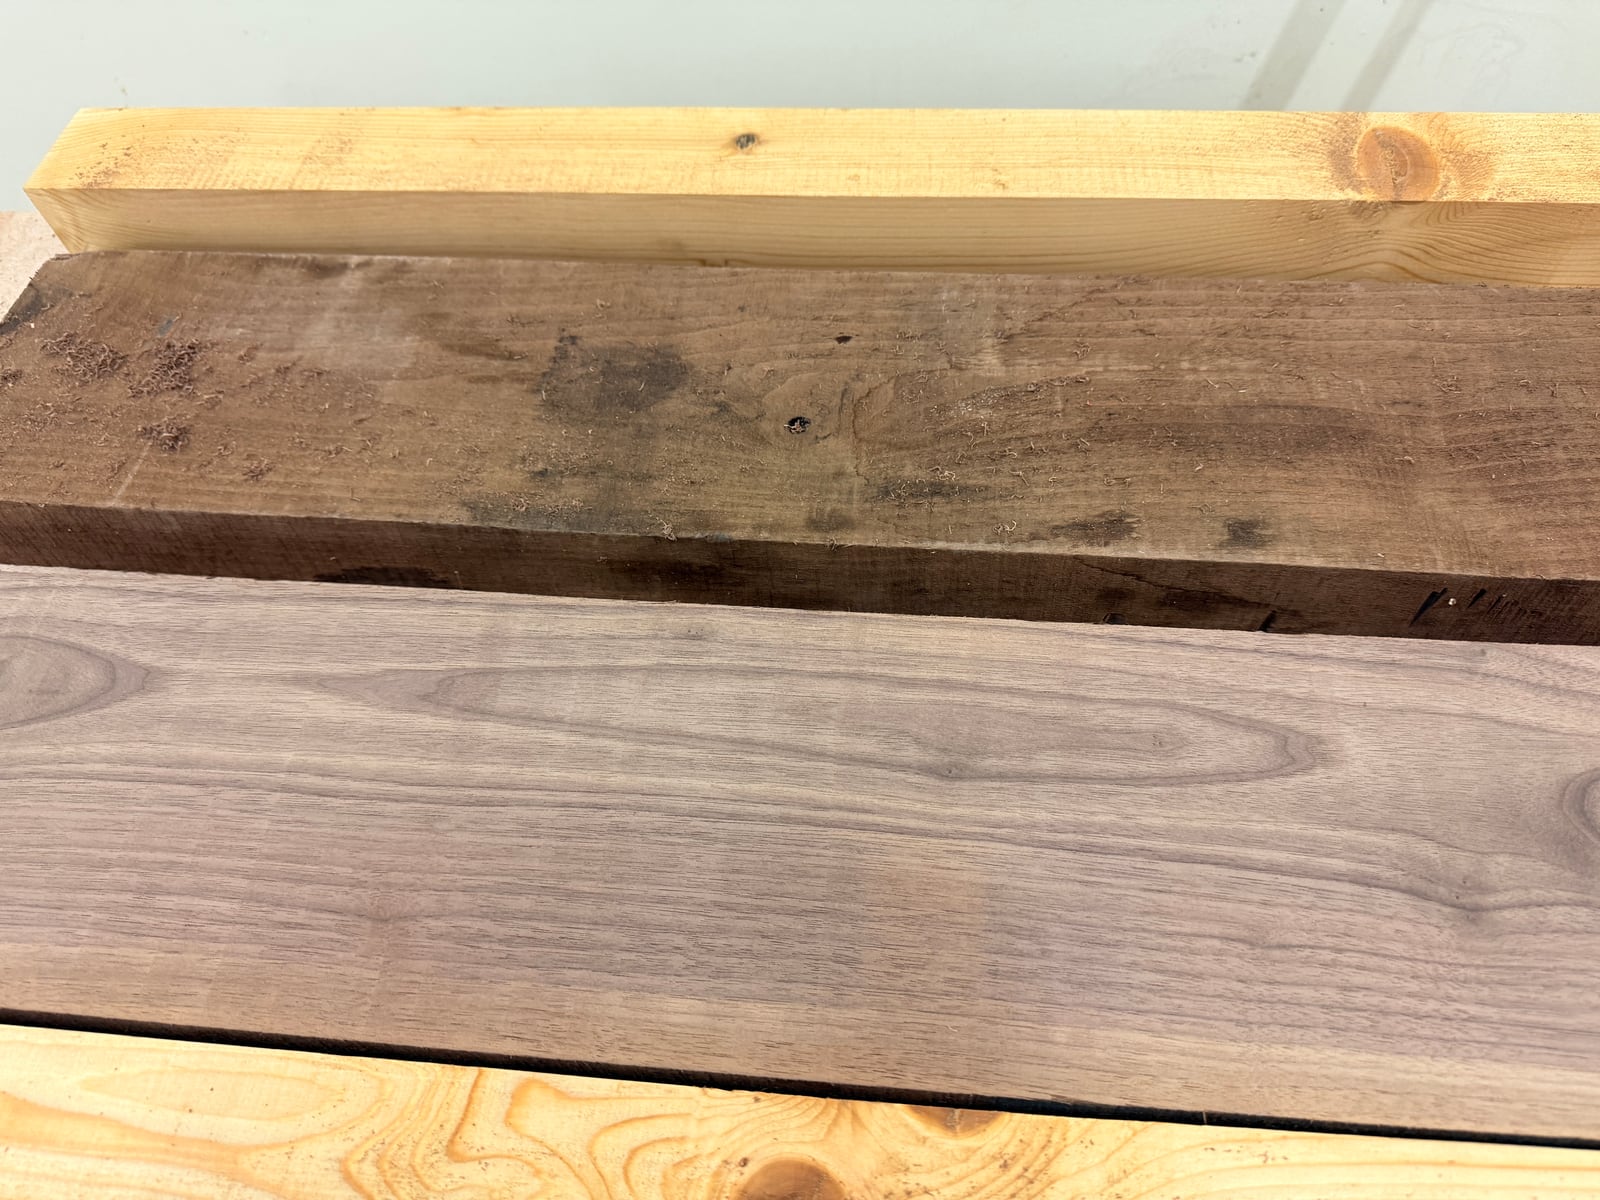
One face of one board surfaced. Spot the difference.
One pass with the surfacing bit and a light sanding, and the walnut looked amazing.
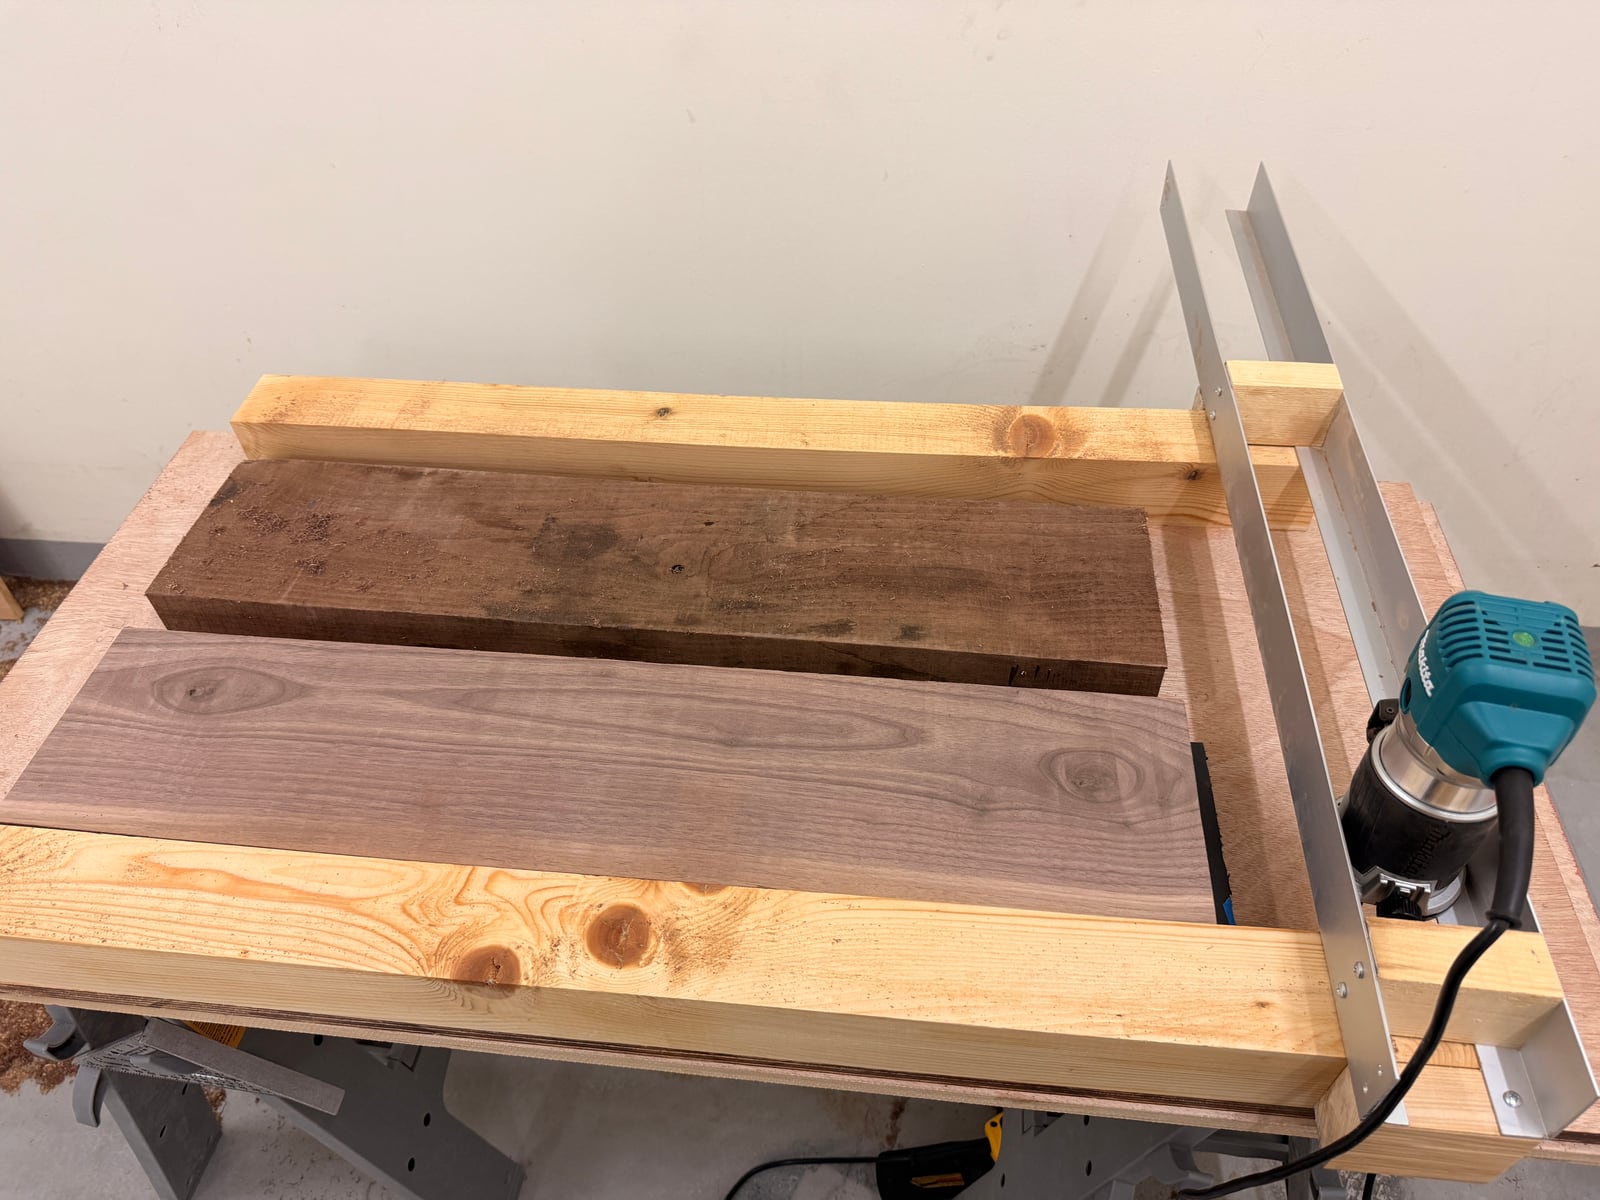
The sled at work.
It was also the moment I learned my garage would never be clean again. A router sled doesn't so much make sawdust as make weather. My wife was getting happier by the day.
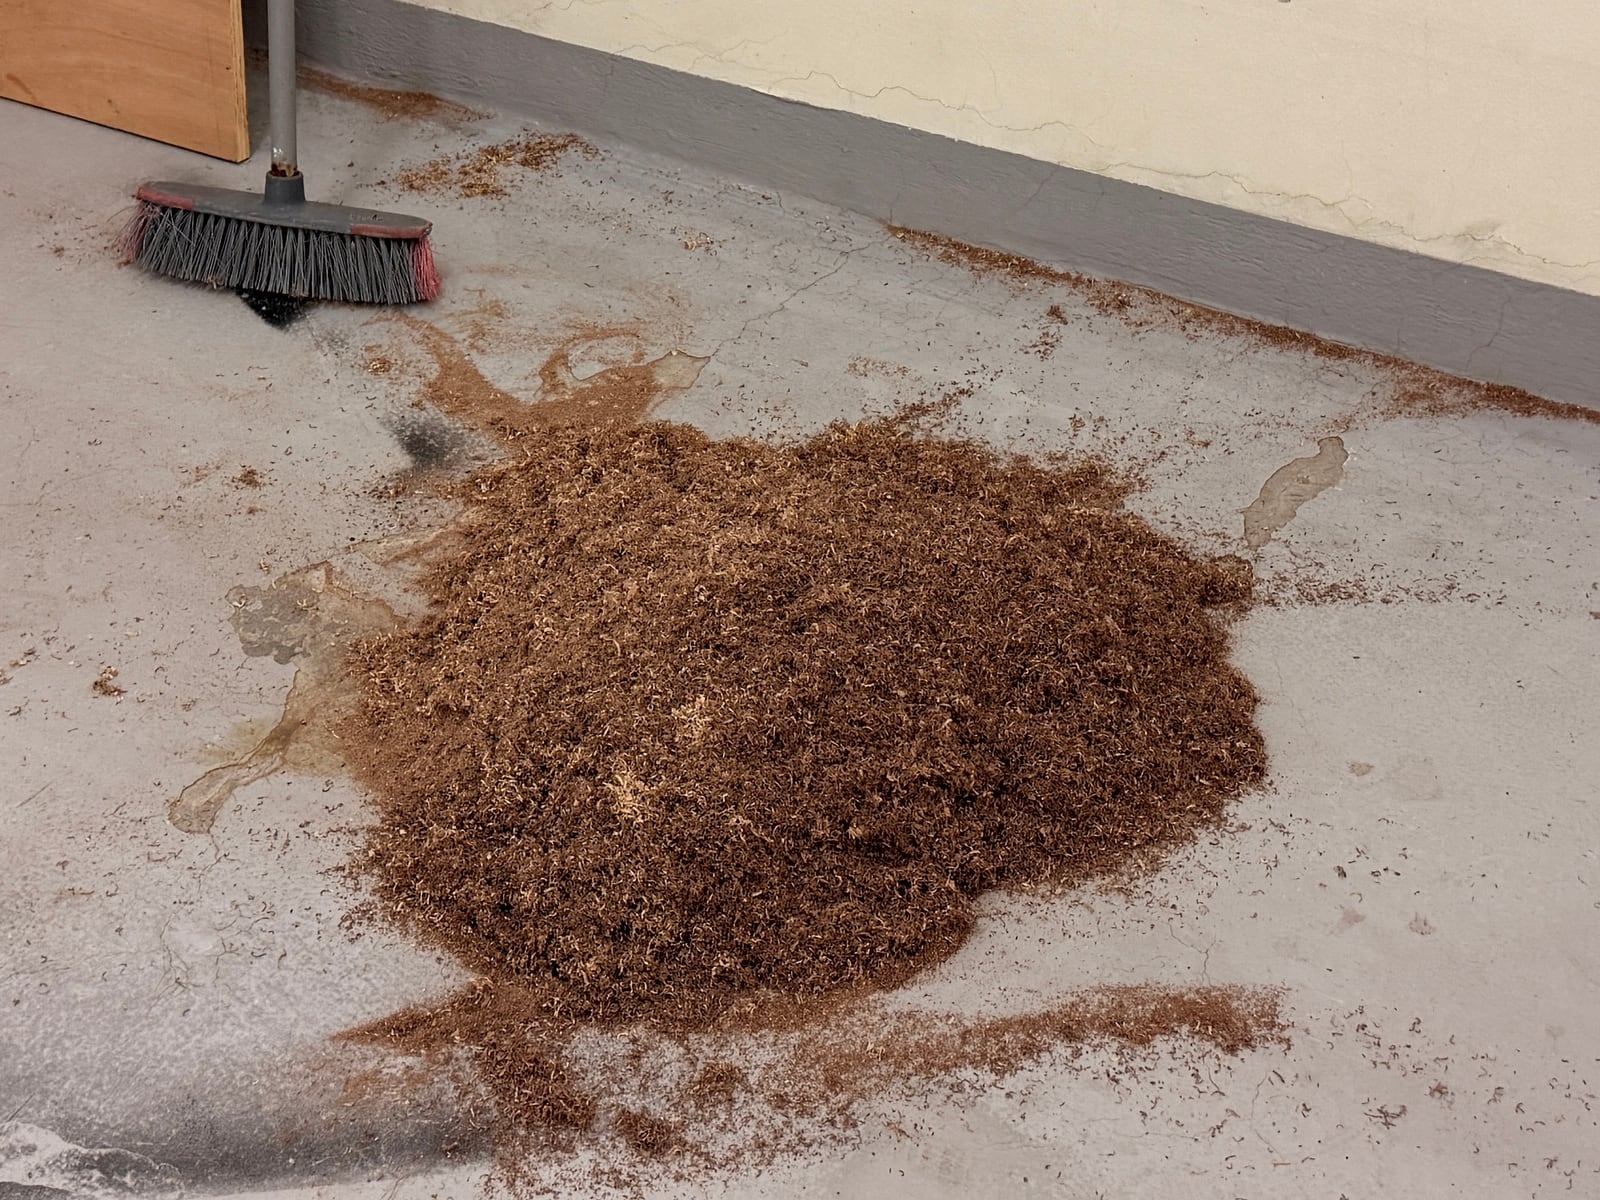
Sawdust: the garage's new floor covering.
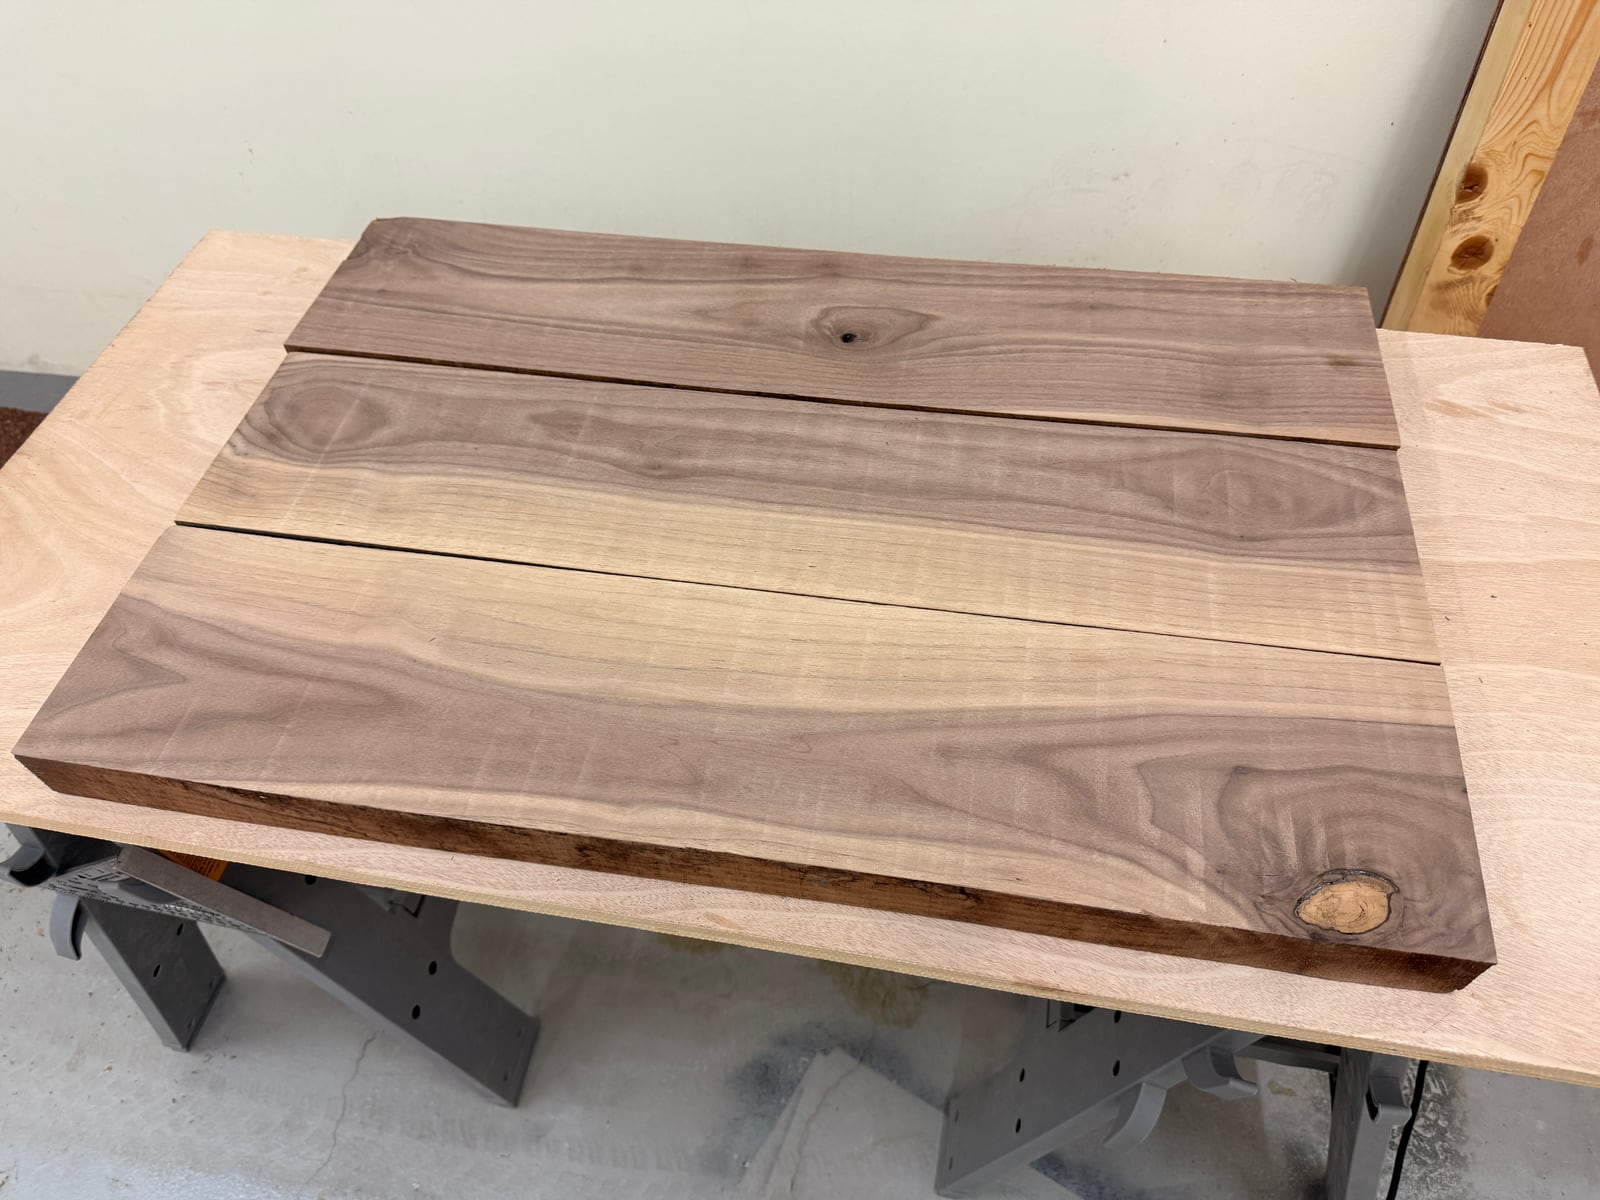
Surfaced walnut, and my nemesis in the bottom-right corner.
The wood was just so pretty. And the moment I saw that knot, I knew it was going to be my nemesis.
Straight is expensive
By now I had enough experience to know how little experience I had. Nine straight, identical strips were never going to happen by pushing a circular saw along a level, so I took another bit of 731 Woodworks' advice and ordered a Milescraft track saw adapter and a track saw square. At this stage of the journey, any dollar that bought me straight or square was a dollar well spent.
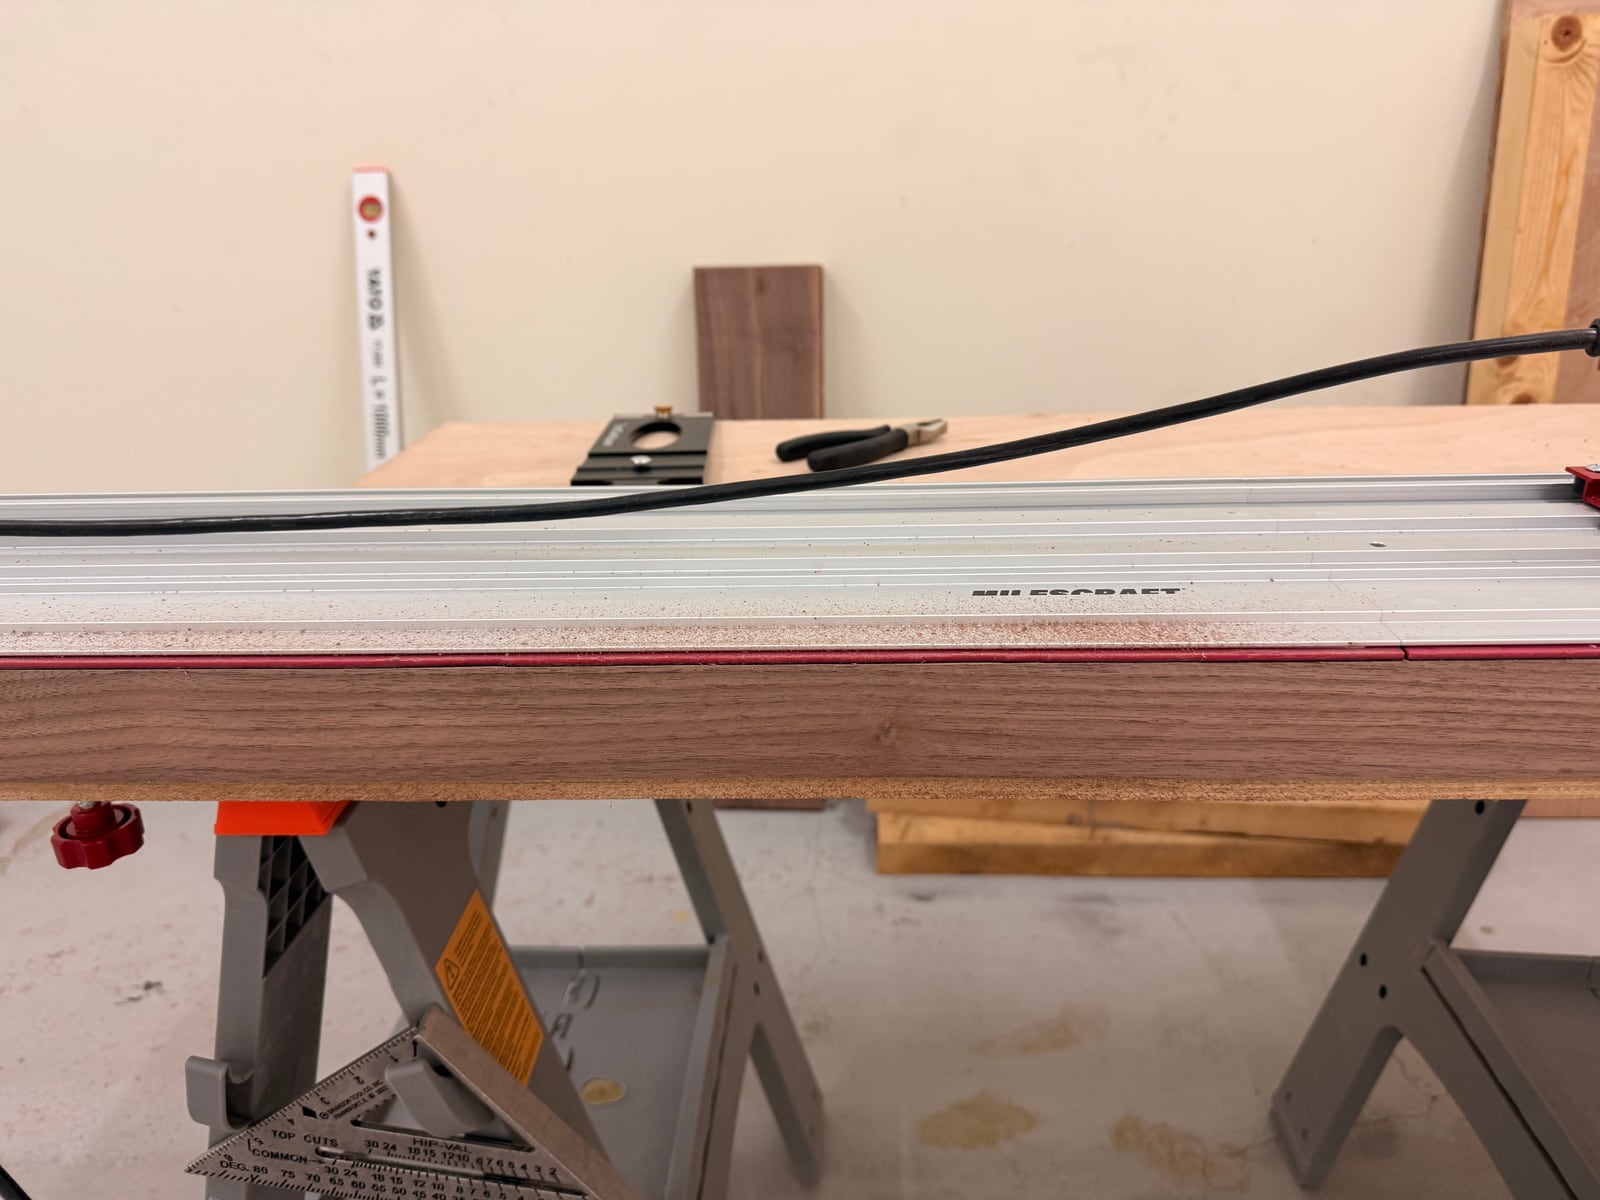
A circular saw, now on rails.
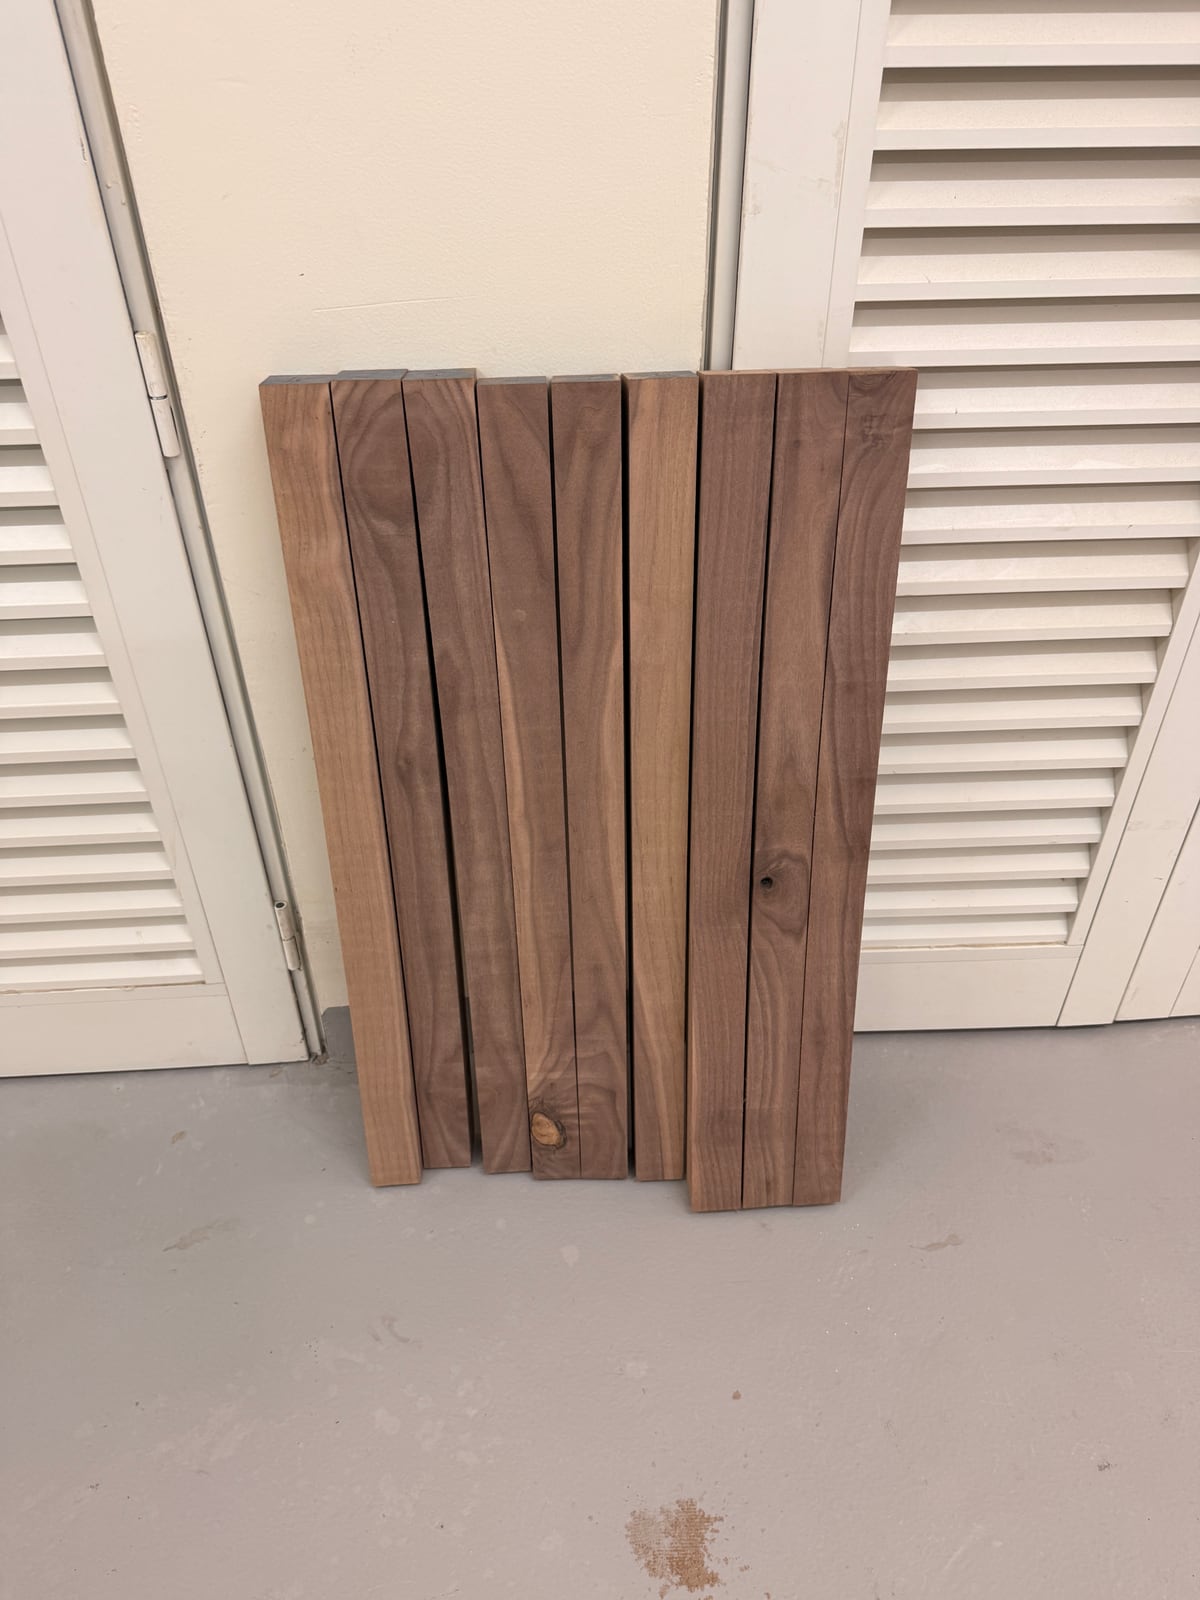
Nine identical strips. Allegedly.
After the cuts I was VERY happy. Nine identically sized strips of walnut. End grain cutting boards are easy.
Glue-up one: the topography
Then came the glue-up, and my new pipe clamps finally got out of their box after a couple of weeks of waiting for me to be ready. 731 Woodworks said Bessey are the good ones, so I imported them. Then I had to import the pipes as well, because not a single local store sold heavy-duty threaded pipe in "¾ inch" diameter. The standards mafia strikes again. YouTube got me into this international mess.
I laid the strips out in a pattern I liked, and that's when my mediocrity started to show. The strips were not identical. I'd used the tape measure, marked two points, drawn a straight line and cut along it. What could possibly have gone wrong? A picture is worth a thousand words, and out of shame I'll keep mine to a minimum. Here:
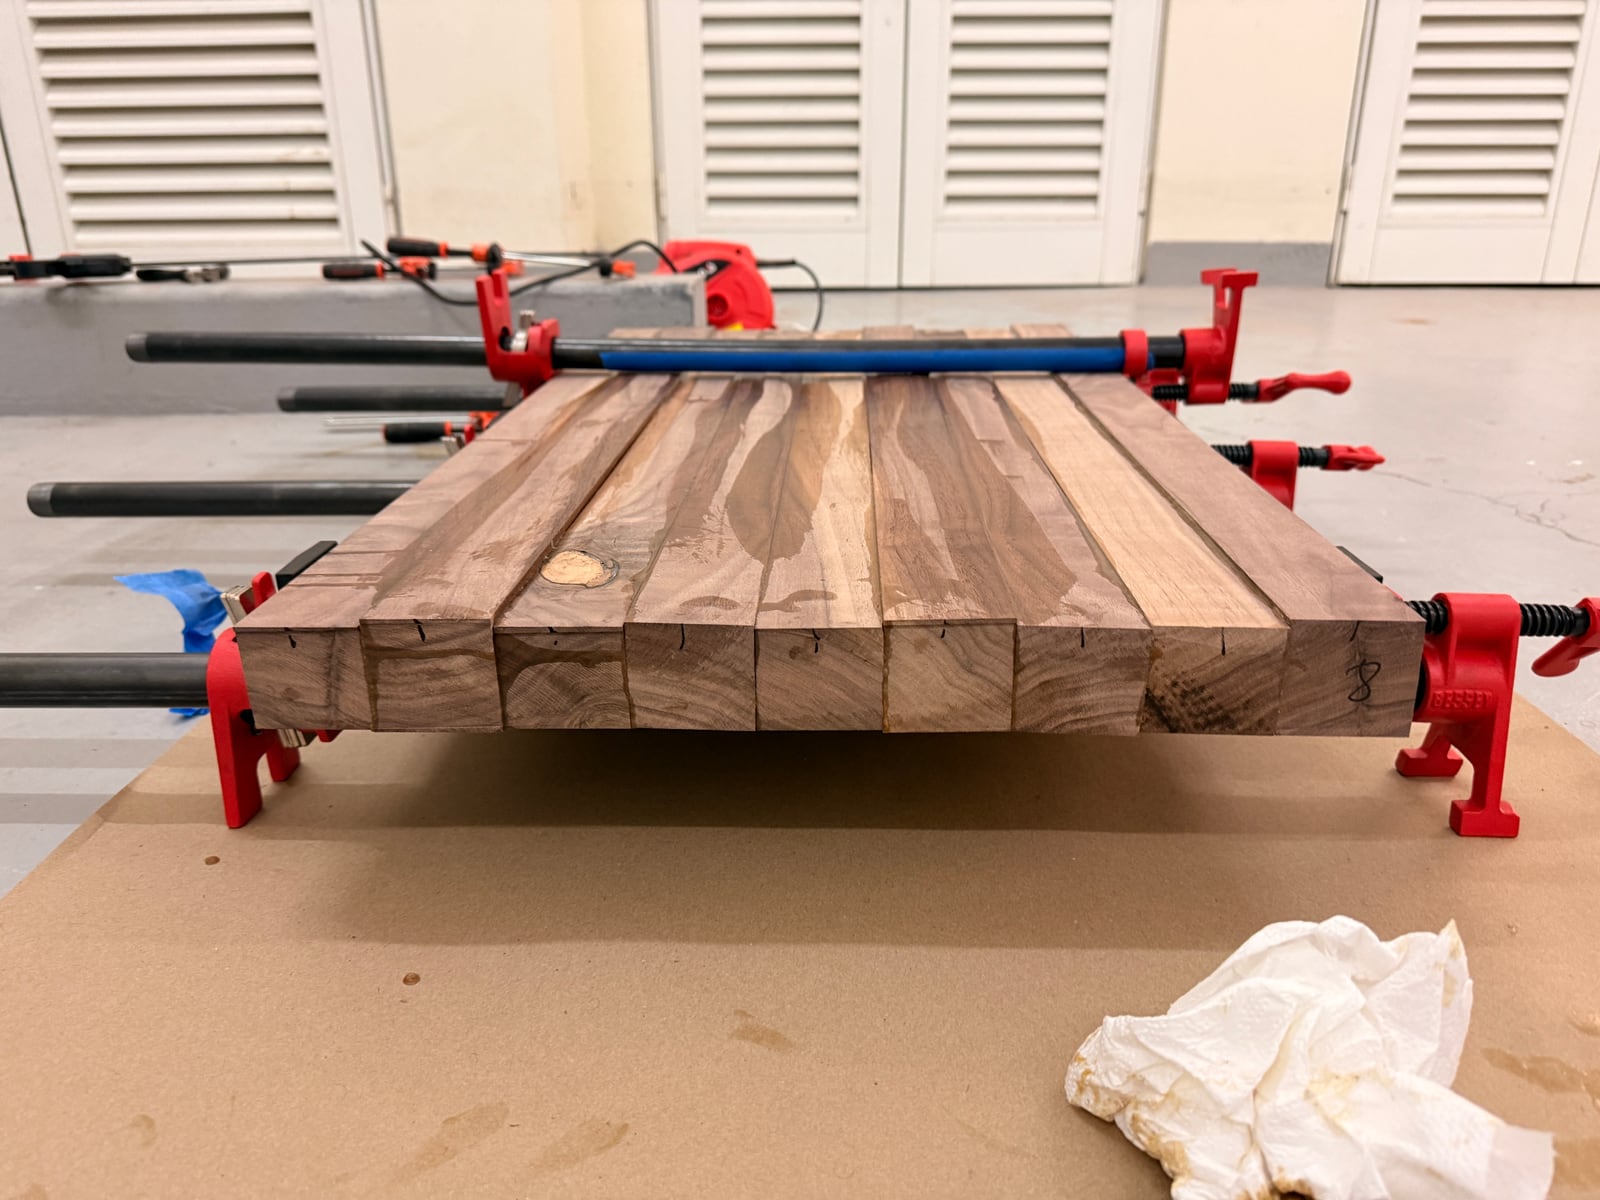
How's the topography of my board? Do you like it?
The tutorial said to scrape off the squeeze-out an hour after the glue-up — but how do you scrape glue off something shaped like a mountain range? Didn't matter. I had a surfacing sled. I slept in peace, knowing I'd fix it.
The 4x4 massacre
A few days later, full of enthusiasm and naivety, I went to surface the board. Got the sled out, unclamped the board, went to put it in — and it didn't fit. The sled wasn't wide enough.
Crap.
I was, it turns out, not that good at this.
Fine: I just needed to take an inch or so off the 4x4 rails on each side. Except, as established, my circular saw can't cut that deep. So I made the first cut, and then — how do I remove the rest? To this day I don't know what the right tool would have been, but a limited toolset breeds creativity, so I grabbed my biggest Stanley chisel and the mallet and started chipping the 4x4 away by hand. I do NOT recommend this. My hand hurt for a week.
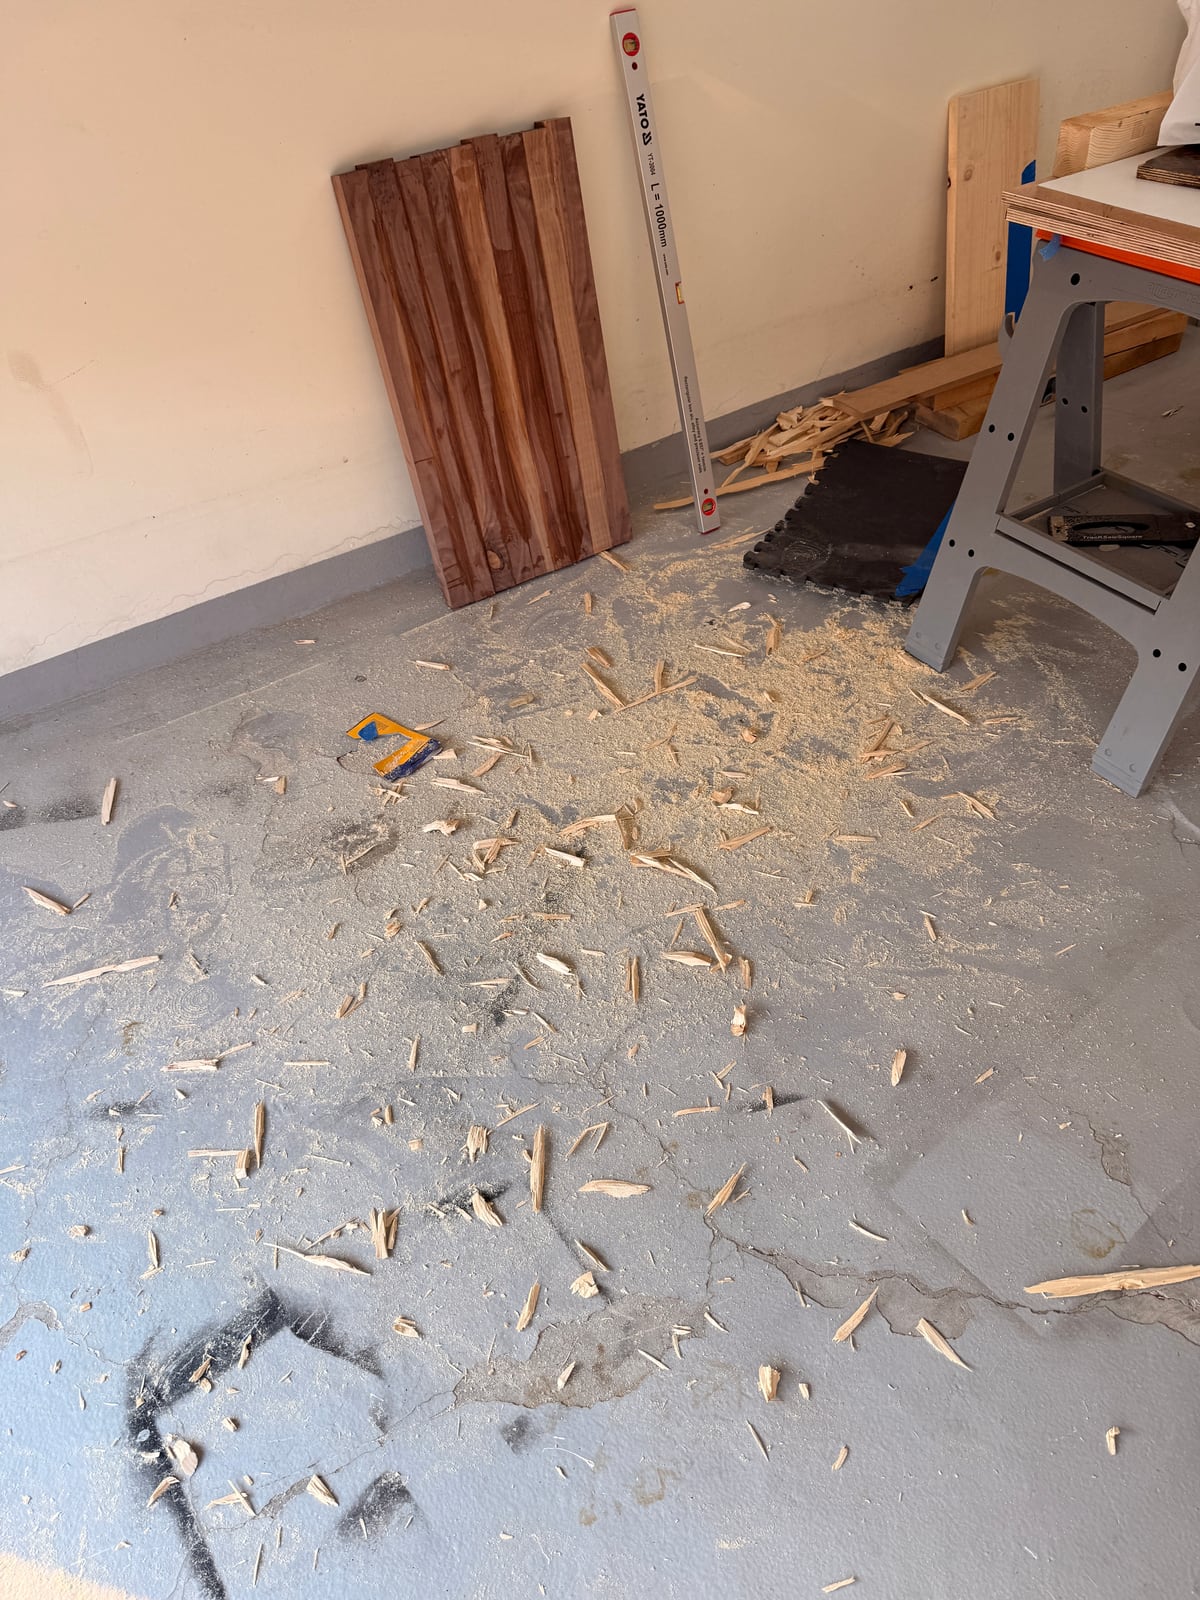
The aftermath of the 4x4 massacre.
Surfacing, one podcast at a time
With the sled finally wide enough, the board went in and the surfacing began. The Whiteside bit is small, so it's small passes, overlapping, over and over and over. This took soooo many hours. I brought a speaker, put podcasts on, and chipped away at it little by little. By the end, I was in love with it:
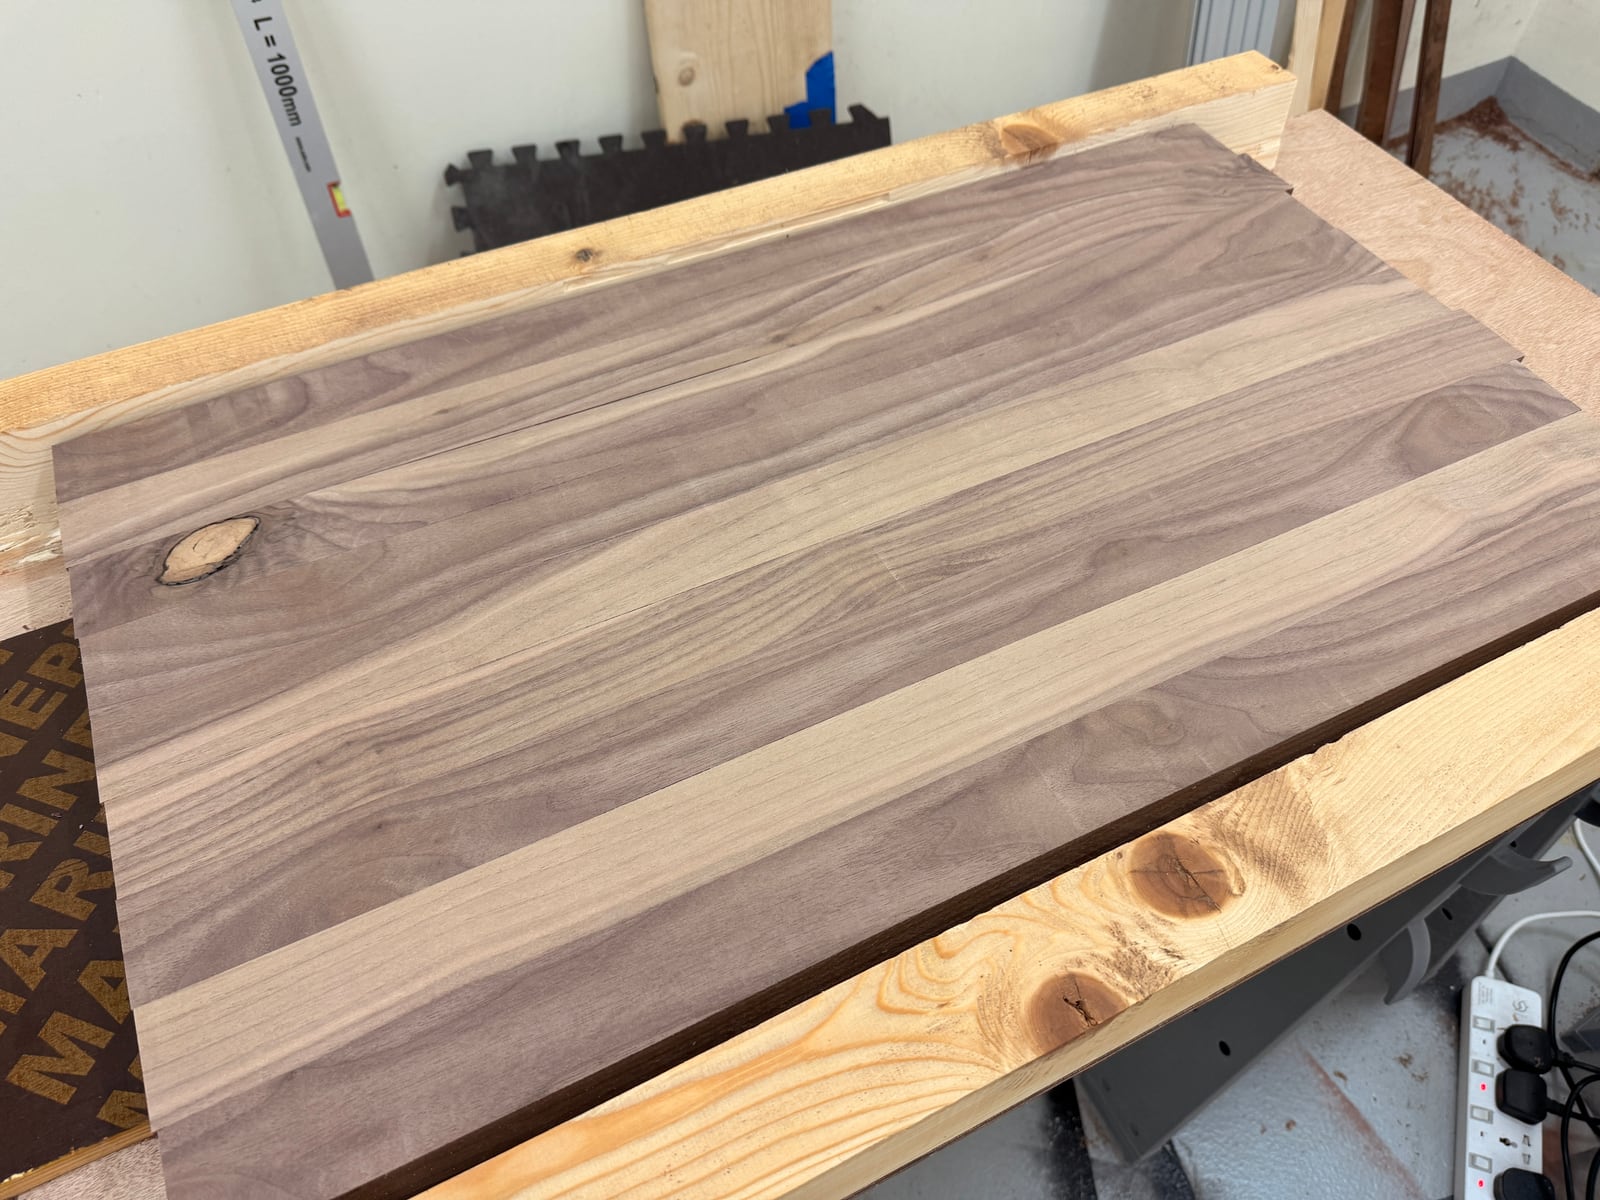
You're no longer making fun of the topography, huh?
It was pretty. But I'd watched too much Foureyes Furniture by then, and I'd started seeing defects everywhere — the Foureyes effect. One joint either hadn't had enough glue, hadn't had enough clamping pressure, or the boards had simply never been touching. And then there was the knot, staring back at me. Mockingly.
Surgery
First patient: the gap in that joint, almost 1mm wide.
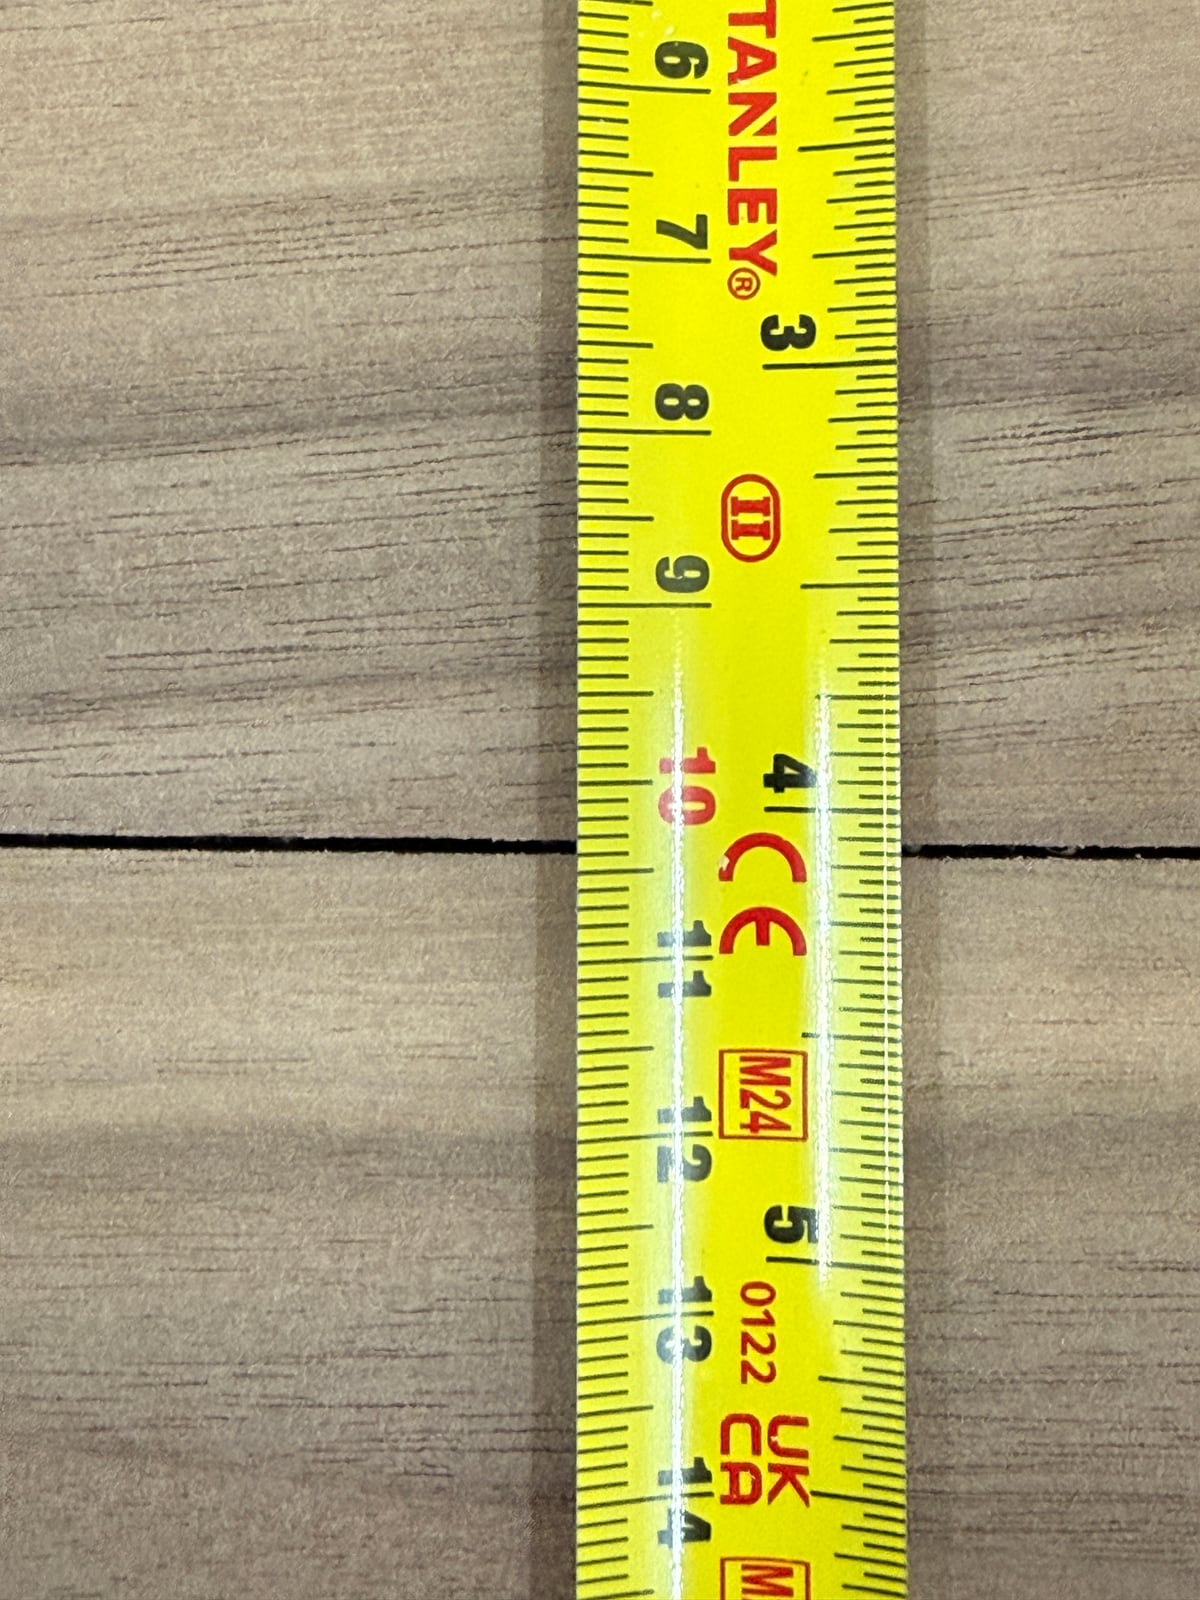
Almost a millimetre. On a cutting board, that's a canyon.
I prepped the board for surgery:
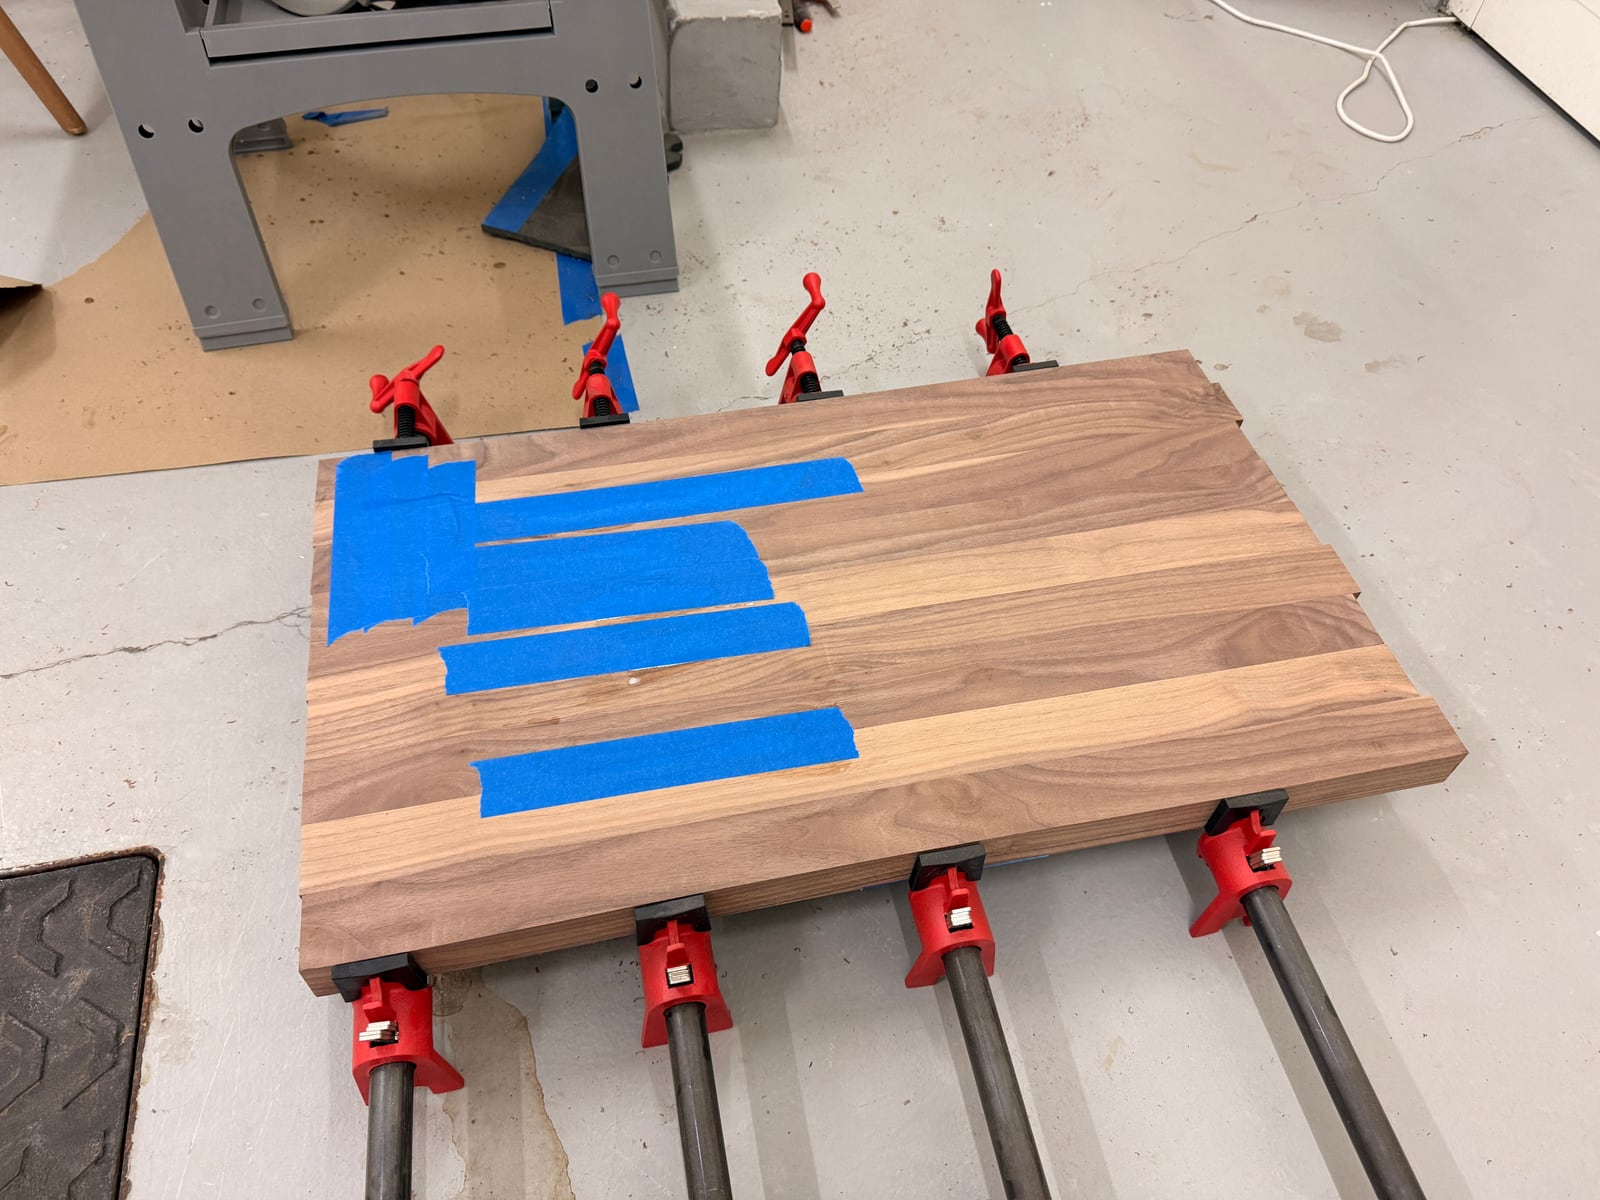
Prepped for surgery.
Why is it in the pipe clamps? I honestly have no idea. It might be my brain's way of helping me forget the pain. I think I may have been trying to clamp the gap shut.
I filled the whole gap with the sawdust-and-glue method and made a note for the next glue-up: use enough glue. A TON of glue. Then I carried on, measuring the strips a lot more carefully this time.
The final glue-up
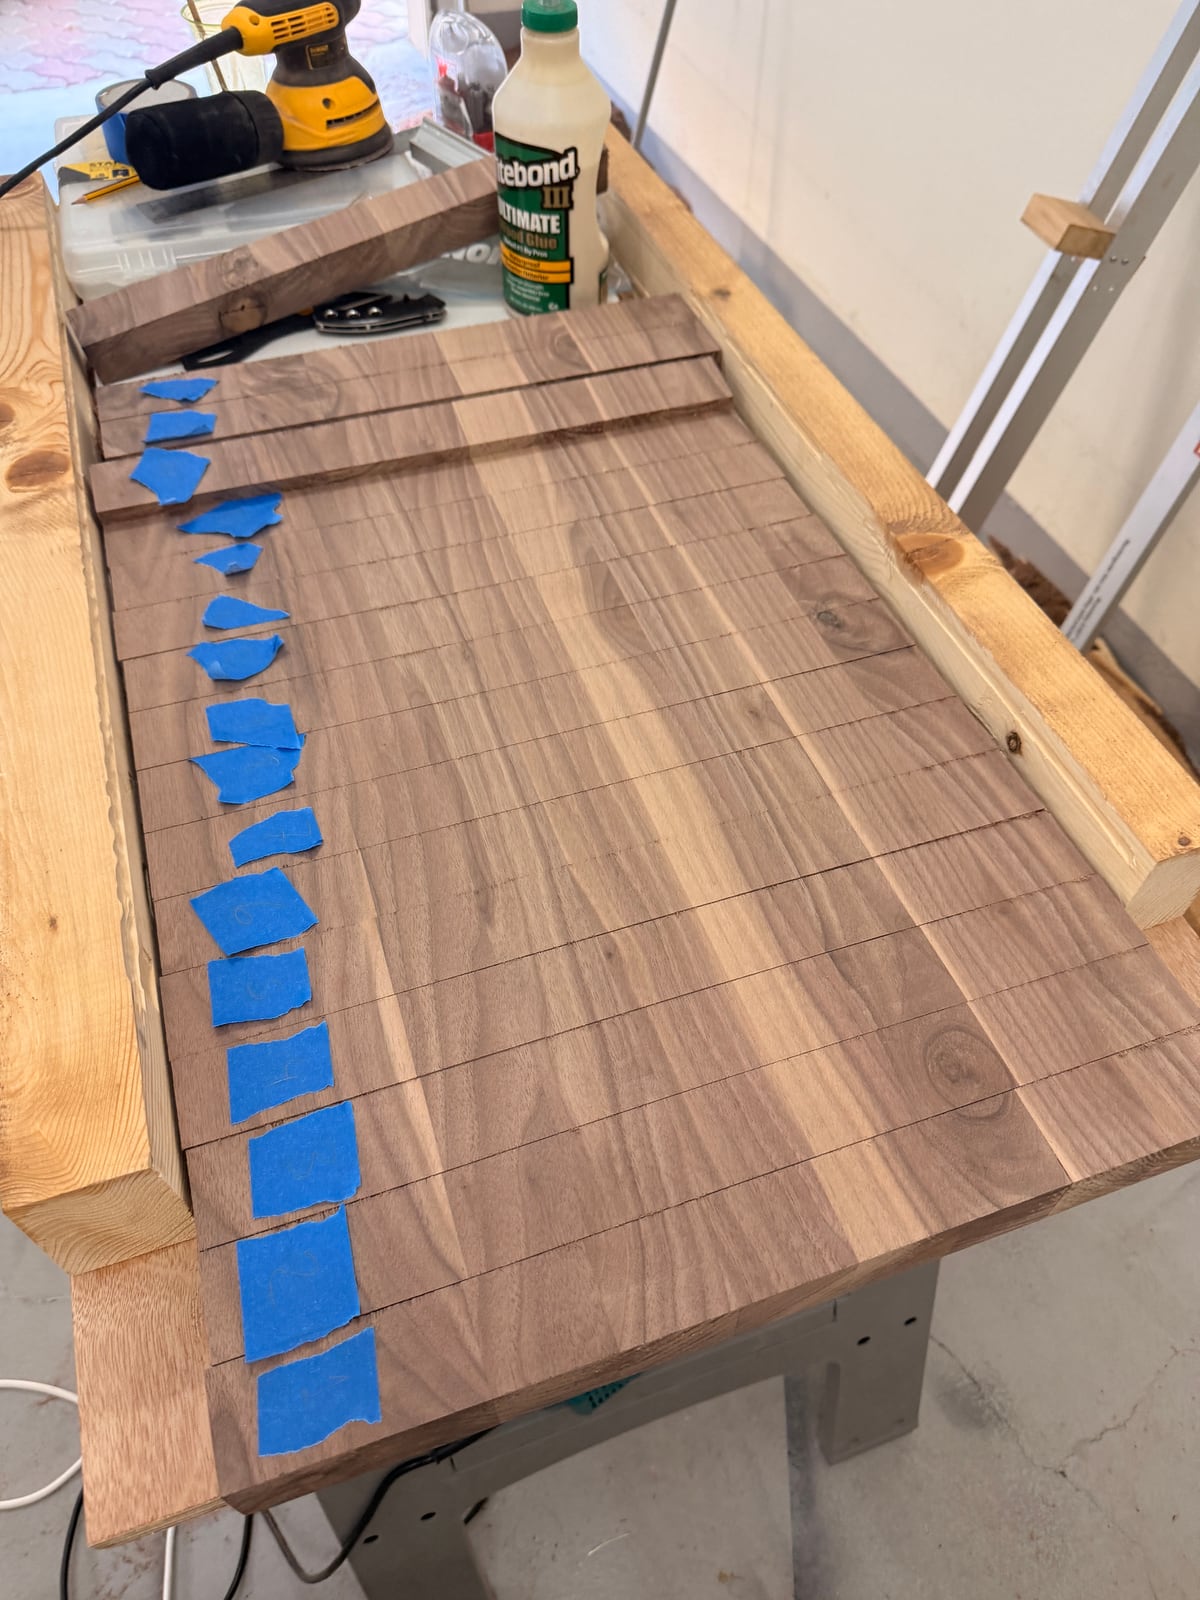
Strips cut, labelled and waiting.
I tried out a few patterns, and I was already in love.
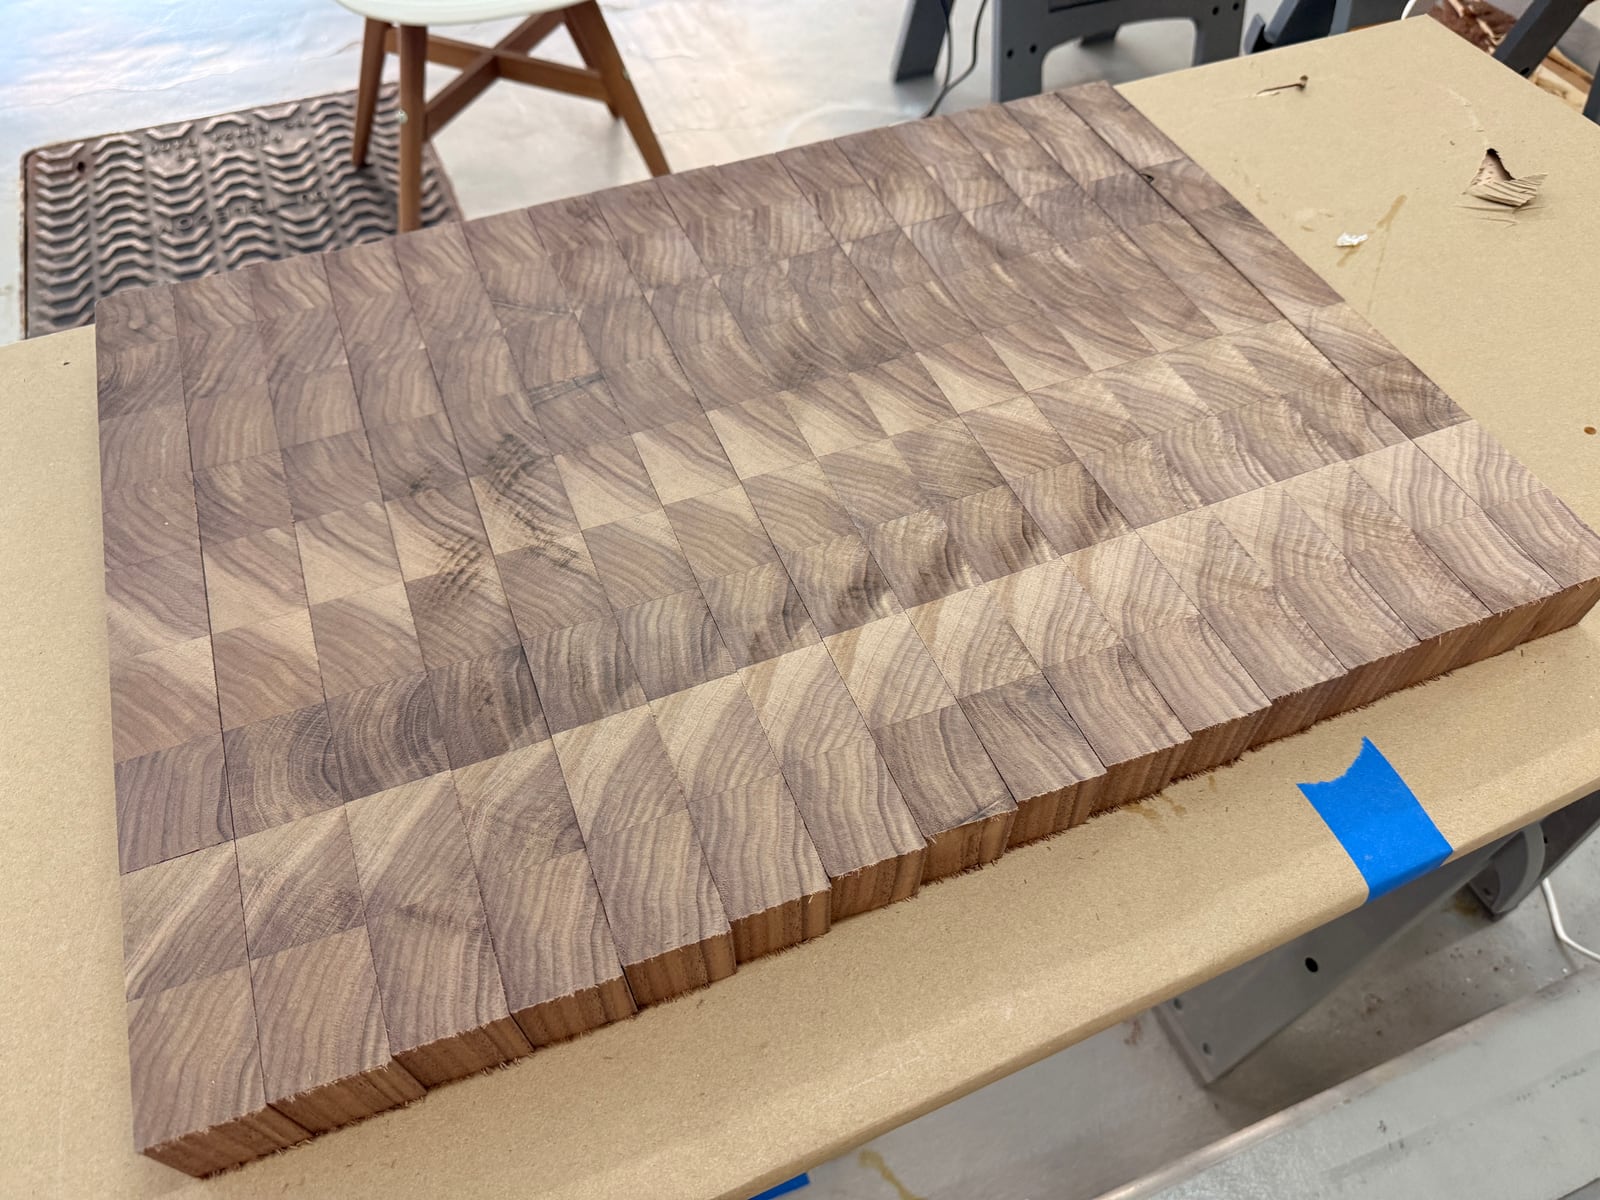
Pattern attempt.
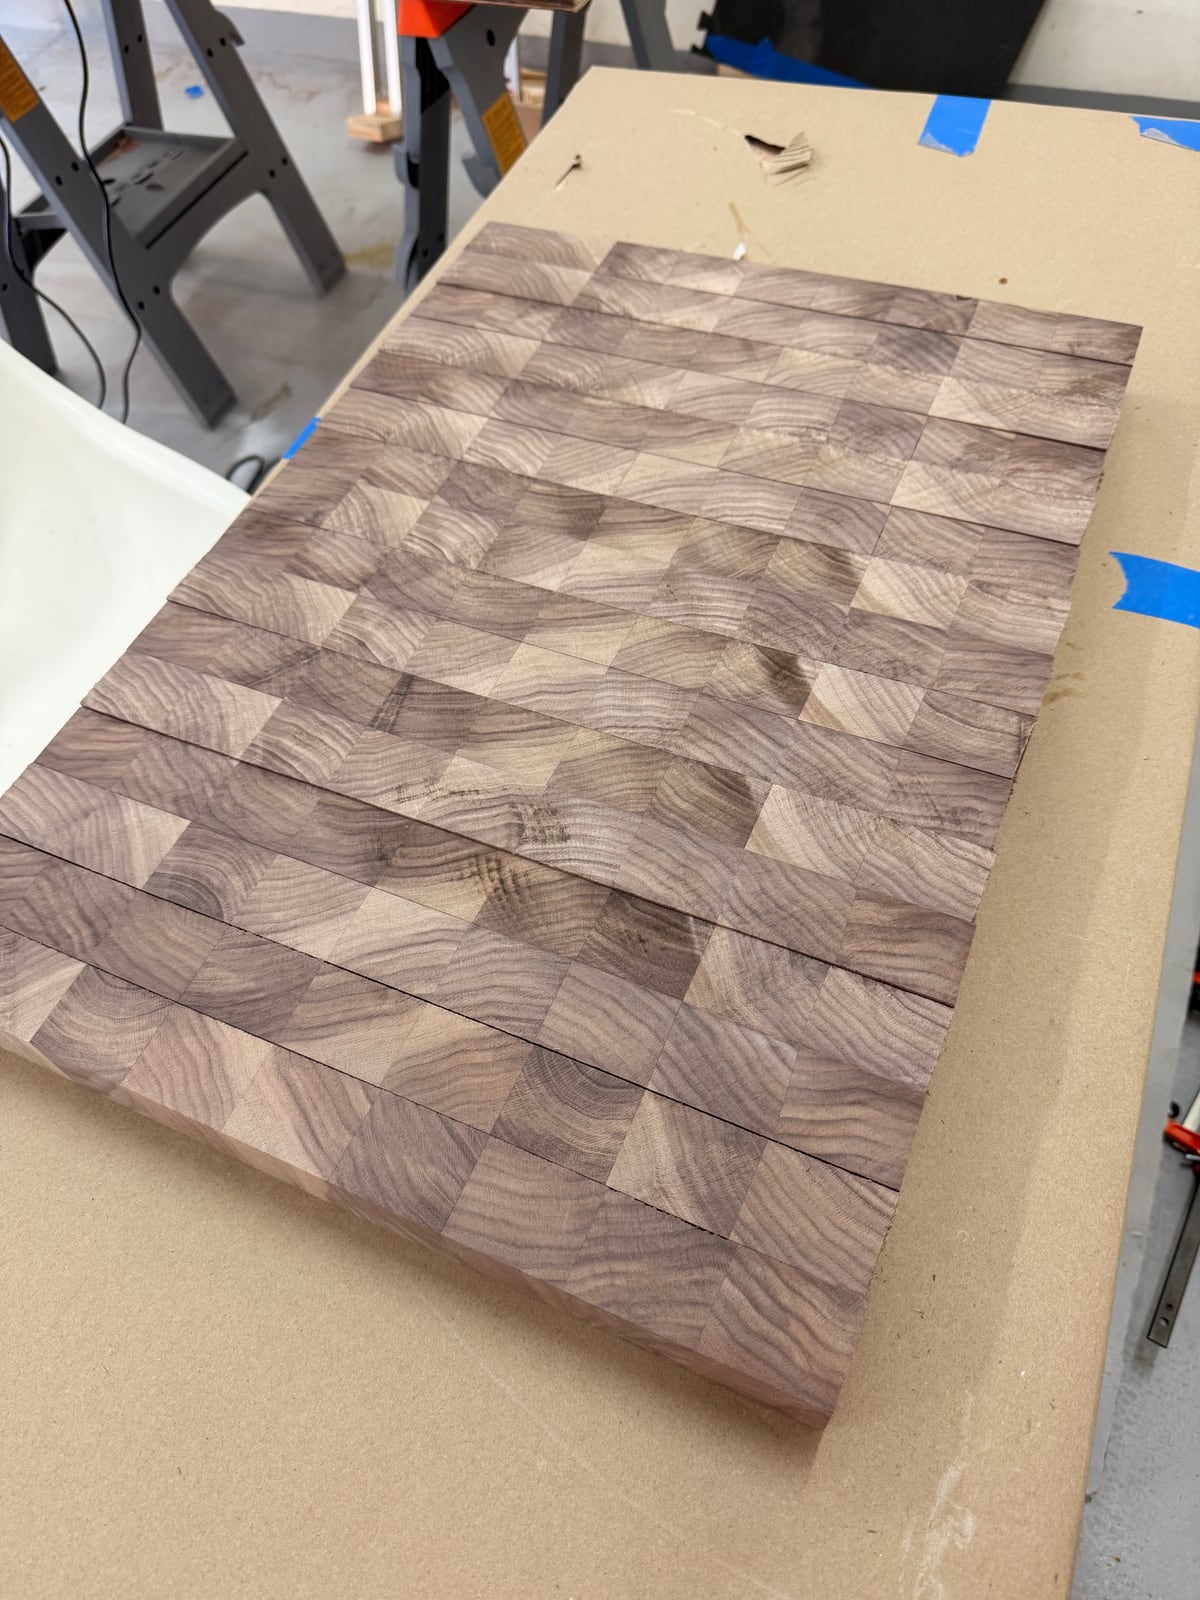
Another pattern attempt. They're all good. That's the problem.
I settled on one and got ready for the final glue-up. Titebond in hand:
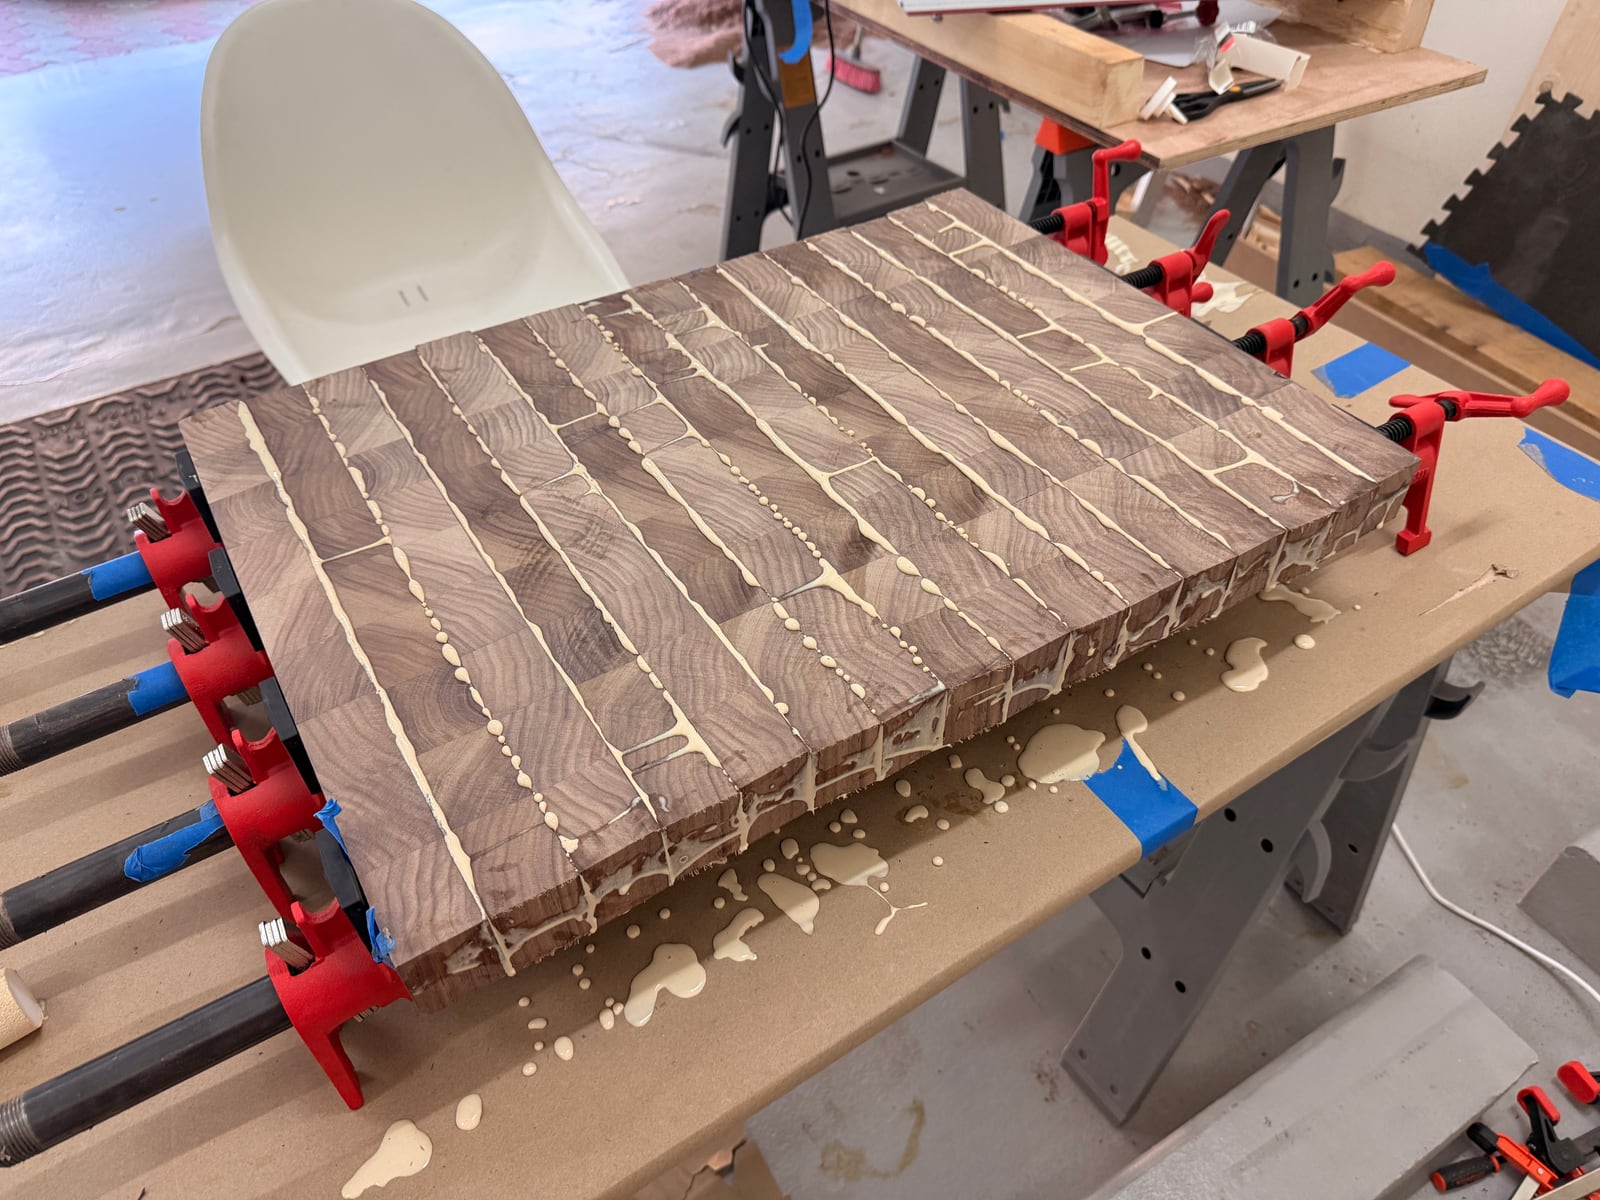
No gap is surviving this.
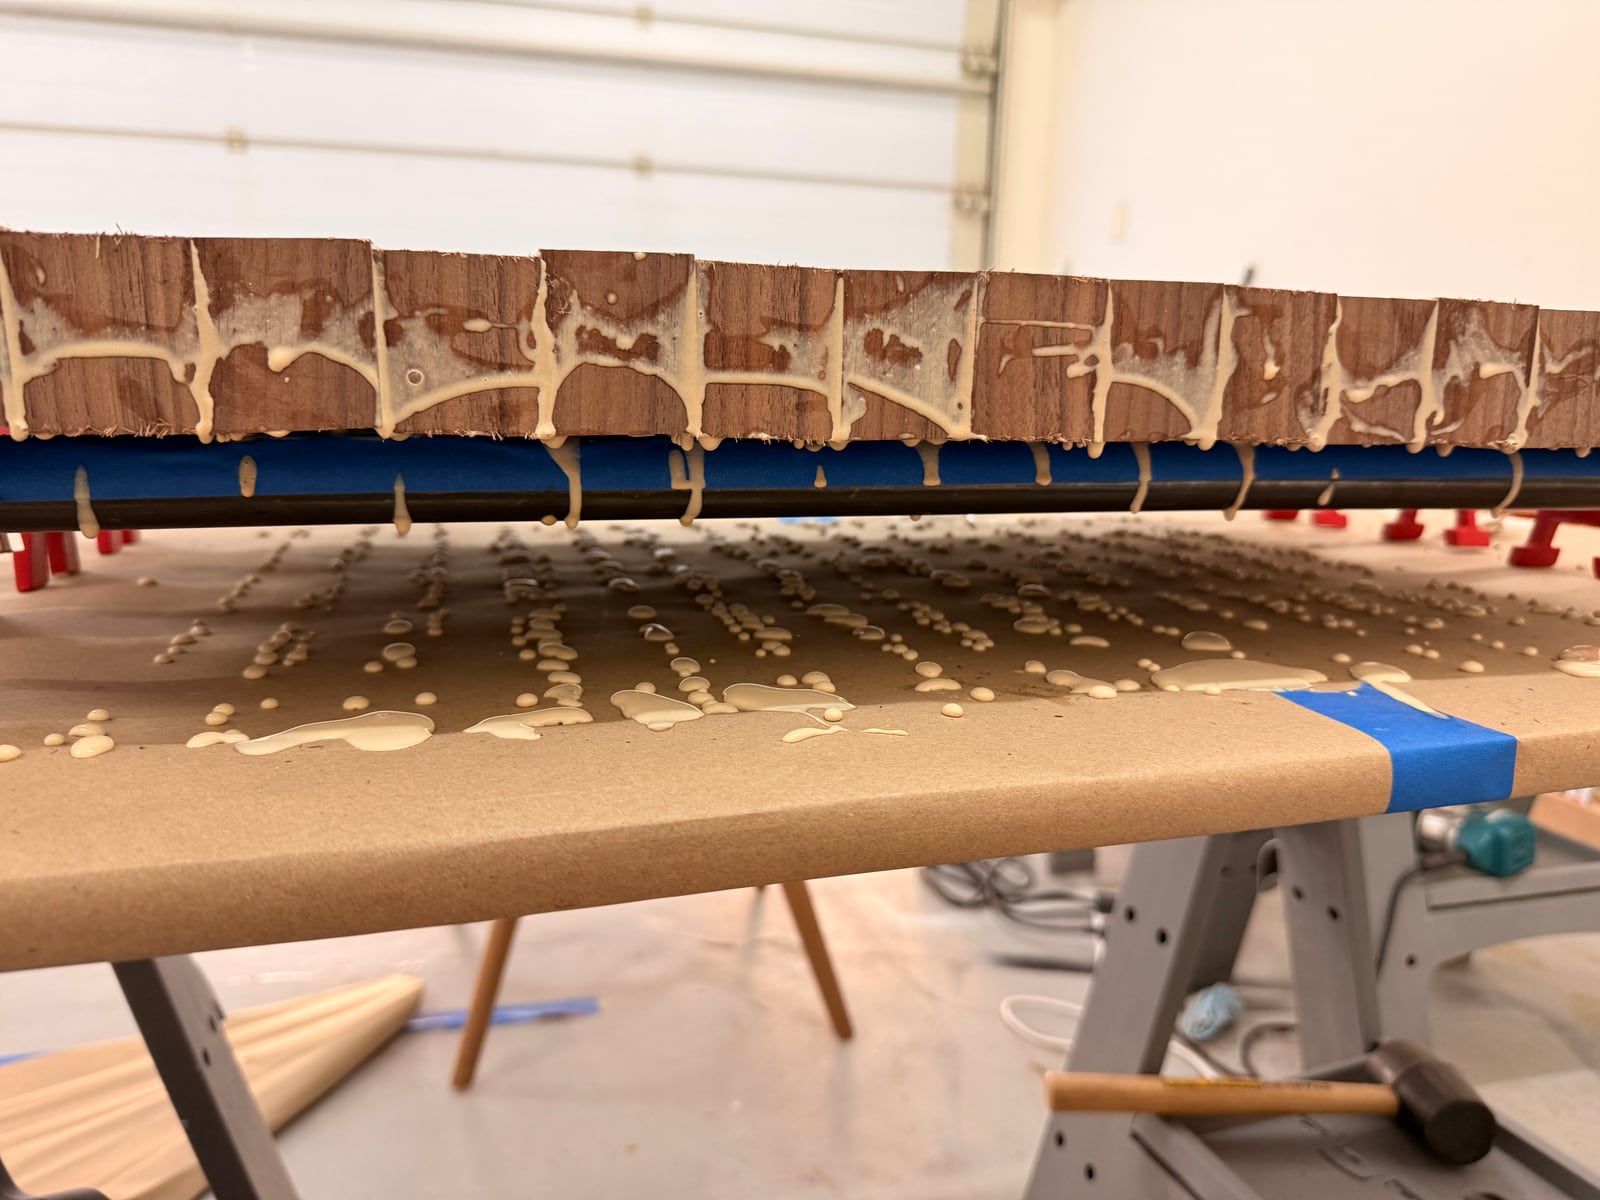
Squeeze-out, as far as the eye can see.
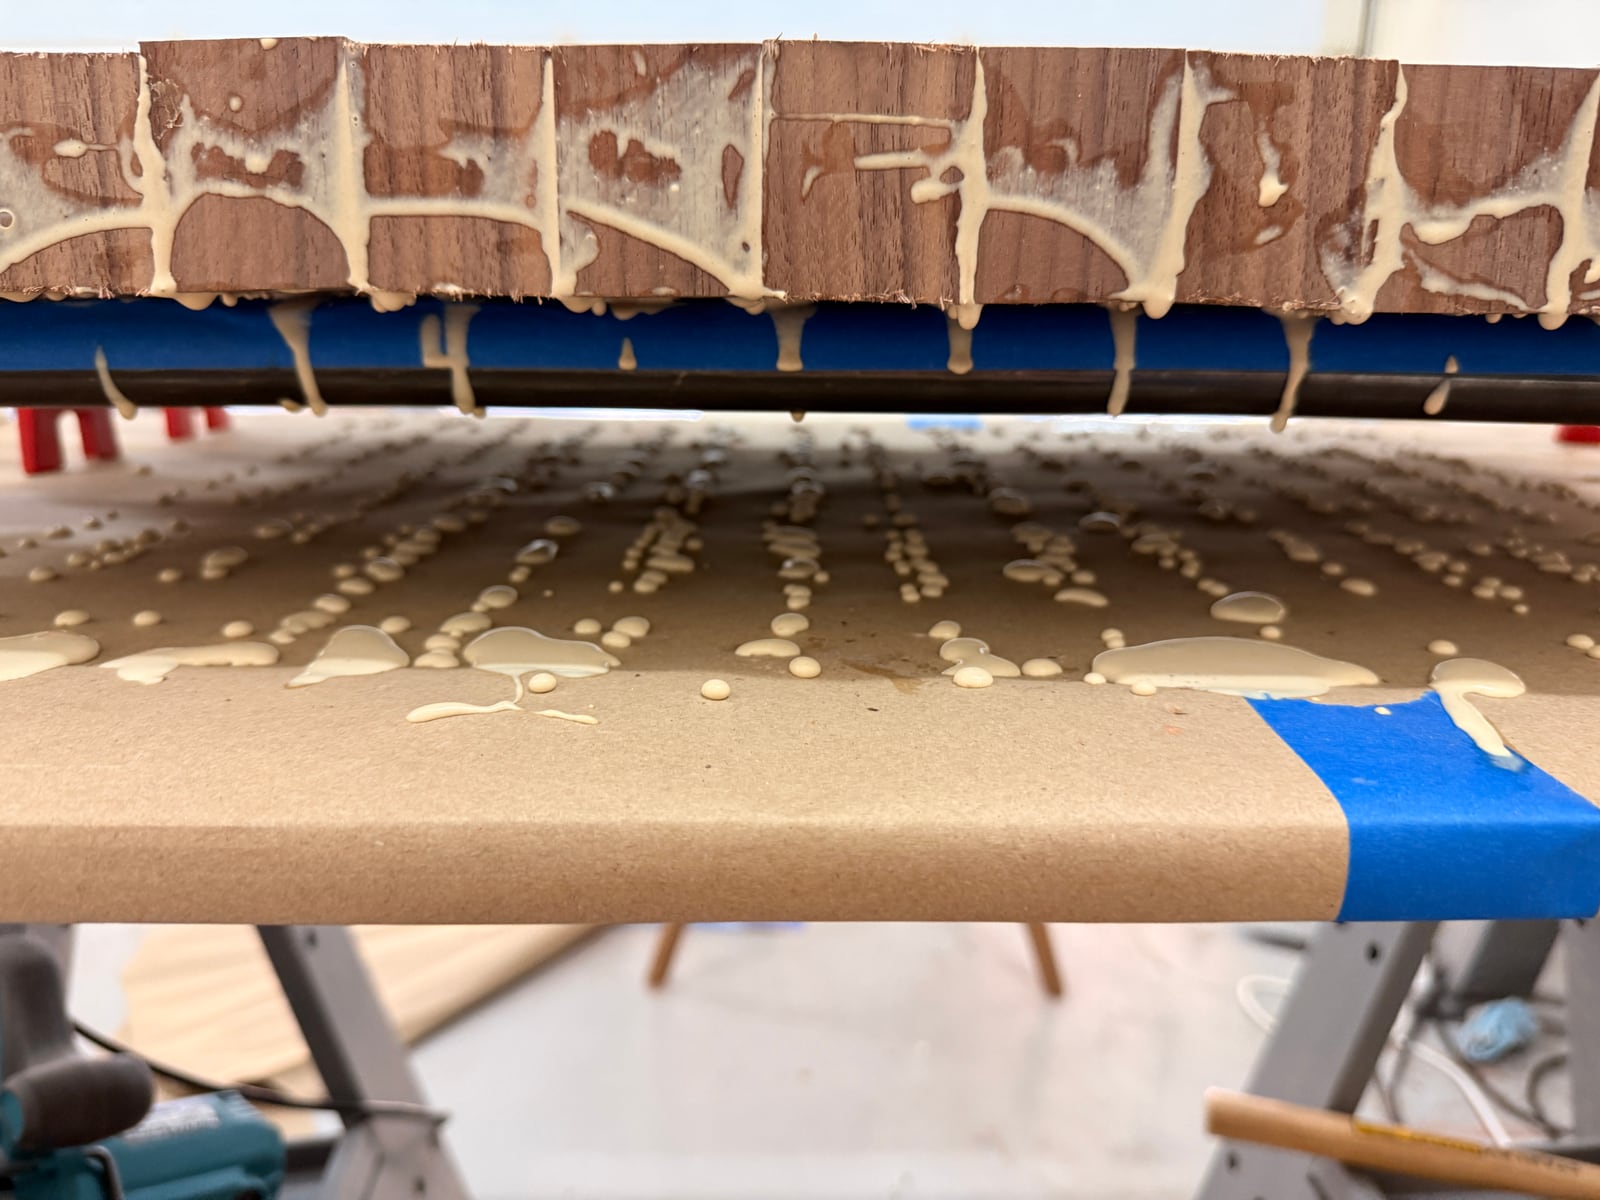
The drips are a feature.
Is this enough glue, mom? I put glue in there like a toddler who's just been handed their first glue stick.
Once it had dried, I surfaced it again, and it was like a miracle. I couldn't believe it.
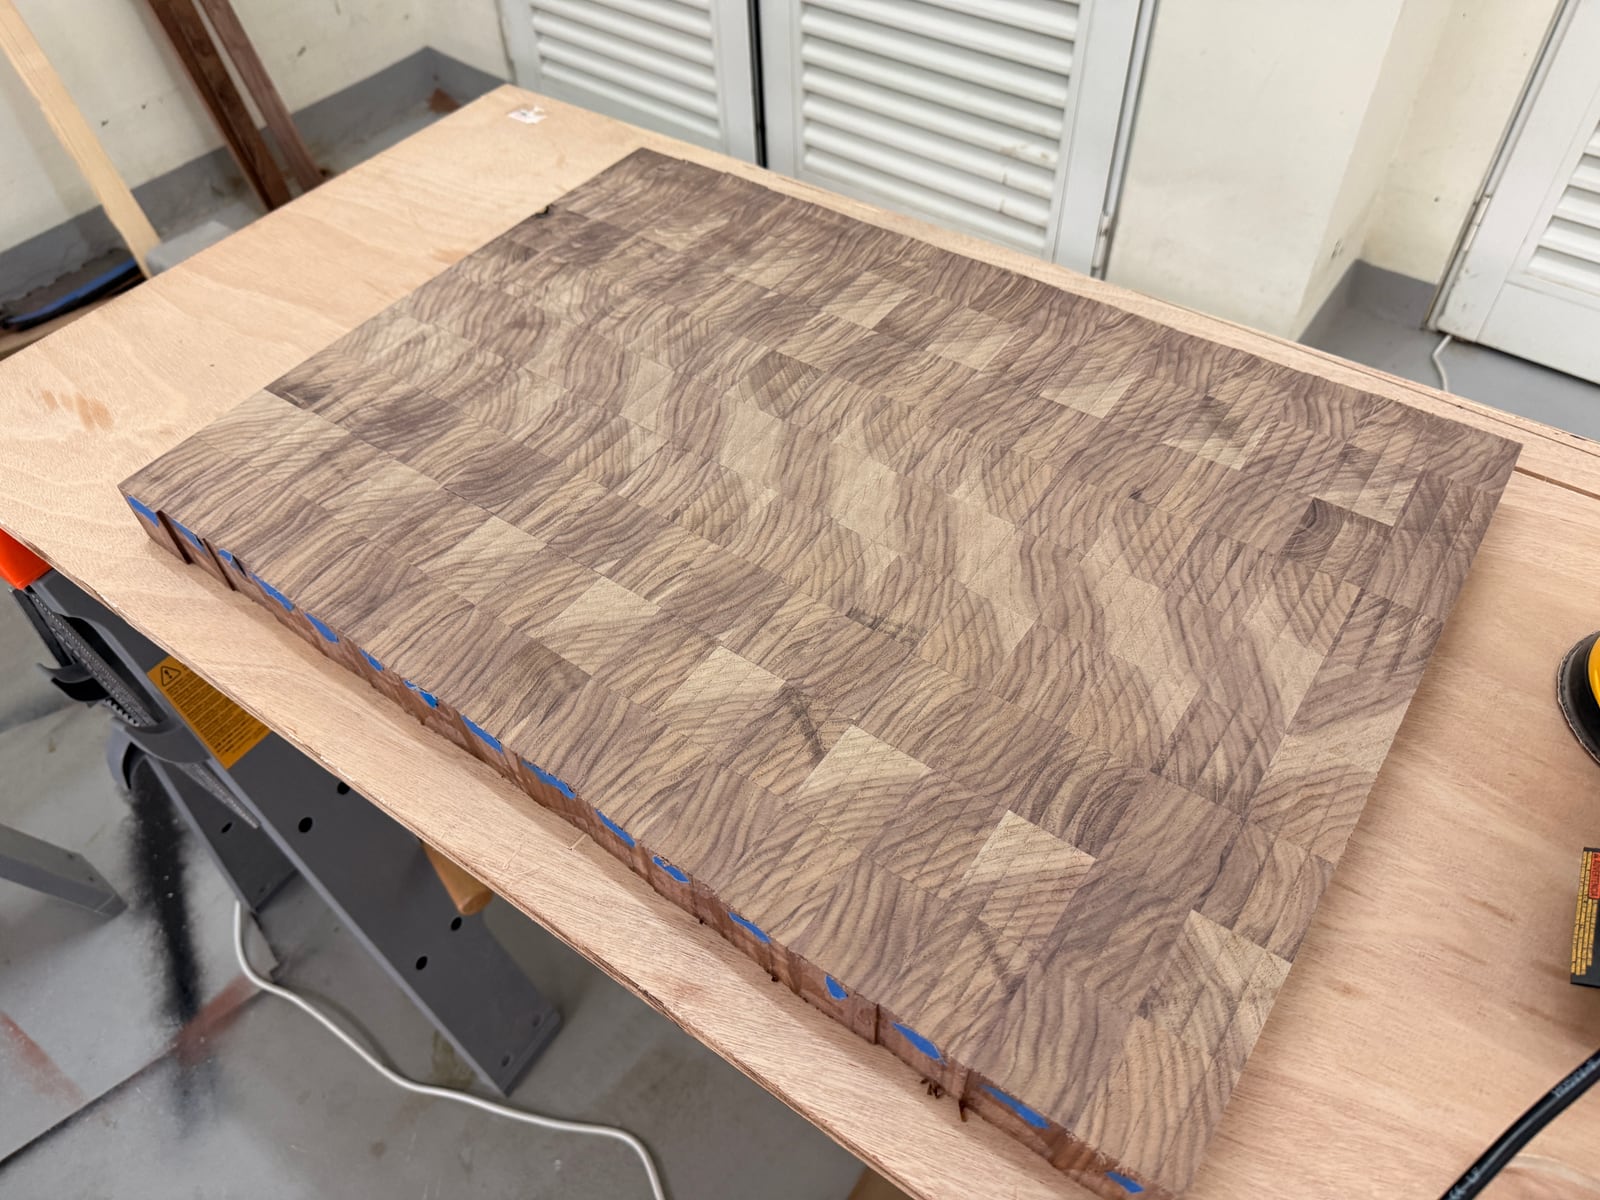
The miracle, surfacing stripes and all.
I didn't know yet that I'd need to sand for 127 hours to get rid of those stripes. But in that moment, I was so happy.
The knot
Next patient: the knot.
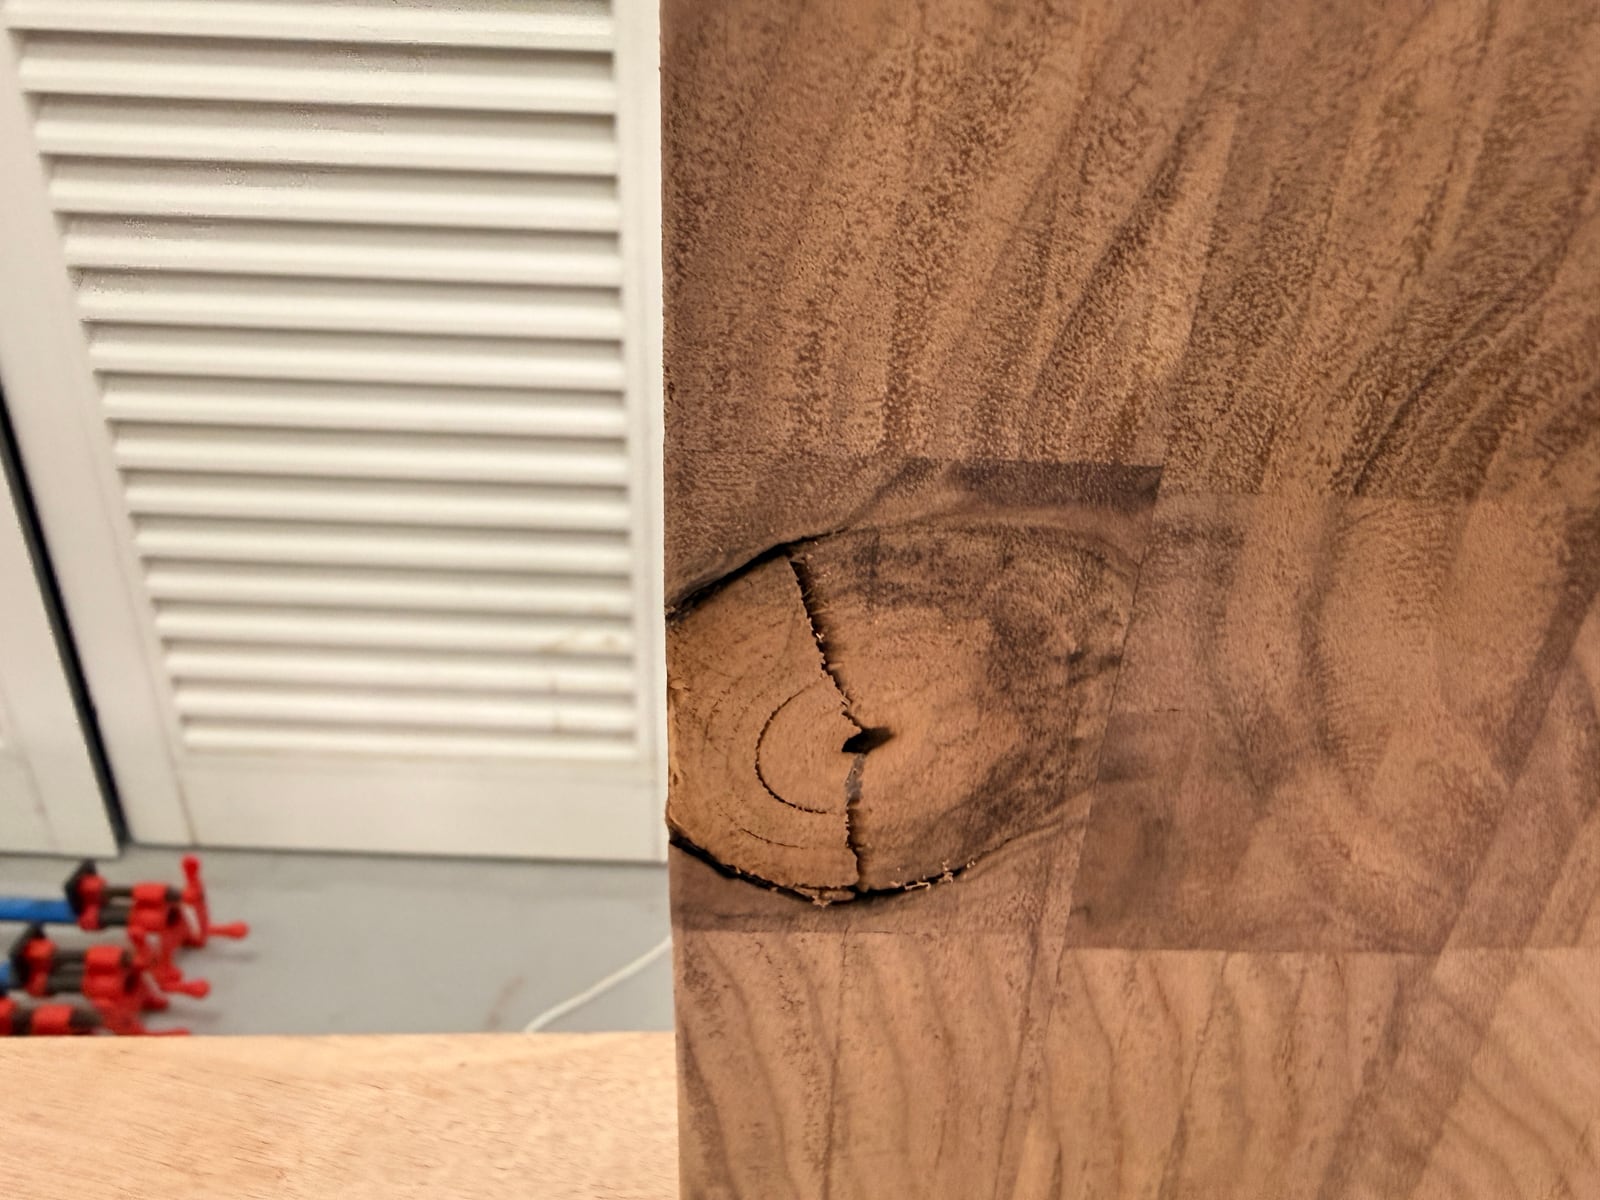
My nemesis, up close.
The sawdust-and-glue trick couldn't really get into it, so I switched to CA glue — the thin kind, which wicks into the cracks. I started dripping it in, and the knot drank it like a camel at an oasis.
The details of this stage are a blur, but my phone has the evidence: screenshots, taken at random hours, of every CA glue I could get delivered fast.
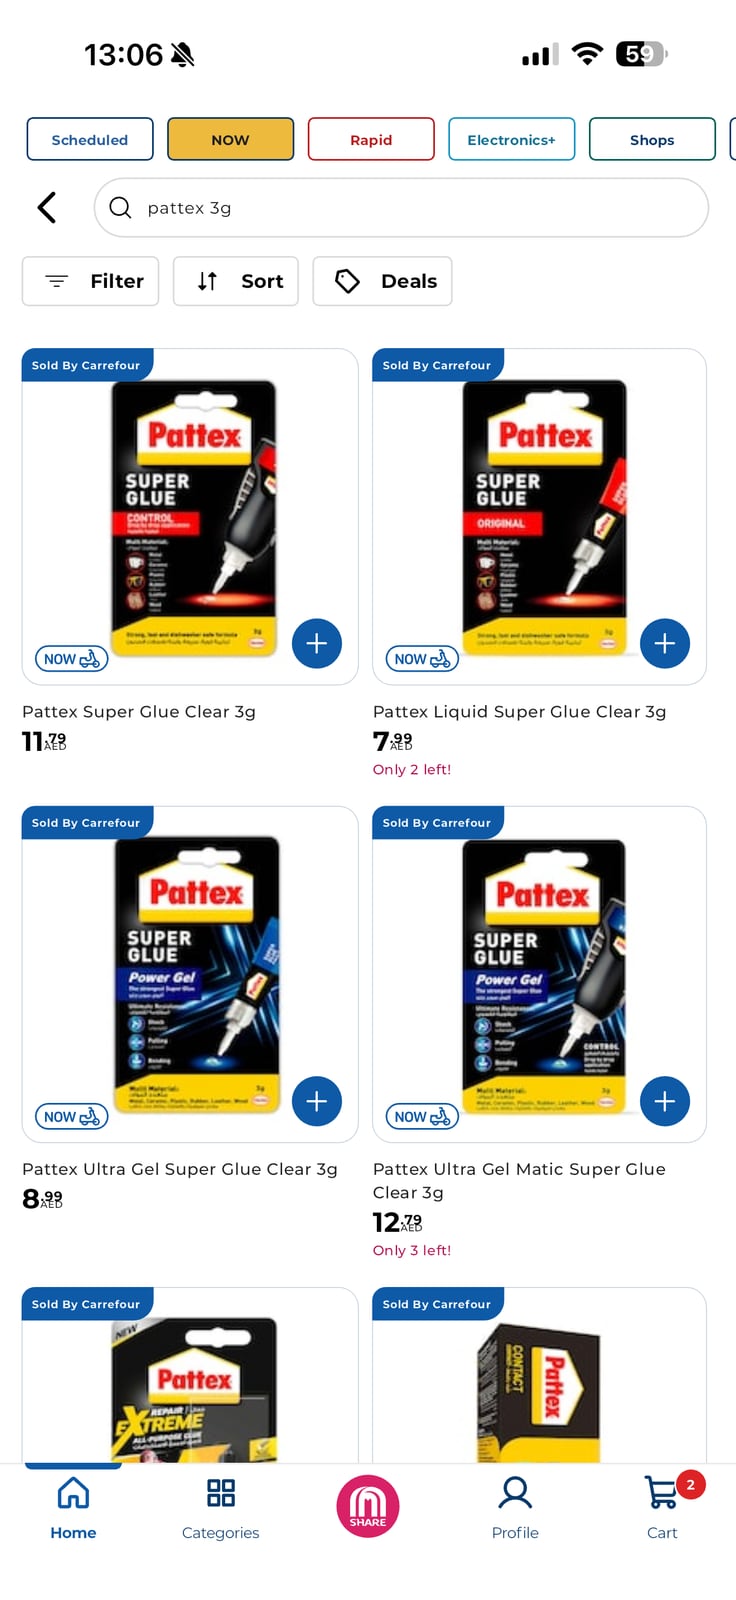
Exhibit A: the CA glue shopping spree.
Eventually it was almost done, and I decided it didn't need to be perfect. I was going to put a chamfer on that edge anyway, and the chamfer would eat part of the knot.
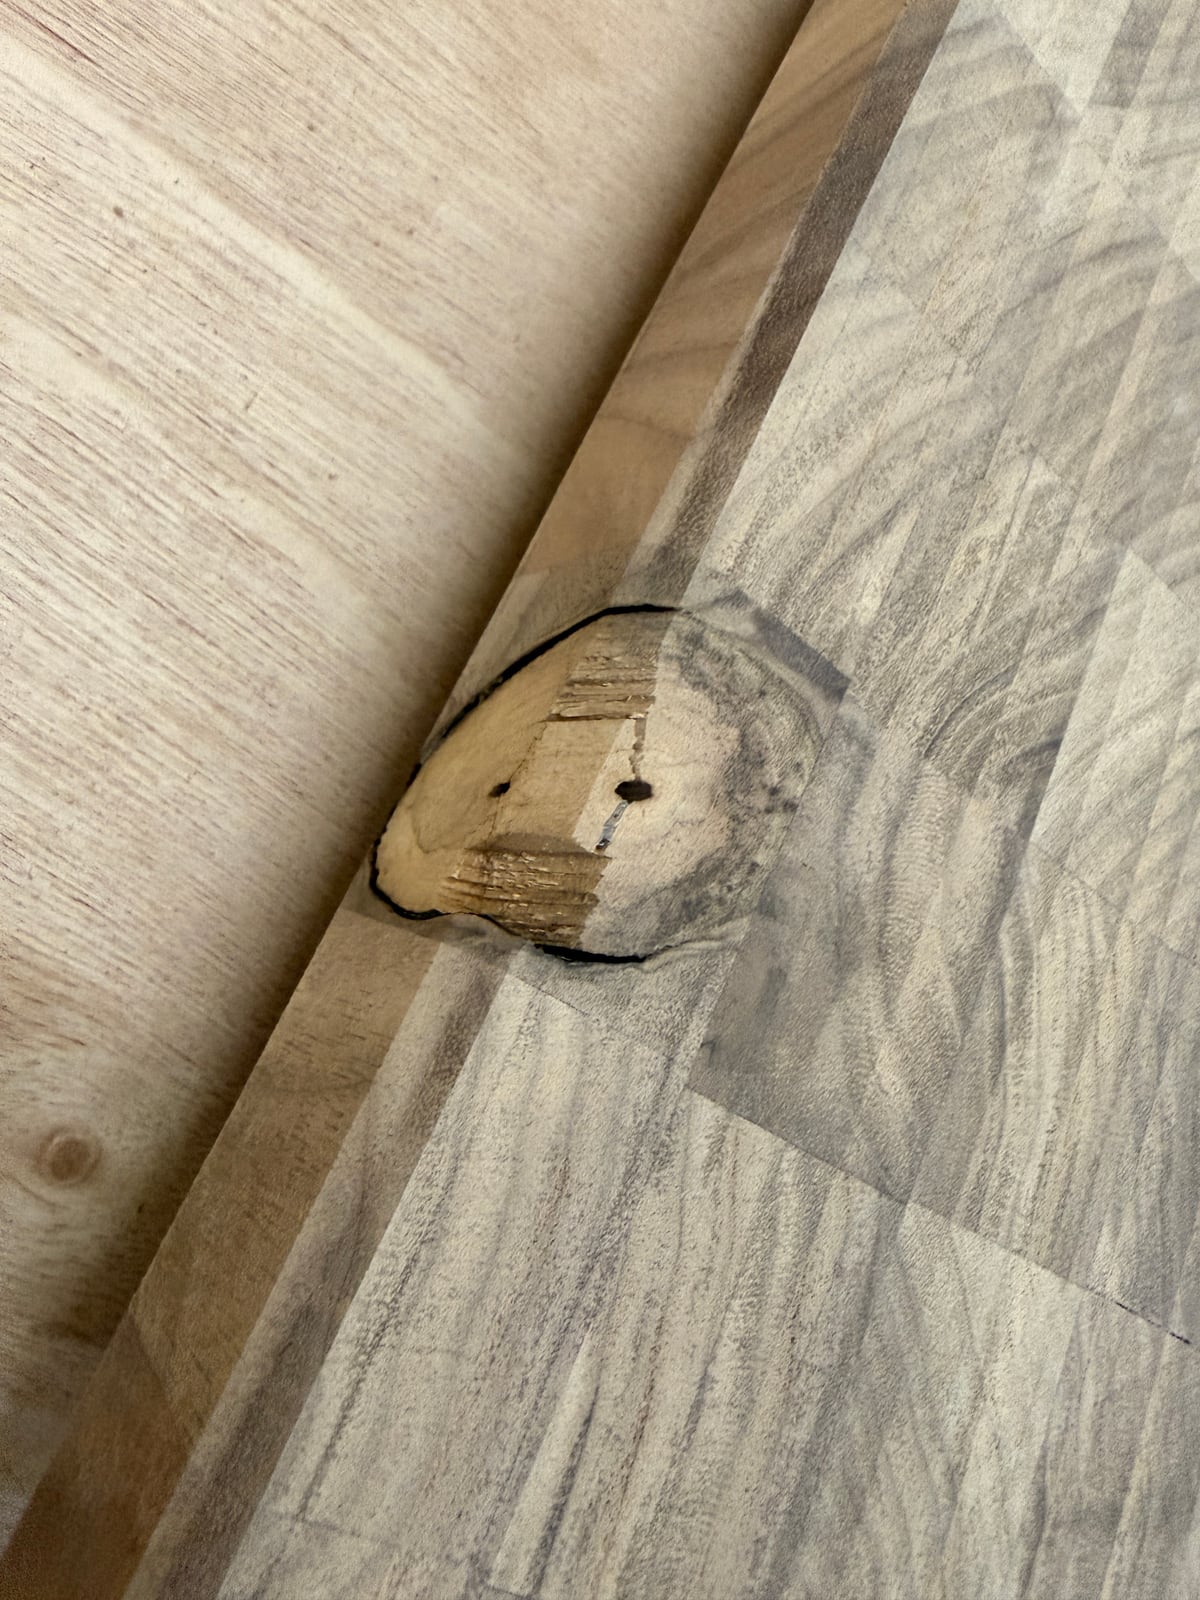
The chamfer, however, just made it worse.
Reader, the chamfer did not eat the knot. So back into surgery the board went, this time for a walnut chip transplant.
Sanding: the dark side
And then I met one of the darkest, least talked-about parts of woodworking: sanding. Nobody posts the sanding on TikTok. Now I know why. My entire sanding résumé at that point was a few pine boards for a side table, and I took every one of those lessons straight to end grain walnut.
It took forever. I went grit by grit — 60 to get rid of the ugly surfacing lines, then 80, 120, 180 and 220 — scribbling pen marks all over the surface so I could see where I'd been, sanding them off, scribbling again, sanding again. Endlessly. And the lines would not go away.
Here's the thing about a grit progression: each grit only removes the scratches the previous one left behind. Whatever the 60 doesn't take out, the 220 certainly won't — it'll just polish it. And end grain makes all of it slower, because instead of sanding along the fibres, you're grinding down their ends.
This was also when I found out that the cheap no-name sanding discs that had been fine on pine clogged almost instantly on this. My time, I decided, was worth something, so I went overkill: Bosch M480 net discs, which pull the dust through the whole mesh instead of through a handful of holes. (I know now they're not the best, but they're good.) I bought Bosch for the first and last grits and Makita for everything in between, on the theory that the first grit had to be the best possible to kill the router lines, and the last had to be the best possible for the finish.
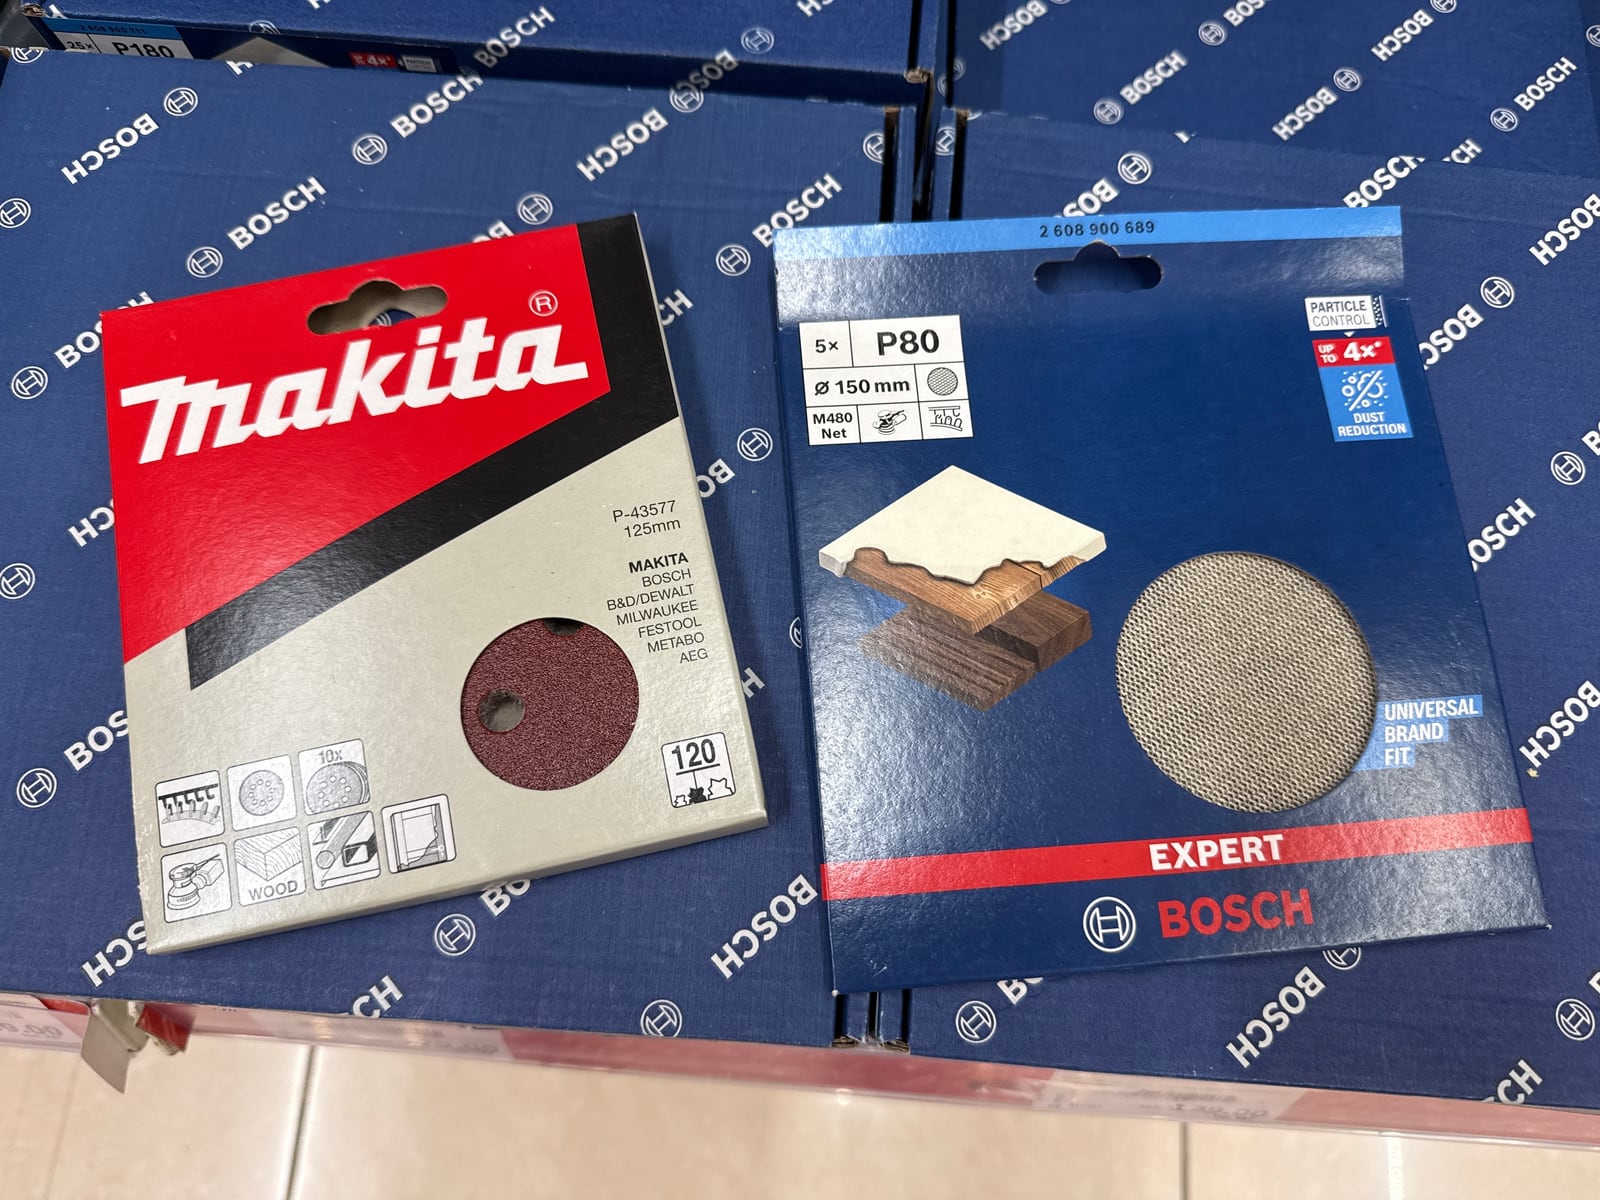
Makita for the middle grits, Bosch for the bookends.
It was a game changer. Suddenly, things were moving.
One final procedure
I thought I was done — and then the Foureyes effect struck one last time. I spotted a tiny hole, so the board went in for one final, small procedure:
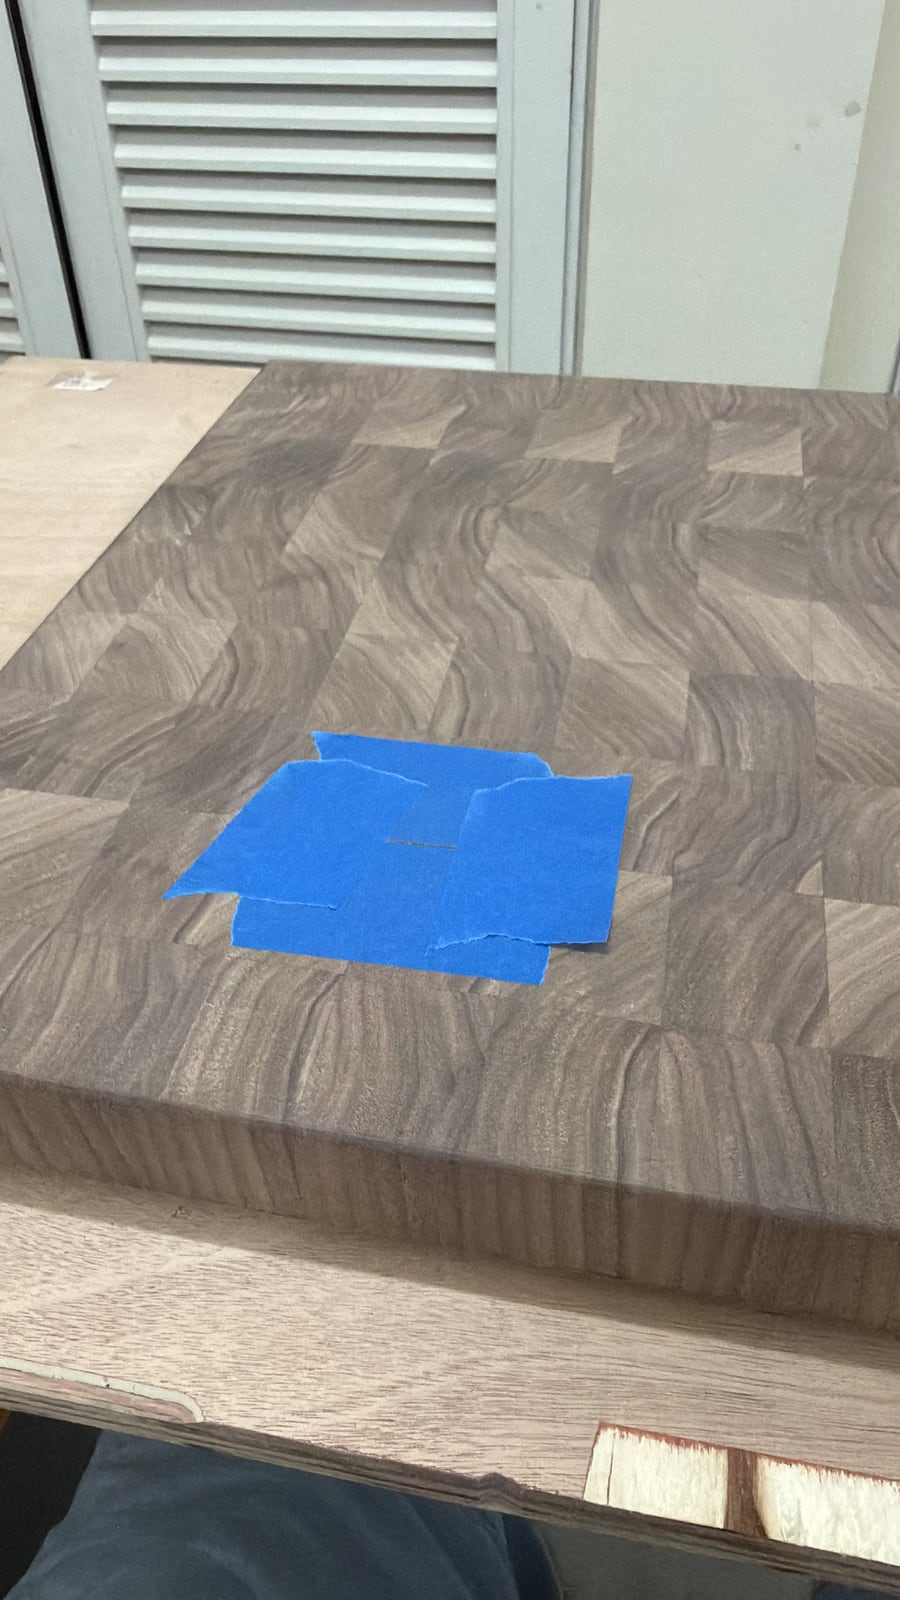
Last patient of the day.
After that, a quick roundover with the router — I'm an expert now — and it was ready.
I couldn't believe it. My wife asked whether I was still adding the juice groove I'd originally planned. But I had so much trauma, and I was so happy with the result, that I didn't want to risk it. So, screw the juice groove. If it comes to it, I'll overcook the meat to avoid the juices.
Oil, feet, and the beauty shots
All that was left was the final step: a luxurious bath in food-safe oil.
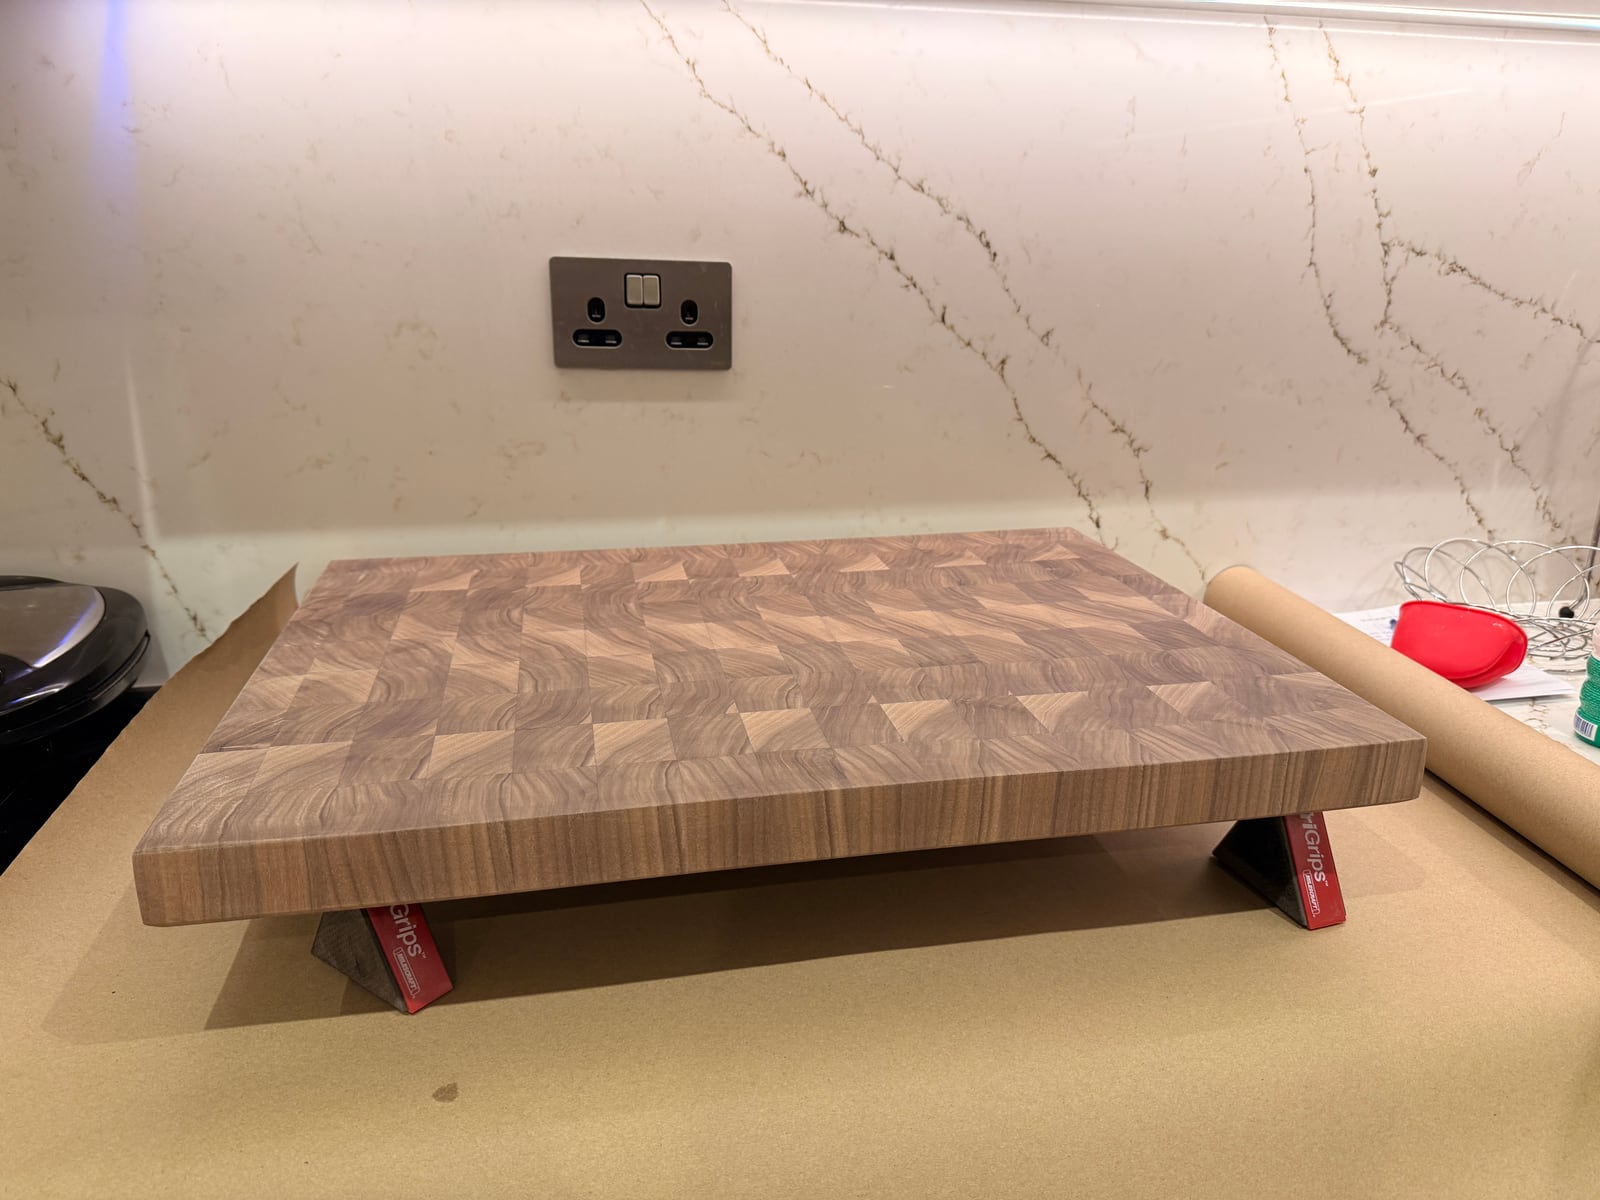
Spa day.
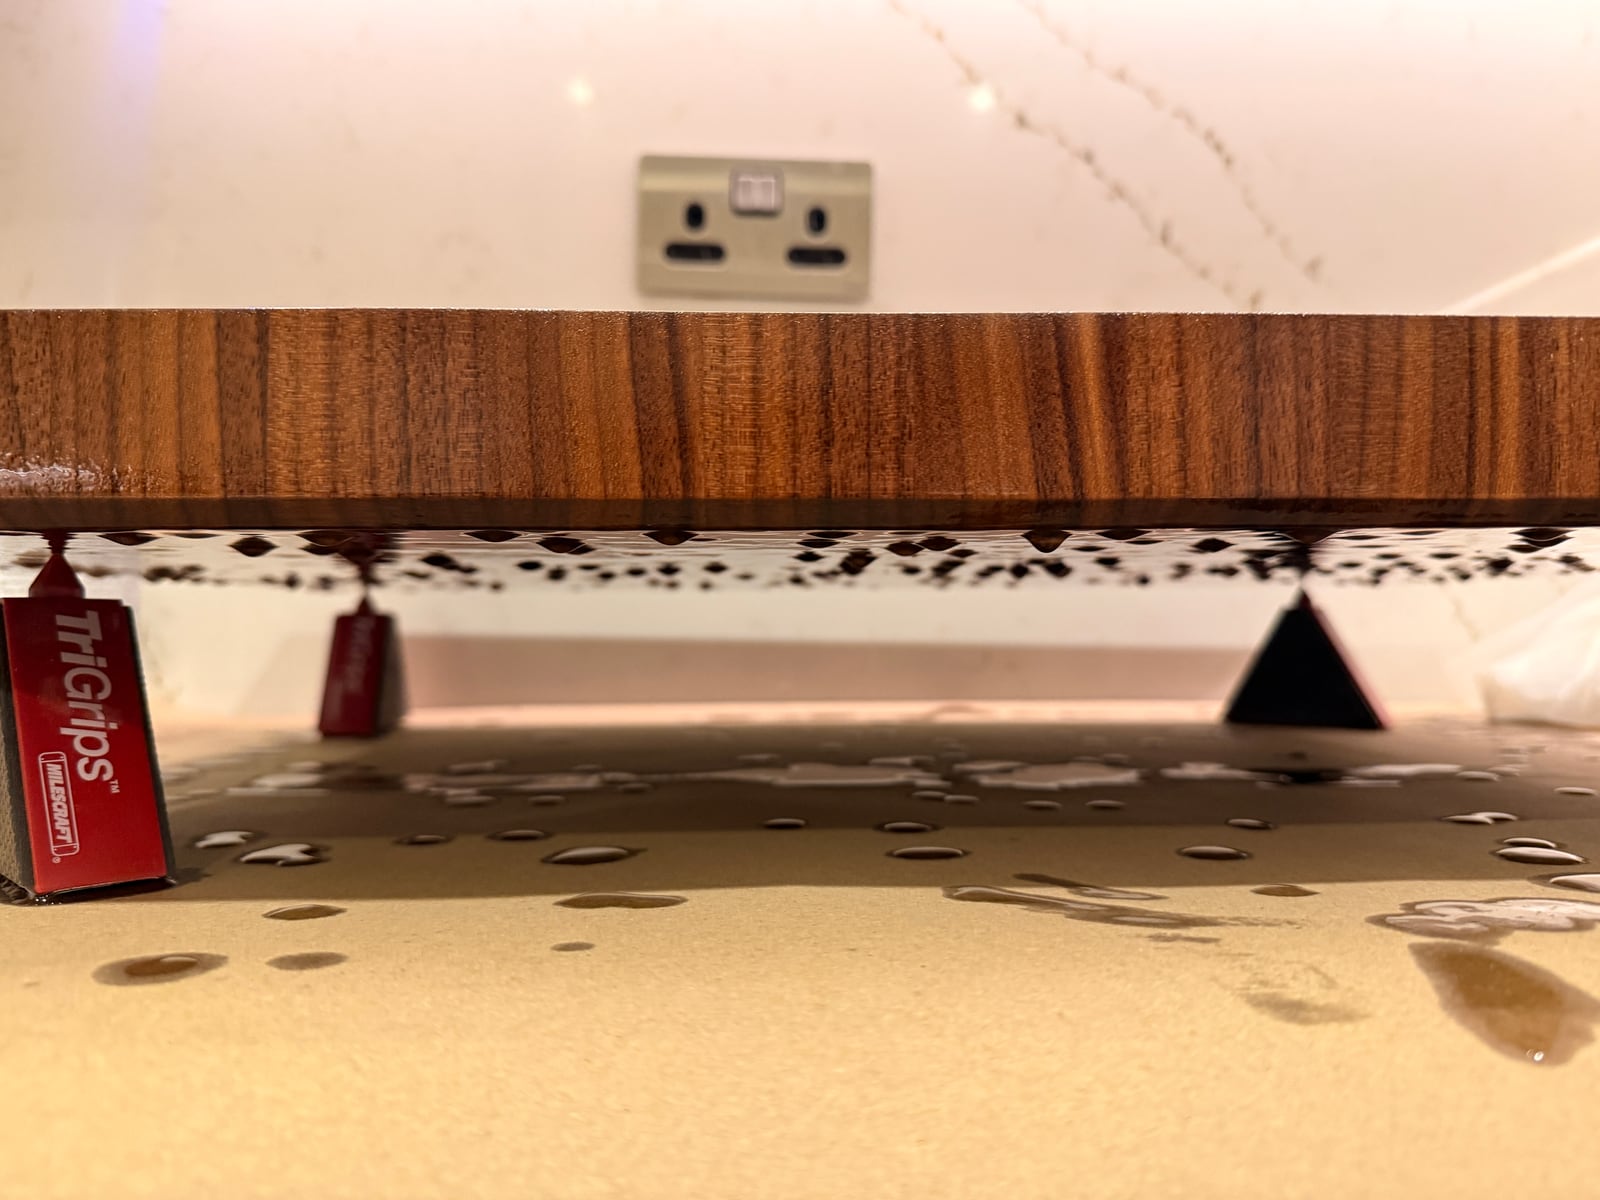
And then the colours pop.
And then the colours popped. It was SO pretty.
A set of rubber feet to keep this chunky, heavy board exactly where I put it, and it was done.
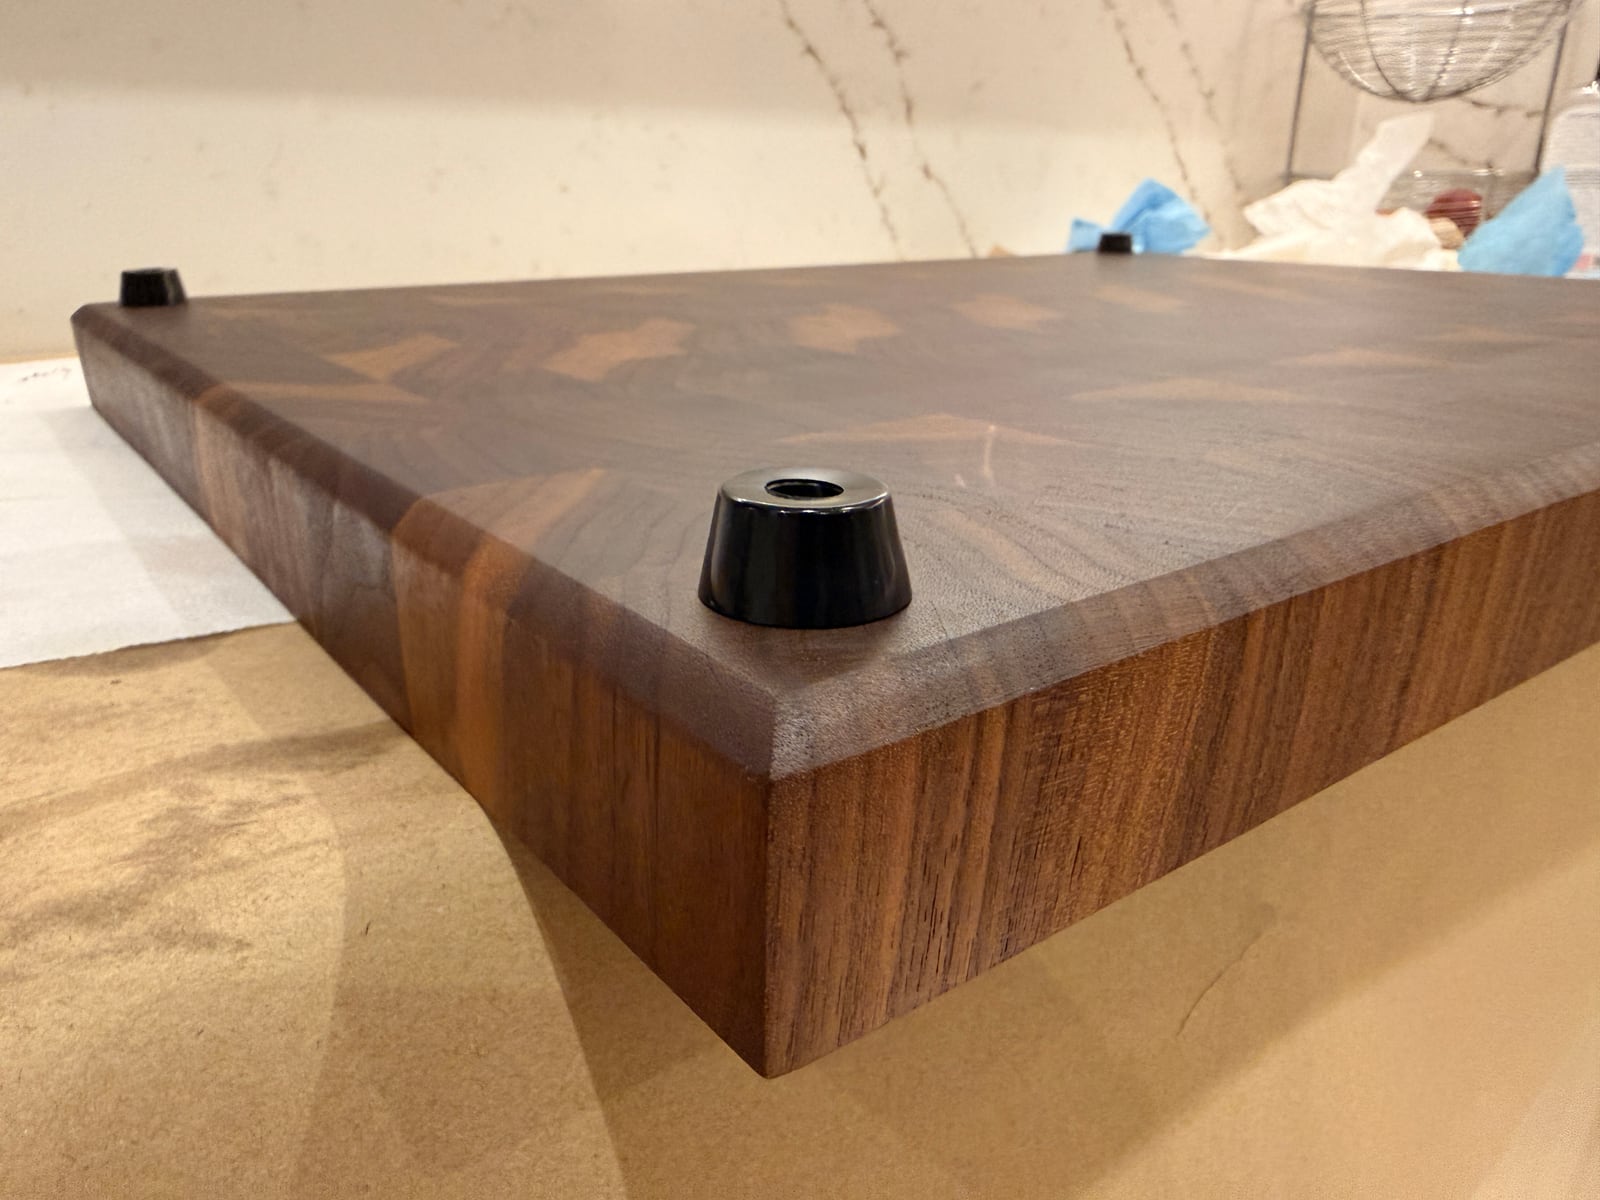
Feet on. It is not going anywhere.
Here go the beauty shots:
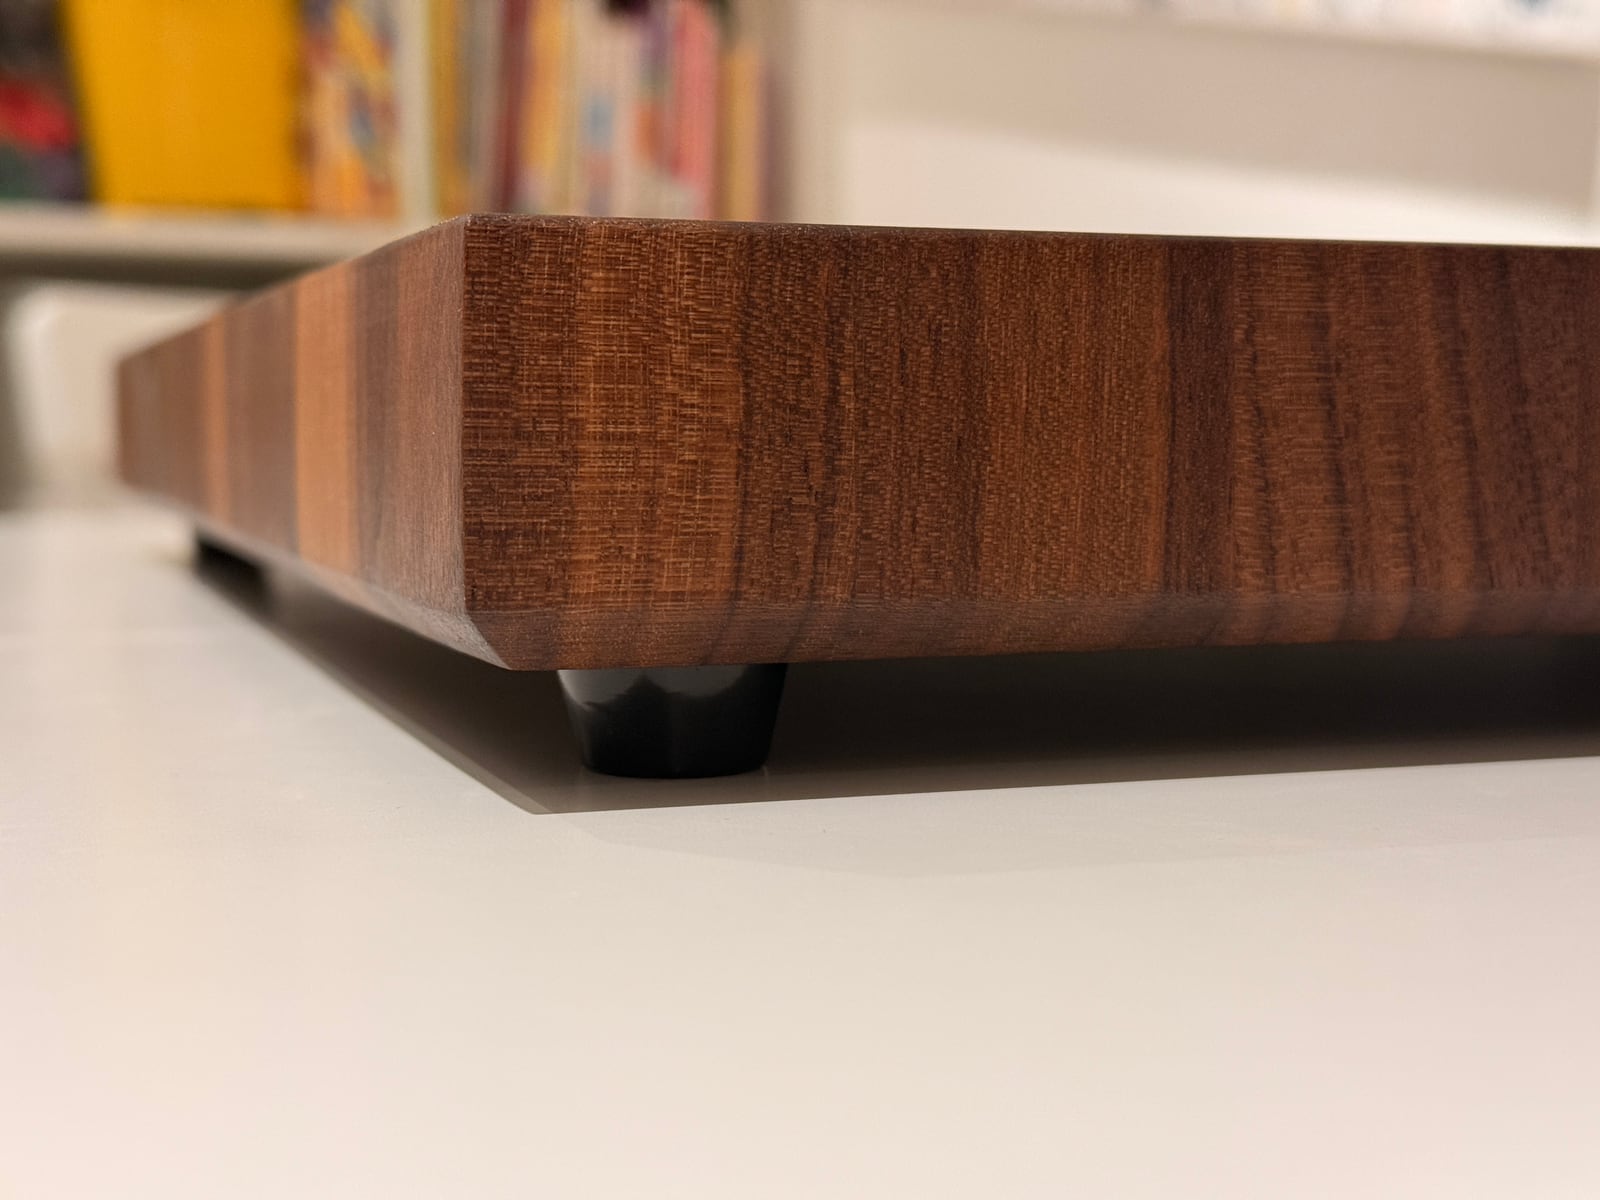
The edge.
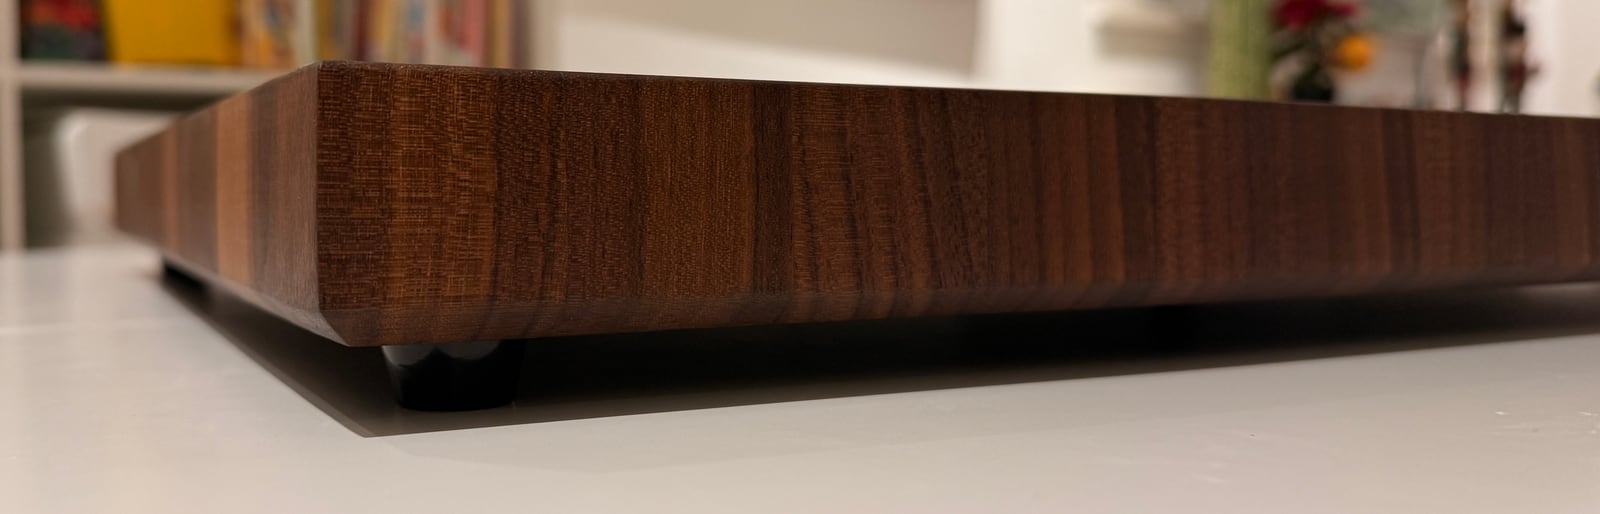
Chunky, as ordered.
Real woodworker status: still pending. Real butcher block: done. And the chicken tenders are off the menu.
Firsts in this build
In the wiki
- End GrainThe cut end of a board, where the fiber tubes point straight at you -- thirstiest surface for glue and finish, toughest for a cutting board.
- RouterOne tool, absurd range: swap the bit and it'll round an edge, cut a dado, hollow a mortise, or trim laminate flush, all at a speed that demands you pay attention.
- KnotThe base of a branch, preserved in the trunk's wood -- a real strength weak point and grain disruption, and sometimes exactly the character a project wants.
- CA Glue (Cyanoacrylate)Superglue, in woodworking's context -- seconds-fast cure, genuinely strong on small glue joints, and the standard fix for stabilizing punky or spalted wood before turning.