

Making IKEA Look Expensive
This one is short, and I learned more from it than from anything I'd built before it. Most of that learning was the kind you get from watching something go wrong slowly, with glue on your hands and no way to stop it.
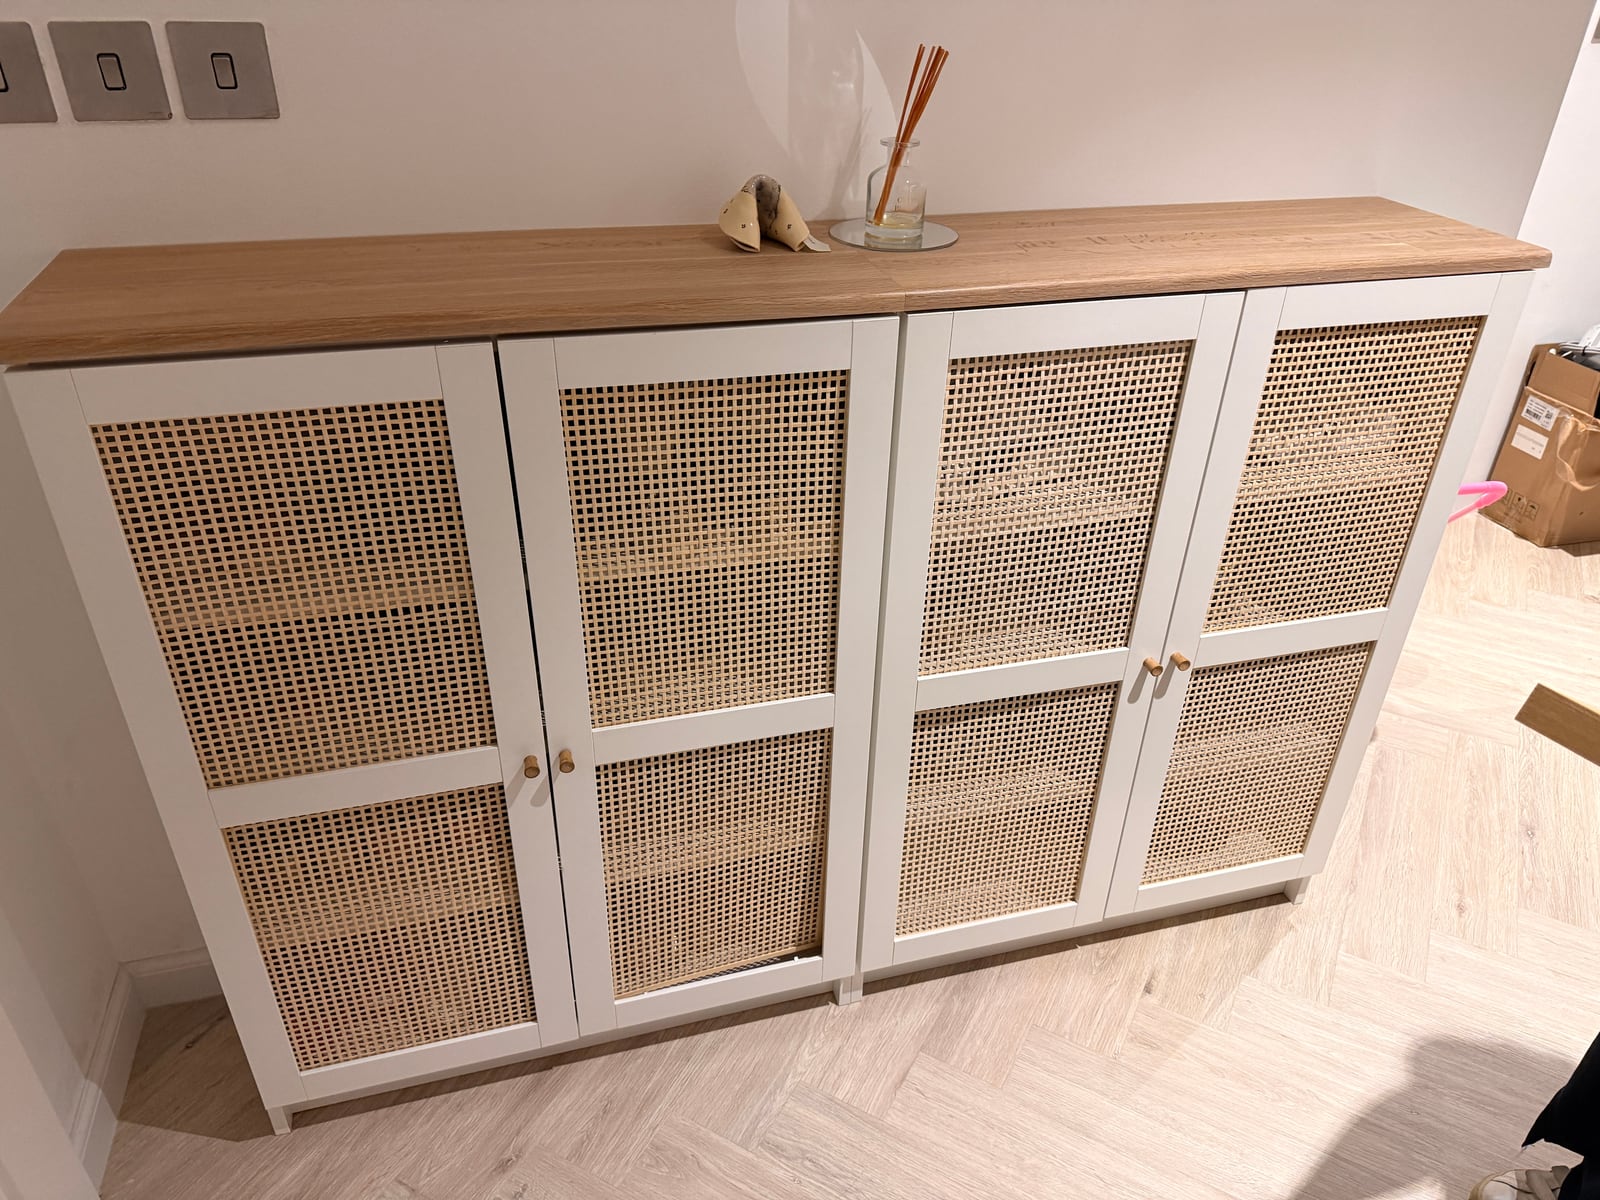
After months of rough work — cutting 2x4s to length to build things that hold other things — I wanted to make something nice again. Something where the wood is the point. I had some white oak left over, and two IKEA BILLY / HÖGADAL bookcases in the living room that were fine. Fine is the enemy. Fine is what furniture says when it has given up. So: an oak top across both of them, and they'd stop being fine and start being furniture.
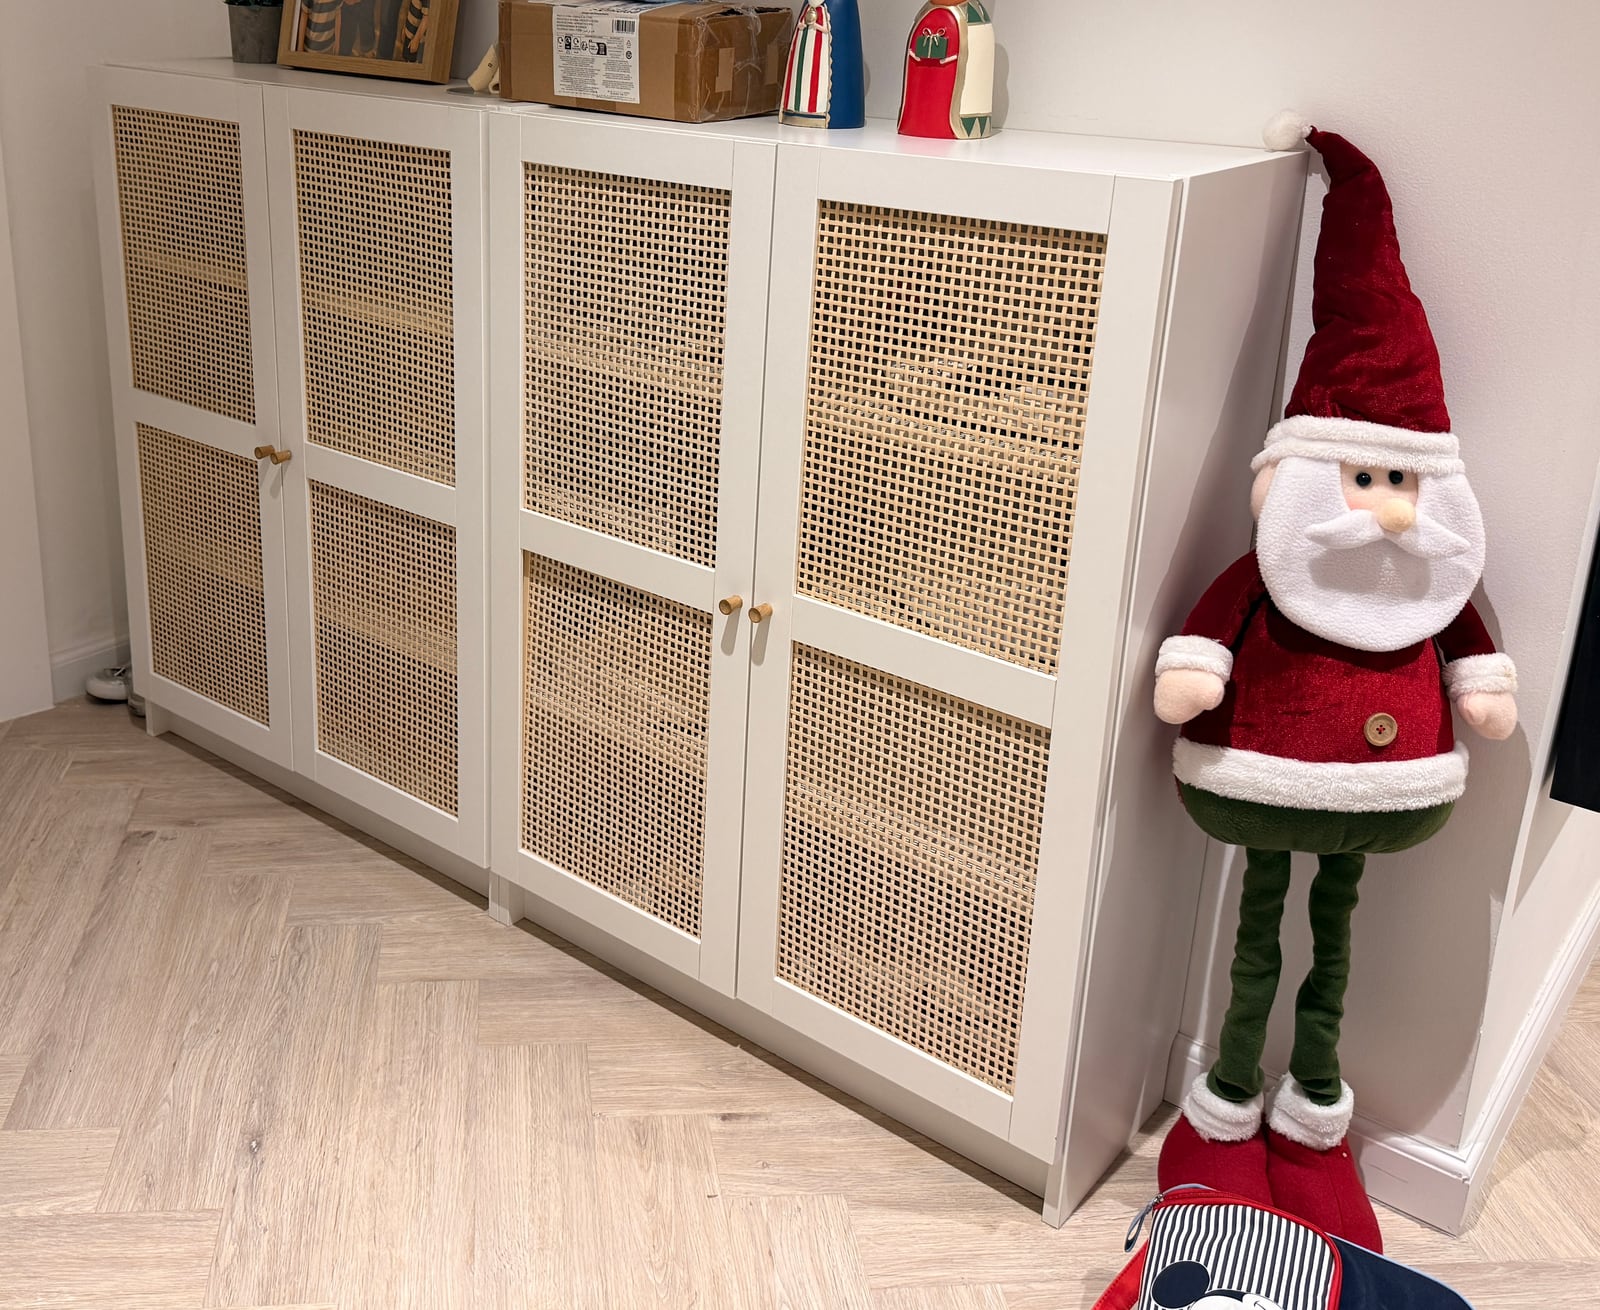
The before. Two perfectly adequate bookcases, and a Santa who has seen things.
A planer, because I am never flattening a board by hand again
I was also still in full shopping spree, so I put some savings into a planer. I told myself it was an investment. An investment is something you buy that makes you money; this was something I bought so I would never again spend a weekend sanding thirty twisted 2x4s into an approximation of flat. Close enough.
The plan was simple, in the way plans are before anyone starts. Three oak boards. One long enough to make the top for one bookcase on its own; the other two joined to make the second. Surface them, rip them into strips, glue the strips back into two panels, then decide whether to join the panels into one long top.
The cut that told me which tool I was missing
The planer was a revelation. Boards went in grey and tired and came out flat, pale and smelling like an actual woodshop. I stood there and smelled them for a while, which is either the best or the worst thing I've admitted on this site.
Then I had to rip them into strips, and the whole thing came apart. Ripping a long board freehand with a circular saw isn't really woodworking, it's a negotiation: the board gets narrower, the offcut starts to wander, your line becomes a suggestion, and the saw begins to editorialise. This is table saw work. I don't own a table saw, and I still don't trust myself with one, so what I did instead was try very hard and then accept whatever came out the other end.
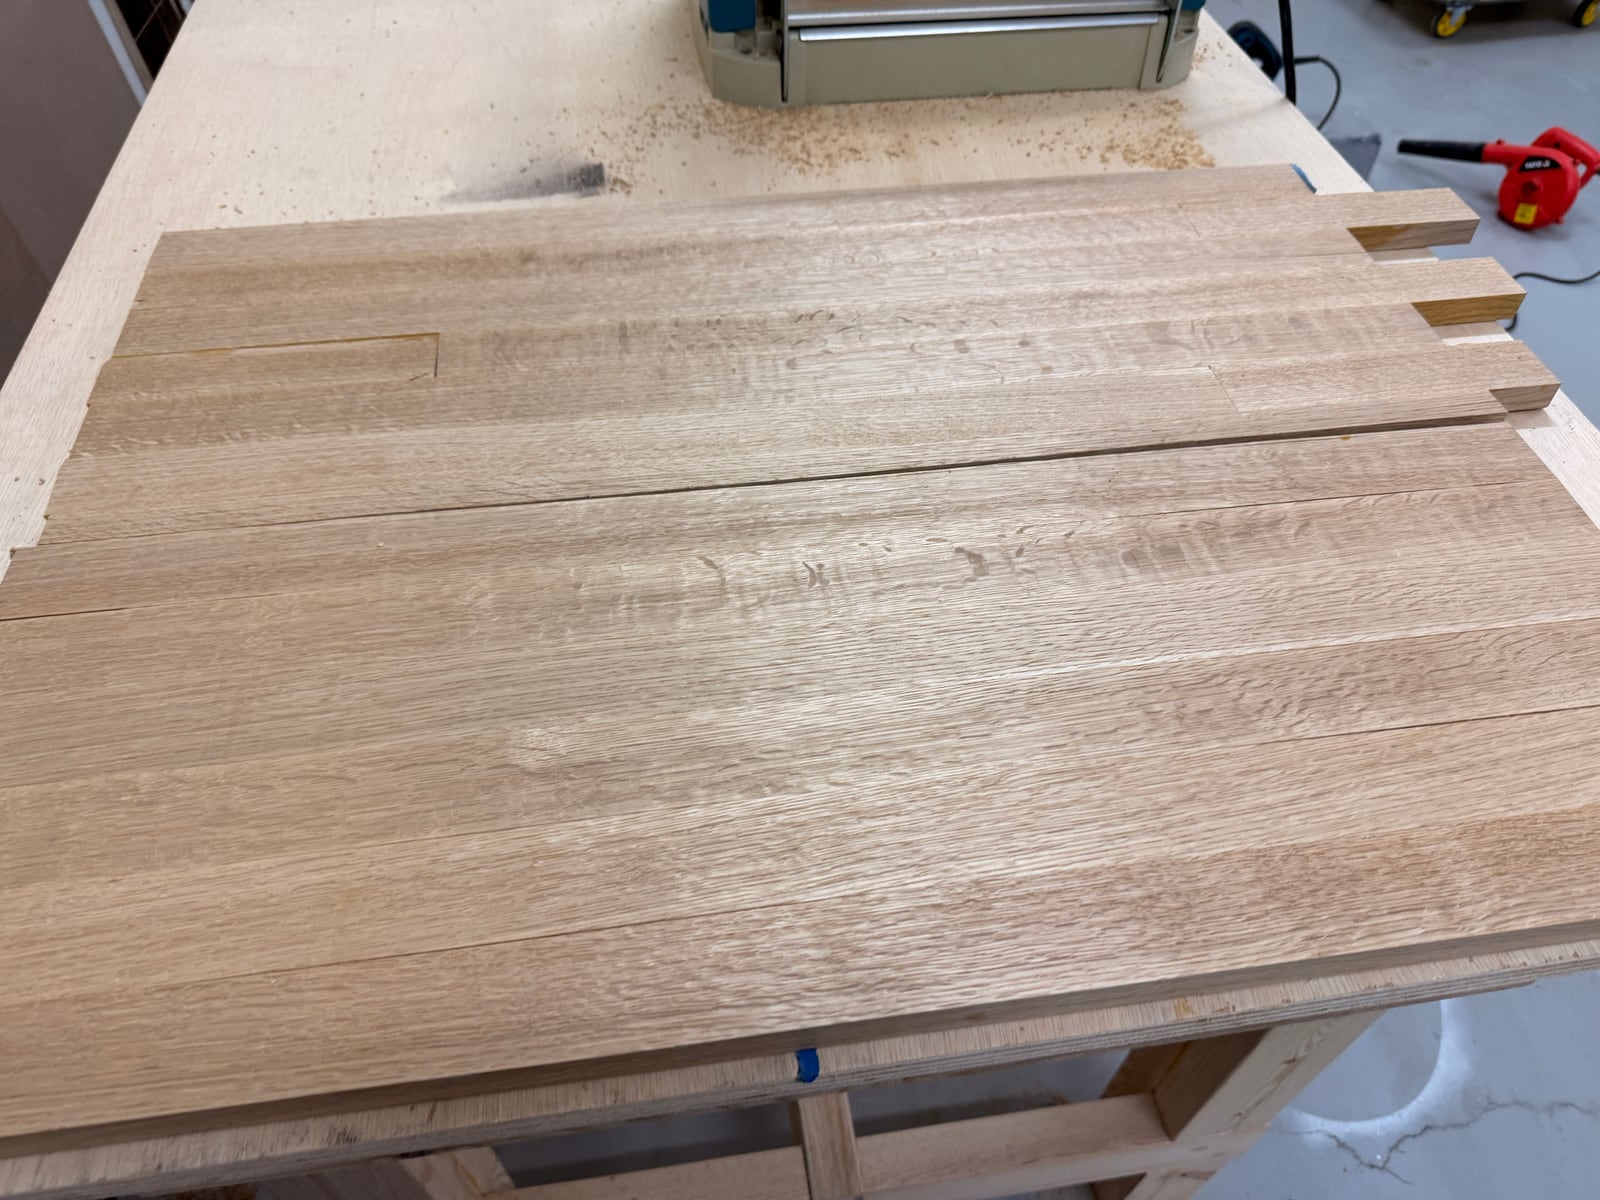
White oak, surfaced and ripped into strips. The planer did its half perfectly.
Those panels look much better in that photo than they deserved to, and you'll see why in a minute. Some of my cuts had wandered so far into the wood that planing everything flat afterwards would have left me holding an expensive oak envelope. So I picked the best faces, turned them up, and decided the rest was a problem for later me.
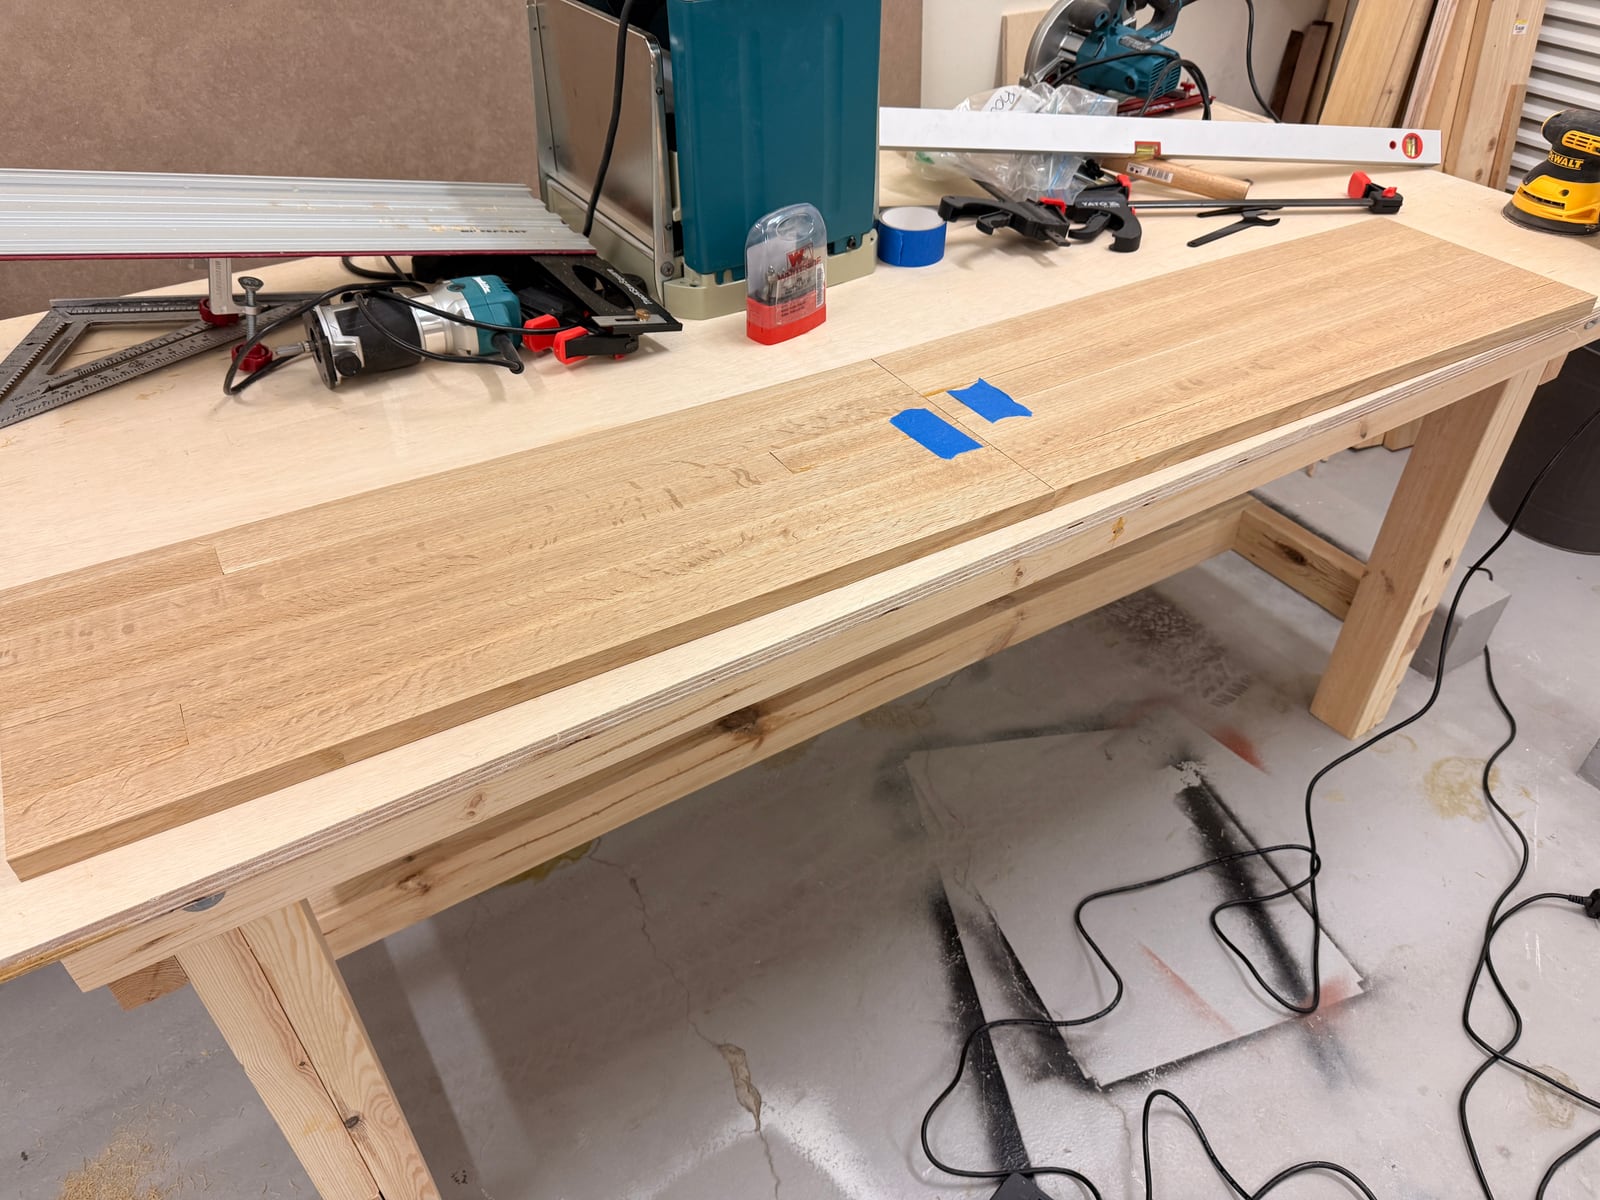
Dry fit. At this distance, in this light, a triumph.
Two pipe clamps in an unsanctioned marriage
The dry fit settled it: this wanted to be one continuous top across both bookcases. The problem was clamping it. I didn't own a pipe clamp anywhere near long enough, and heavy-duty ¾ inch threaded pipe isn't something you casually find here. So I bought connectors and joined the pipes from two clamps into one very long clamp.
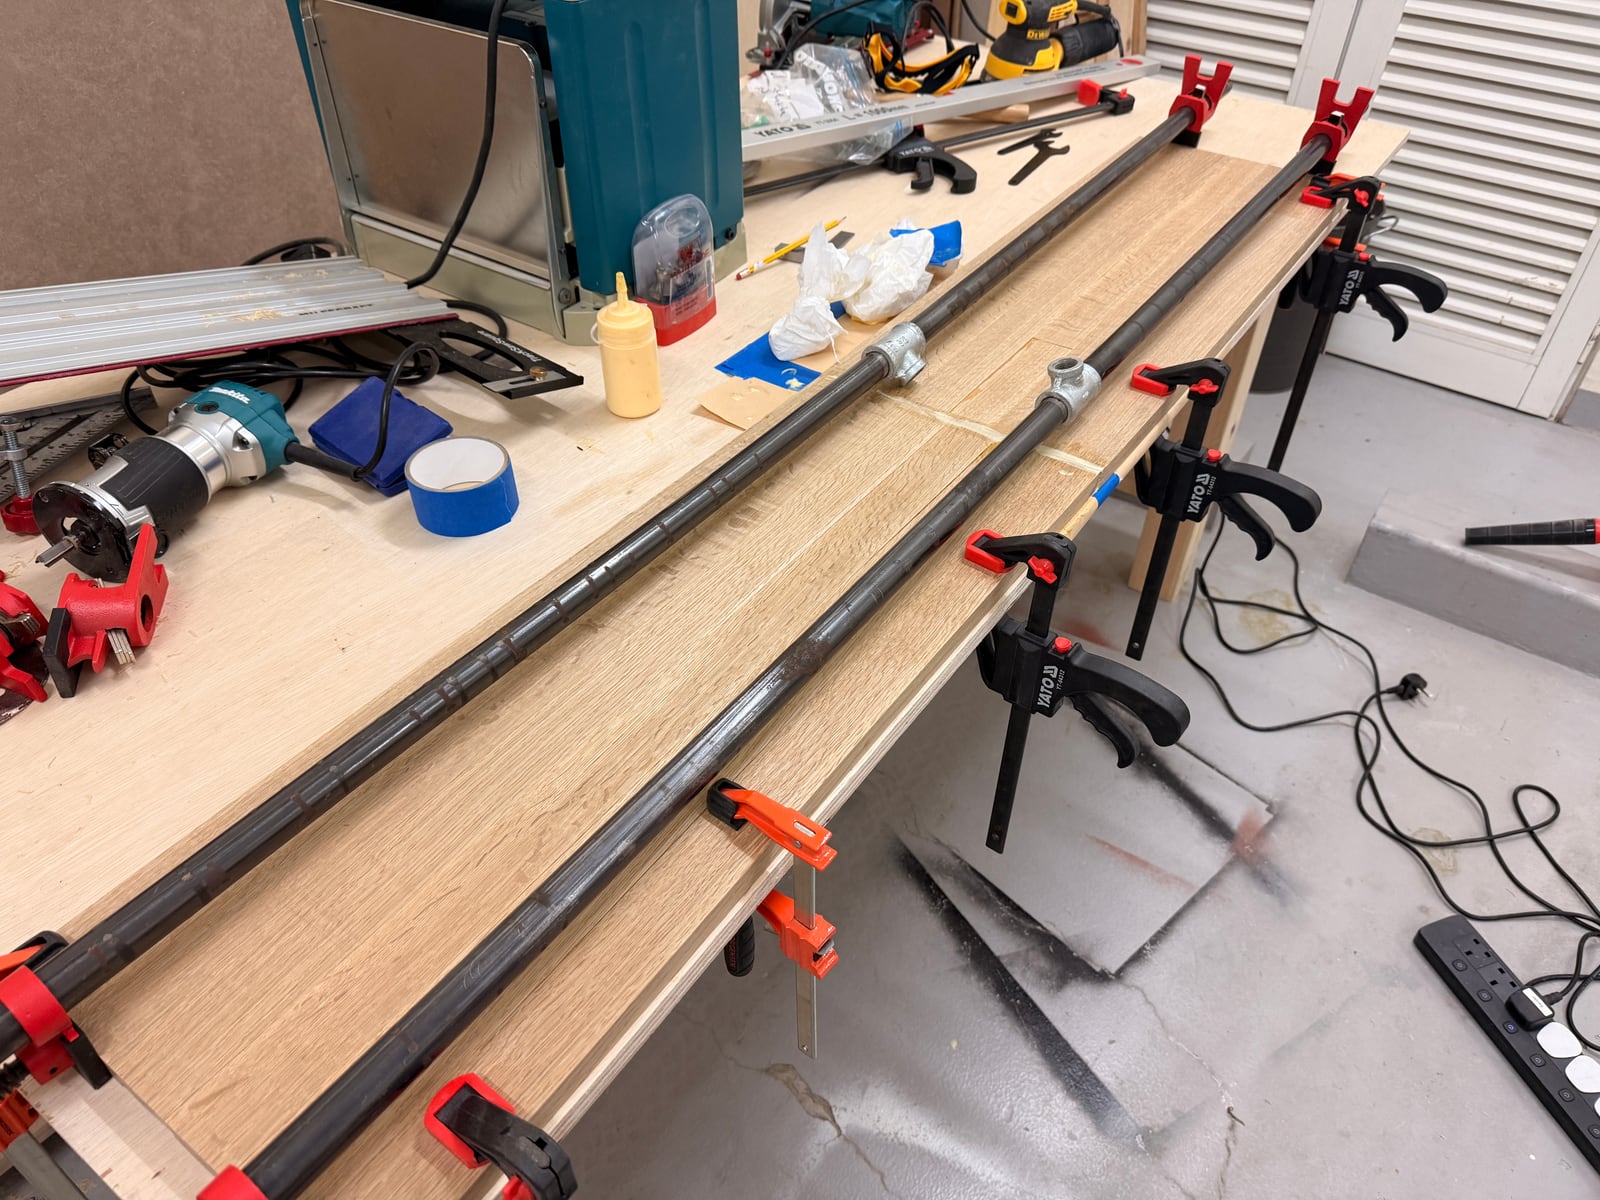
Two pipe clamps, married at the middle in a ceremony nobody sanctioned.
The part where I remembered how wood works
Something felt wrong while the glue was going off, and it took me a few minutes to find it. Then it landed, in the specific way bad news lands when the glue is already curing and there is nothing you can do with your hands: the geometry. To make one long top, I had glued two panels together end to end. End grain against end grain.
Gluing boards along their long edges works because you're joining long grain to long grain, and a good edge-grain joint ends up stronger than the wood on either side of it. End grain is the opposite. It's the cut ends of thousands of tiny straws: glue goes in and keeps going, like water into sand, and what's left holding your furniture together is mostly optimism. I'd spent so long with pine 2x4s, where nothing is precious and everything is screwed together anyway, that I had stopped thinking about grain entirely.
I went looking on YouTube for a video that would tell me it was fine. I found several explaining, at length and with a testing rig, that it was not. The internet is extremely good at this.
So I reinforced it from underneath: four metal mending plates across the joint, each one recessed into a shallow pocket routed to fit, so the top would still sit flat. Nobody ever sees the underside of a bookcase top. The underside of a bookcase top is where the sins go.
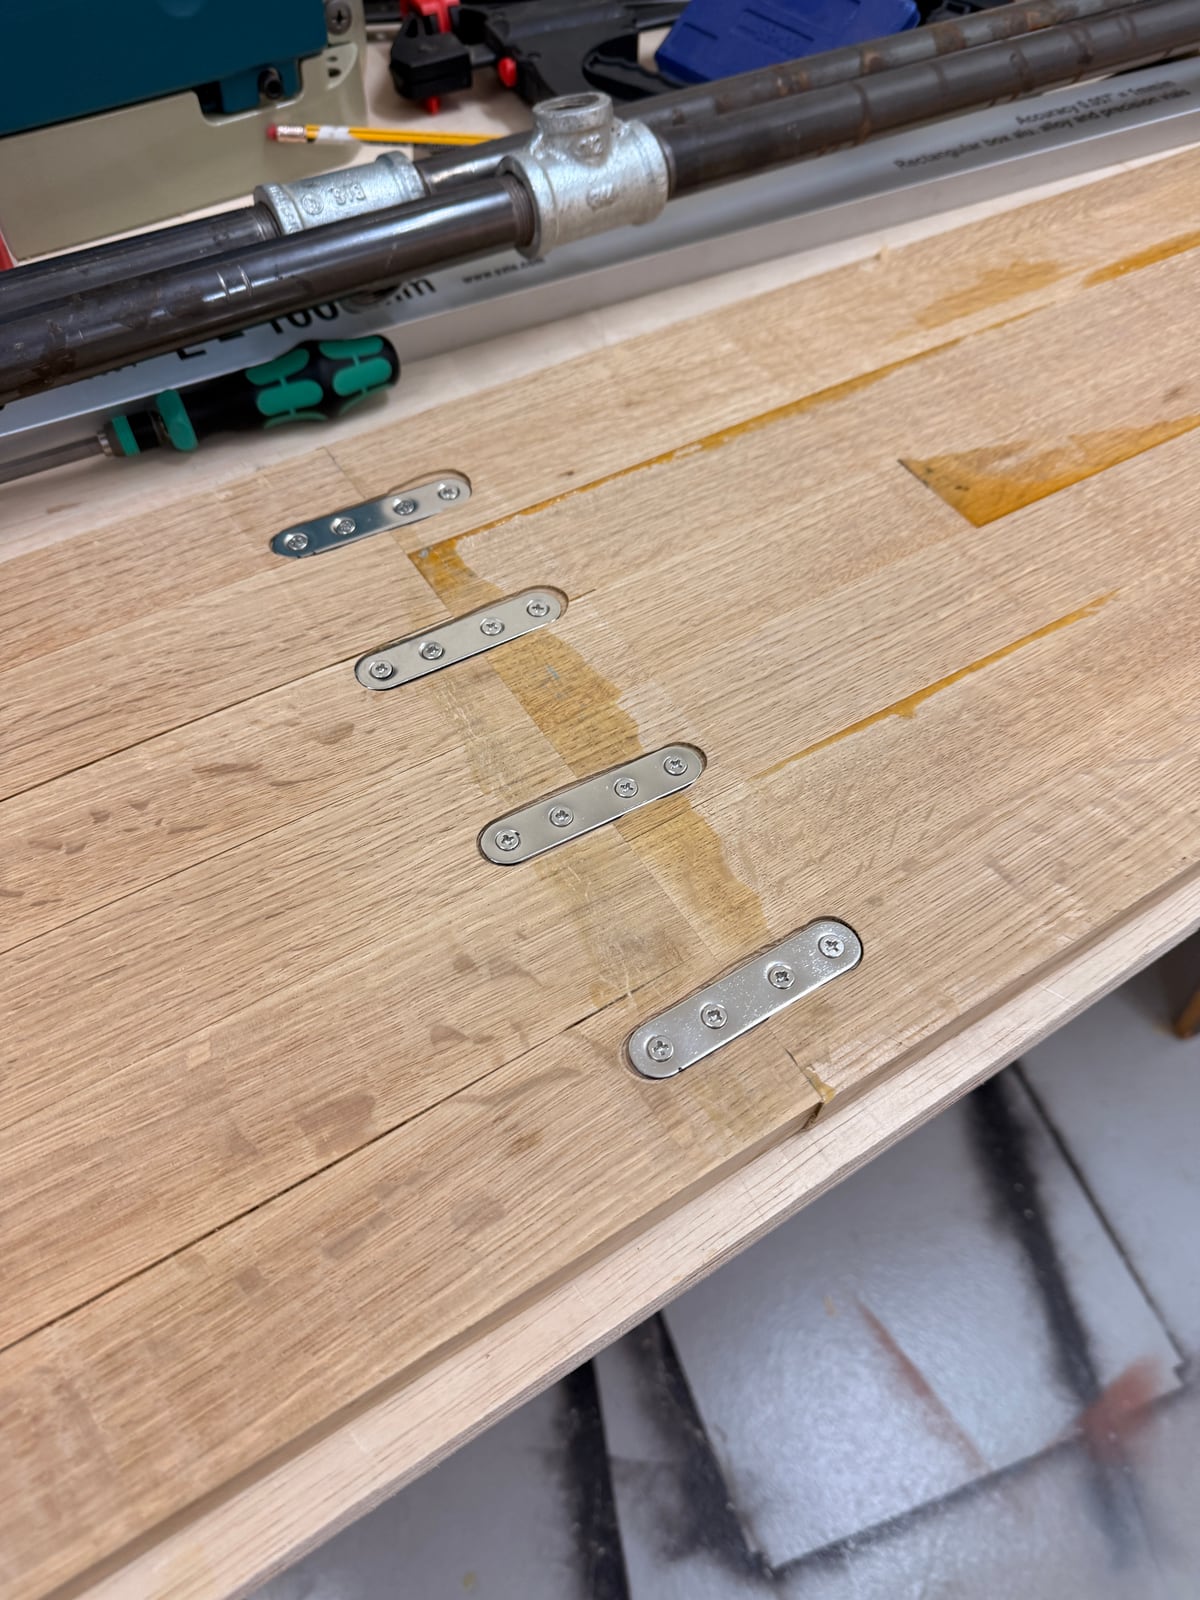
Four plates, four routed graves, and the glue pools that show you exactly how straight my cuts weren't.
Resting flat on two carcases, with the plates holding the seam, the risk is low. It is not the joint I would make today. It is holding, which is not the same as being right.
Surgery mode
Then I turned the panel over and saw what I'd actually built. The glue-up was worse than the cuts: gaps, steps, squeeze-out where a seam should have been. I needed to get better at cutting straight and at clamping, and neither of those was going to happen between now and dinner.
So: surgery mode. I cut patches from the offcuts and fitted them into the worst of it, shaved thin slivers of oak to fill the narrower gaps, and mixed glue with sawdust into a paste with roughly the texture of a bad decision. Foureyes Furniture has made a career out of repairing his way to a beautiful result. I was repairing my way to a defensible one.
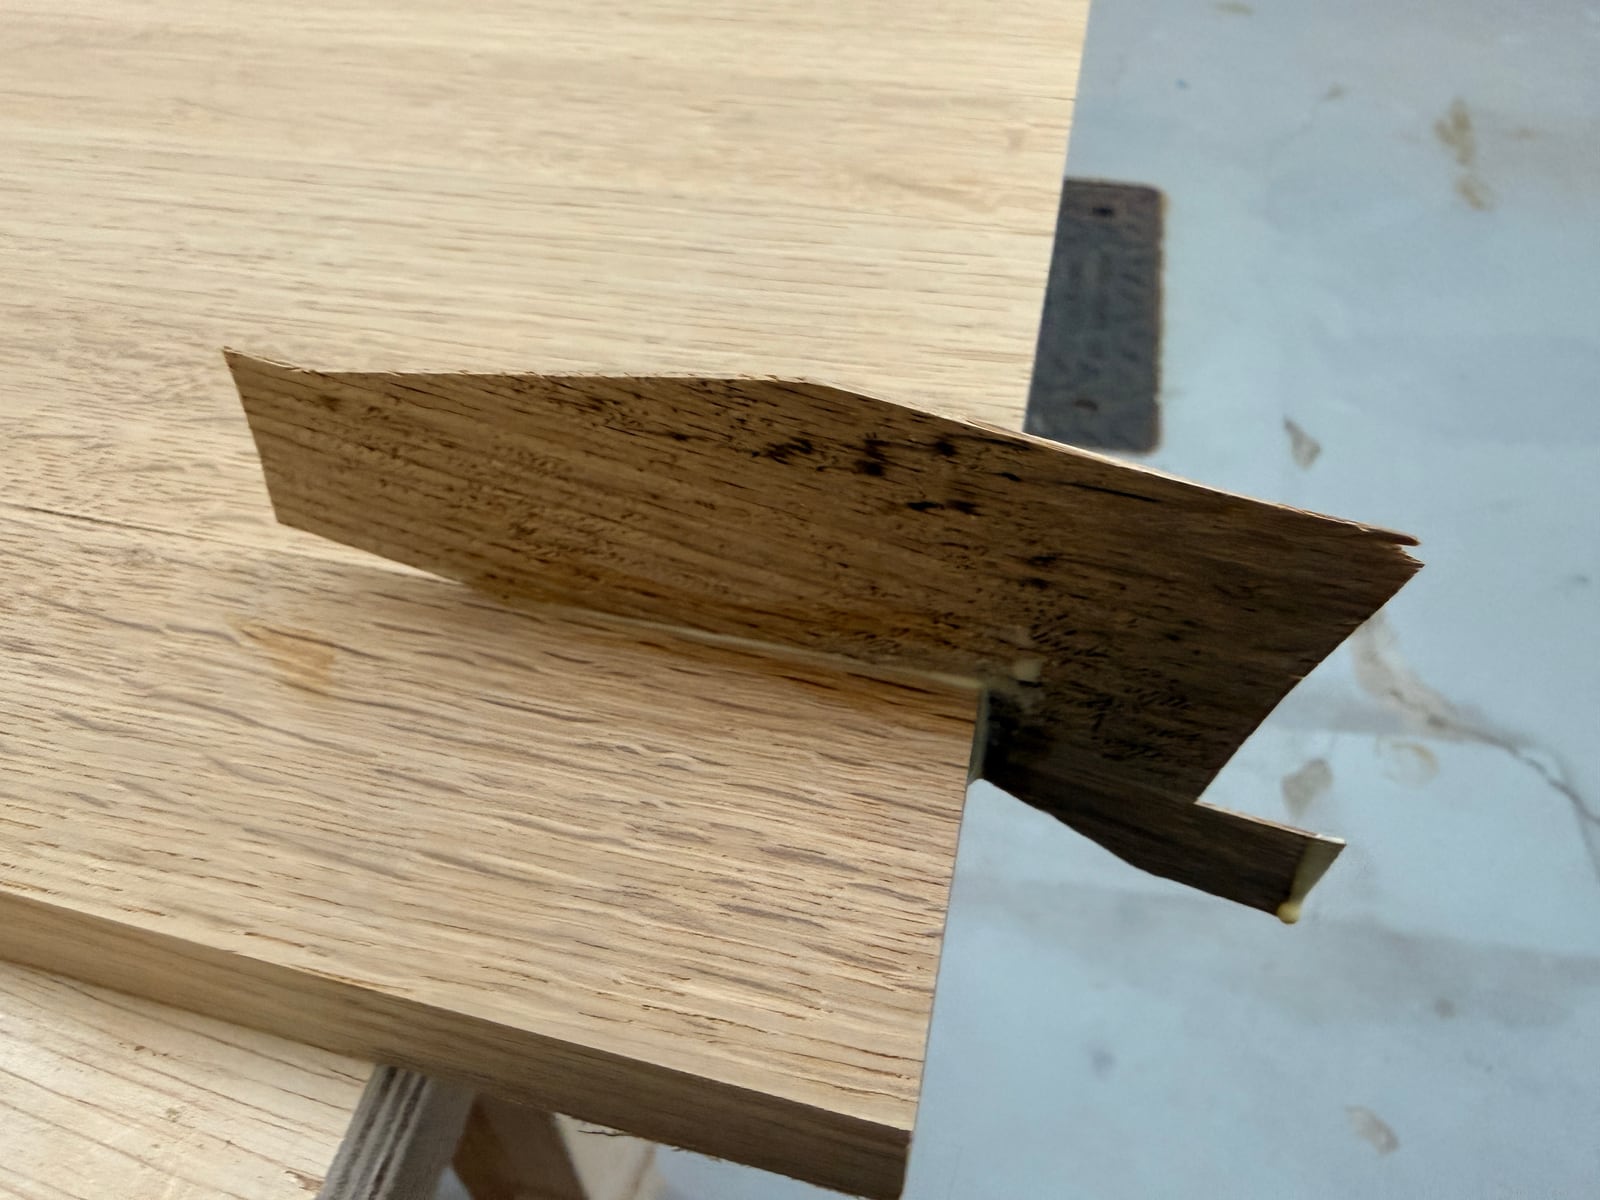
A patch, cut to fill a gap that shouldn't have been there.
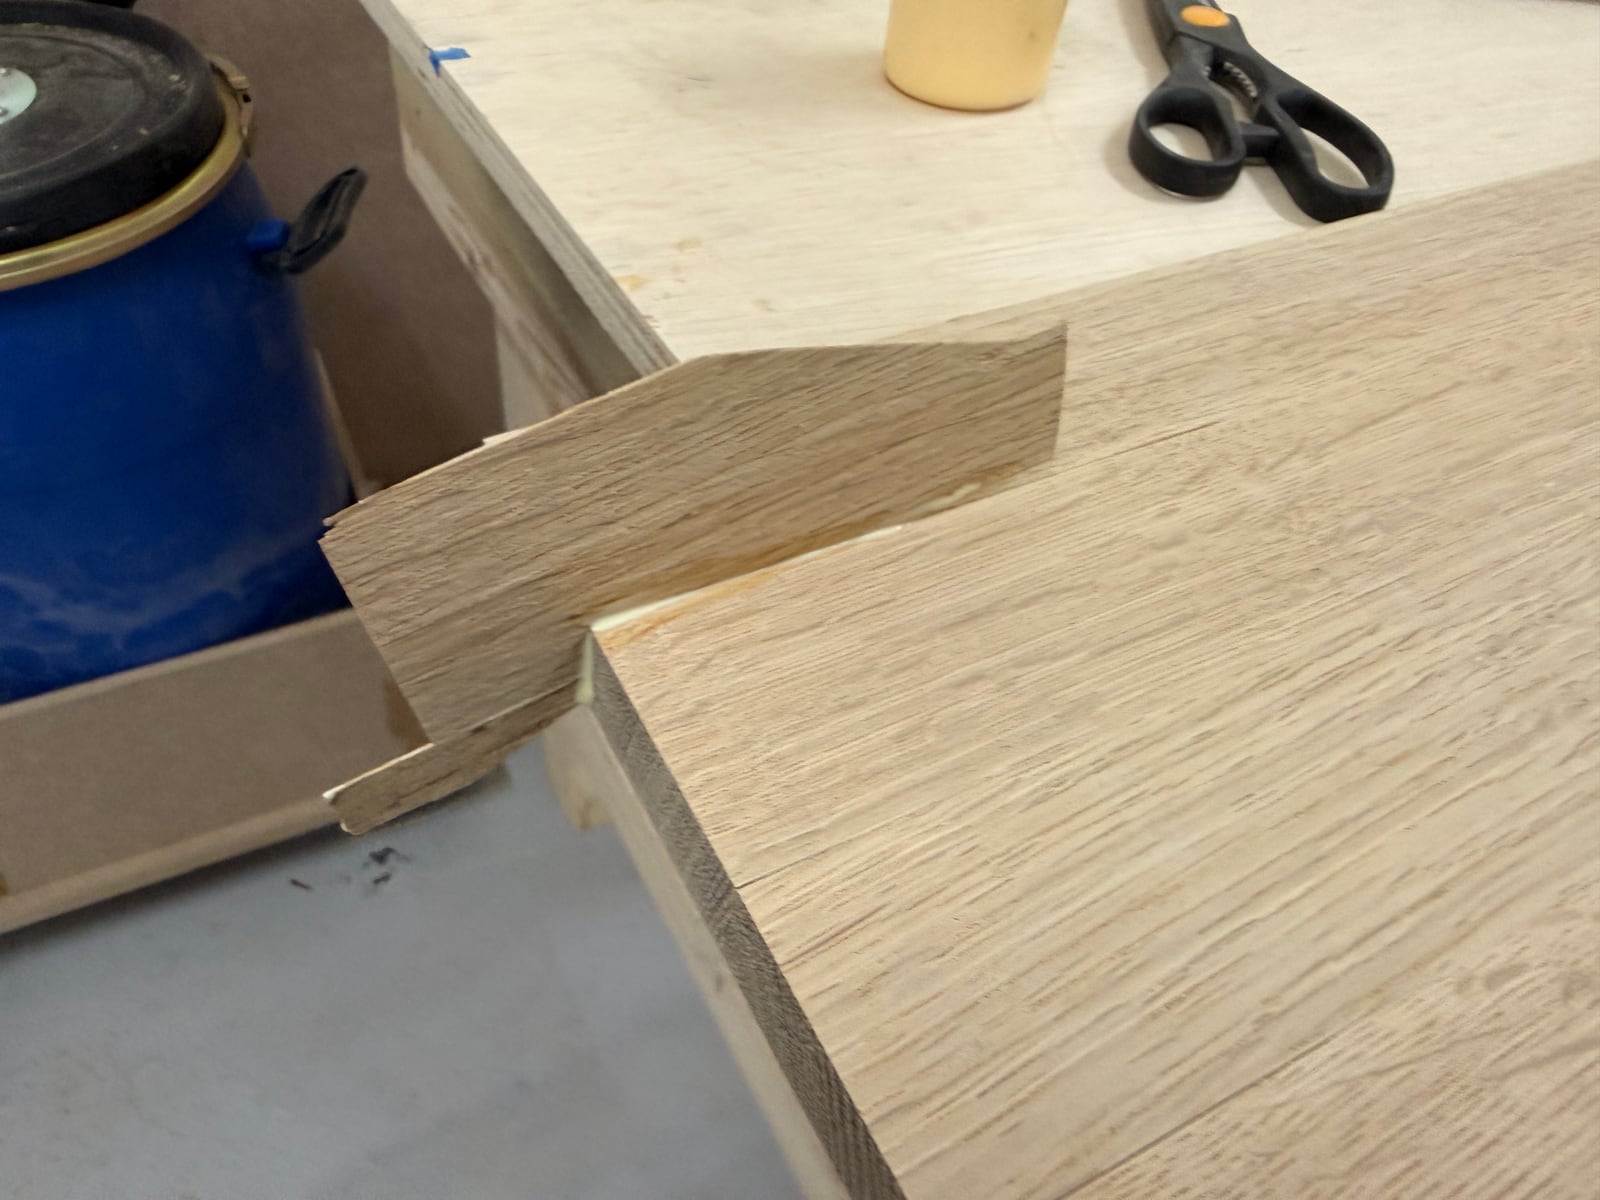
Fitted. From a metre away: a design feature. From ten centimetres: evidence.
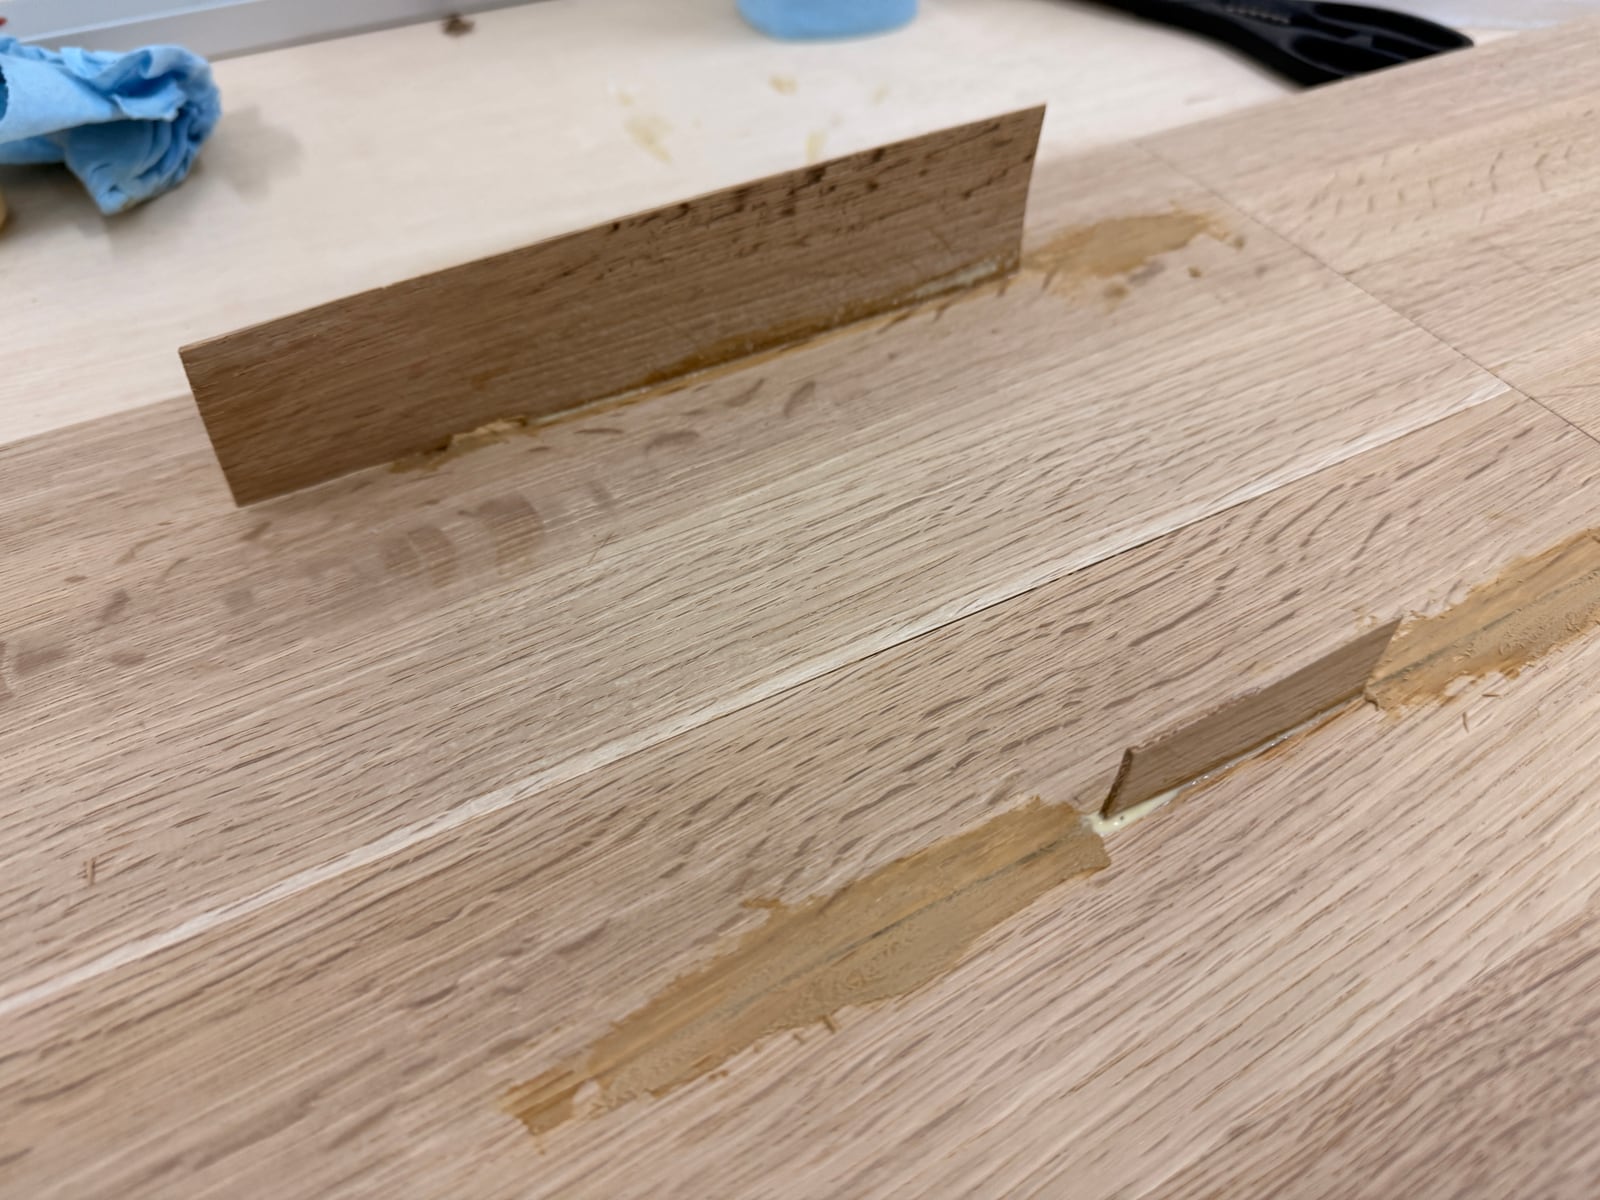
Glue, sawdust and slivers of oak, going into every crime scene I could find.
By the end of it, it looked pretty decent.
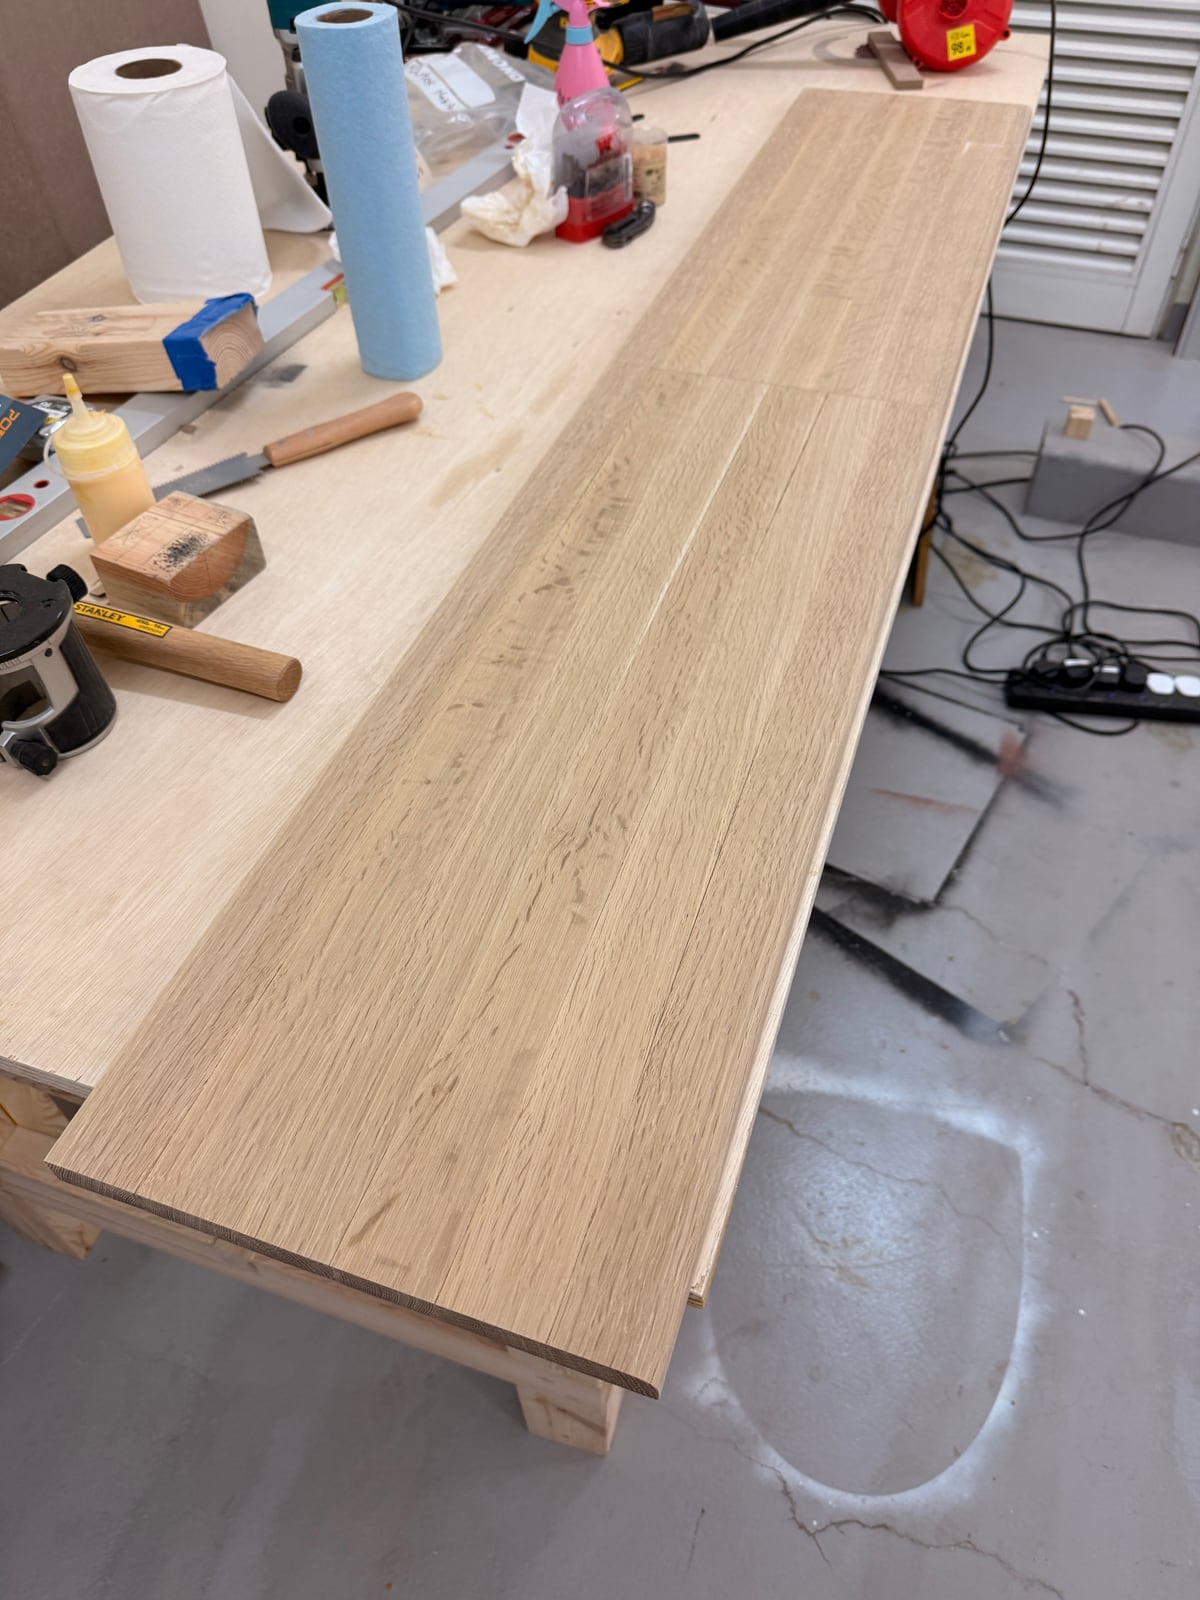
Sanded back and clean. What happens on the bench stays on the bench.
A roundover, and the finish that covered for me
I ran a ¾ inch roundover around the edge with a Whiteside bit and fell in love with it on the spot. It's such a small thing — one bit, ten minutes — and it's the difference between a plank with ambitions and something that looks like it was designed.
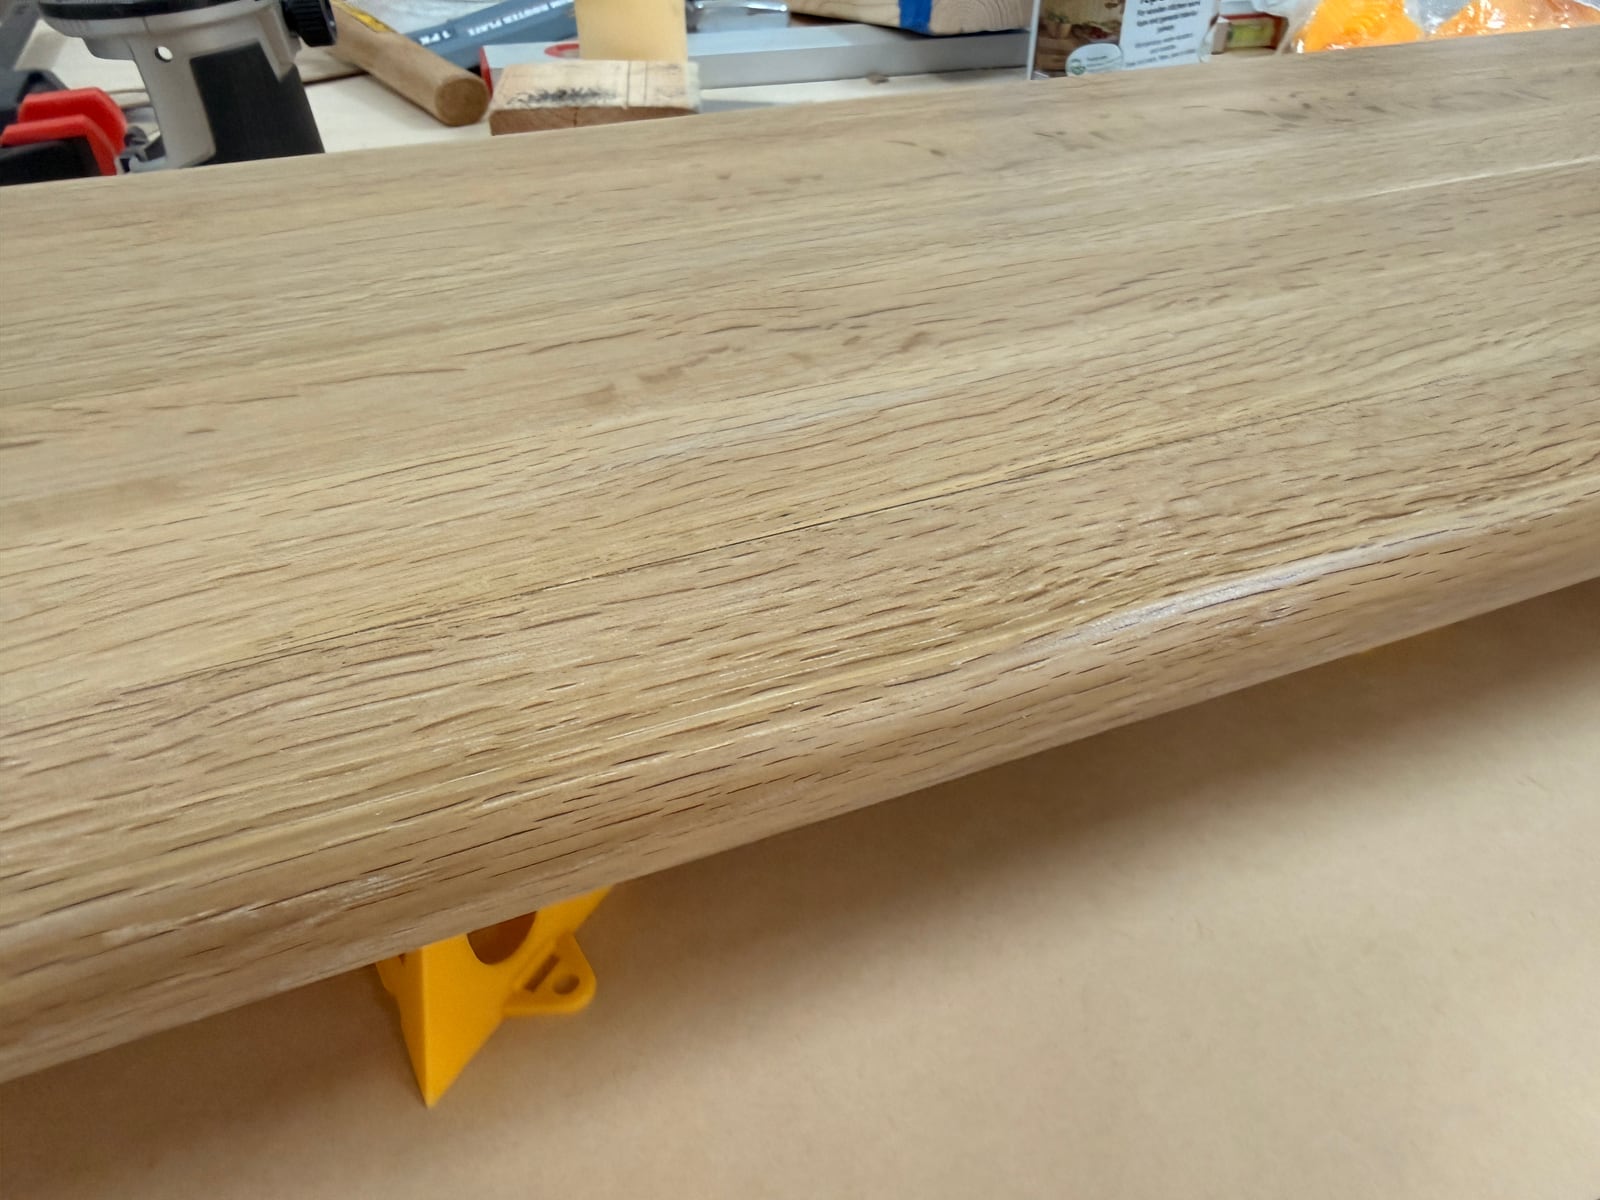
The roundover. Ten minutes of routing to stop it looking like lumber.
I'd read a lot about Osmo hardwax oil, so I bought the first tin I found, which turns out to be a decision worth a paragraph of its own in the next post. It went on easily and came out fantastic: smooth to the touch, and the grain suddenly much more present than it had been all week.
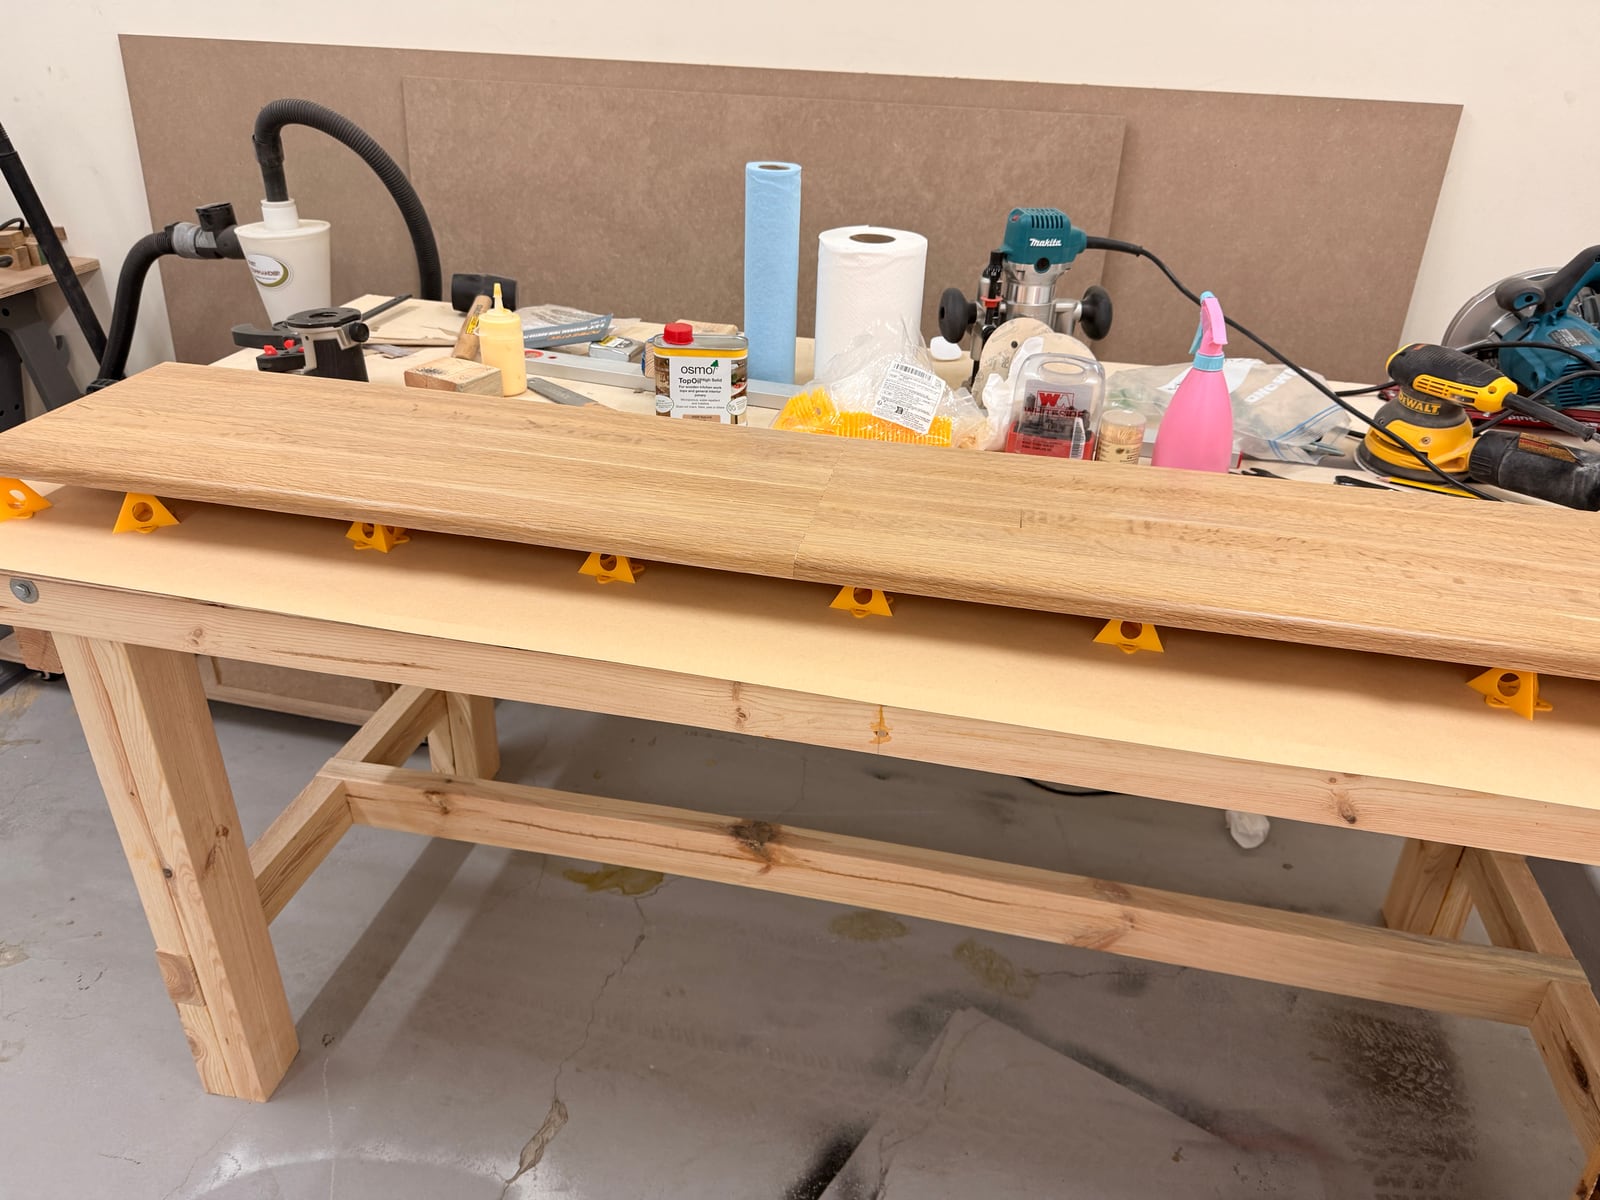
Oiled. The grain woke up and forgave me.
There's one spot that sits a hair lower than the rest, where a cut wandered further than I could sand back. I'm telling you about it because you'd never have found it on your own, and now you will look directly at it every time you see the photo. Sorry.
And the bookcases now look fantastic.
What it actually taught me
The top looks great and I'm still happy with it. But the lesson had nothing to do with oak, or glue, or finish. Every single fault in this build — the wandering cuts, the gaps, the patches, the slivers, the paste, the four plates bolted across a joint I should never have made — traces back to one hole in the shop: I have no repeatable way to turn a rough board into a straight, square strip.
I couldn't keep ripping panels freehand and repairing my way out afterwards. I needed a table saw, or something that solves the same problem without a blade sitting in the open, daring me. And I decided I wasn't starting another project until I'd fixed it.
What I bought instead is the next post.
Firsts in this build
- Using a thickness planer
- A joint I had to reinforce with metal
- Patching a panel with slivers of its own offcuts
- Finishing with a hardwax oil
In the wiki
- PlanerA thickness planer mills a board to a consistent thickness pass after pass -- it flattens nothing, it just faithfully reproduces whatever reference face you feed it.
- White OakThe reason bourbon tastes like bourbon -- a durable, water-resistant domestic hardwood with pores tight enough to trust with liquid for years.
- End GrainThe cut end of a board, where the fiber tubes point straight at you -- thirstiest surface for glue and finish, toughest for a cutting board.
- Edge GrainThe narrow face of a board, running with the grain -- the surface you see on a rip-cut edge, and what most edge-grain cutting boards show off.
- RoundoverA convex curve easing a sharp corner into a smooth quarter-round -- the most common decorative and practical edge treatment there is, cut in one router pass.